Group Assignment
Individual Assignment
Table of Contents
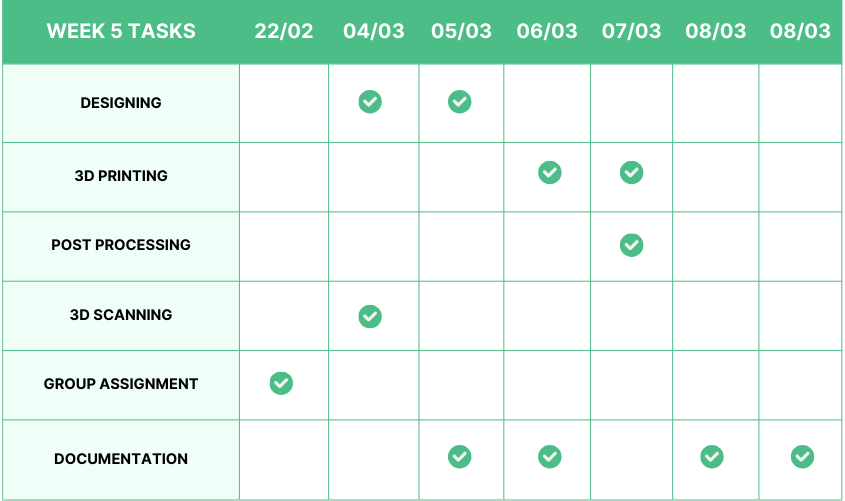
Week 5 Work Plan
Hero Shot
Group Assignment Page
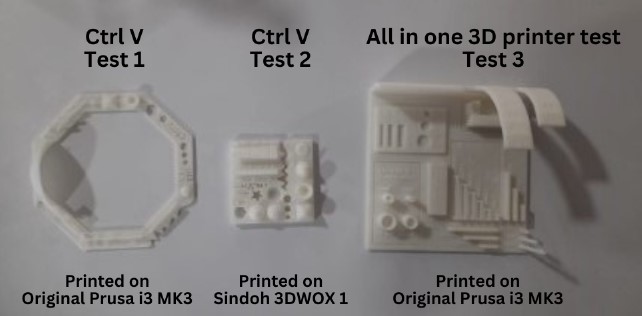
3D Printing
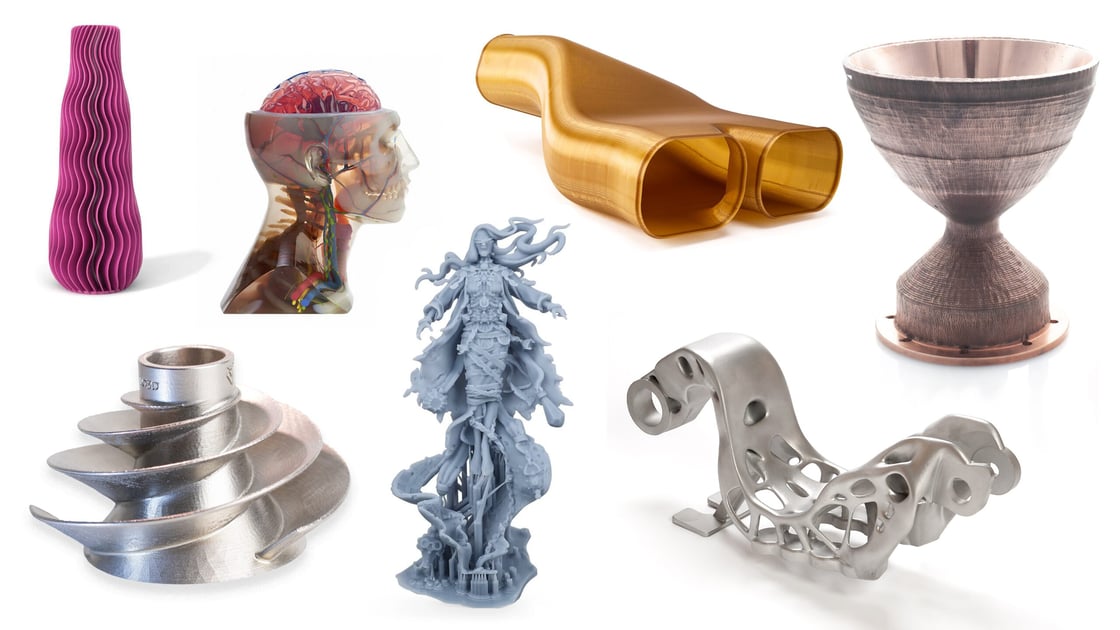
A 3D printer is a machine that creates three-dimensional objects by depositing materials layer by layer according to a digital 3D model. It's a form of additive manufacturing, meaning it builds up objects rather than cutting away from a block of material like traditional manufacturing methods. These printers can use various materials such as plastics, metals, ceramics, and even food ingredients to produce a wide range of items, from prototypes and small components to intricate artworks and functional objects.
 https://www.hubs.com/guides/3d-printing/
3D Printing Technologies
 https://all3dp.com/1/types-of-3d-printers-3d-printing-technology/#section-material-extrusion
Fused Deposition Modeling (FDM)
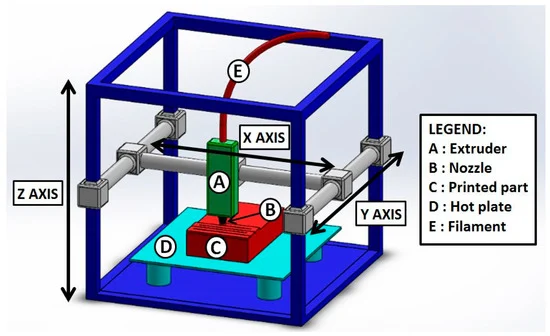
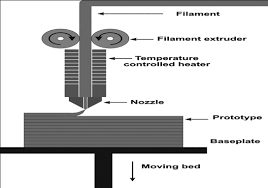
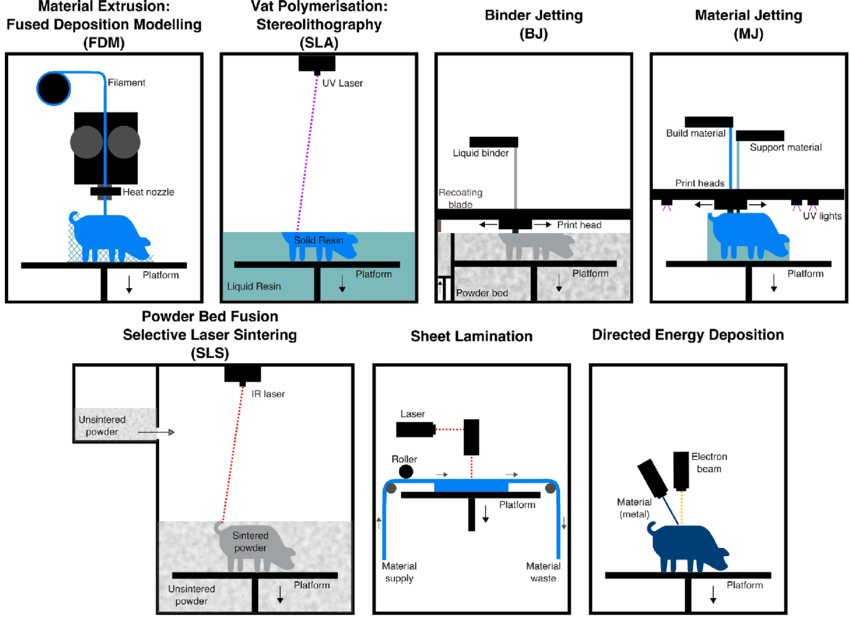
FDM is one of the most popular 3D printing technologies. It works by extruding thermoplastic filament through a heated nozzle, which melts the material. The melted filament is deposited layer by layer to build up the object.
Stereolithography (SLA)
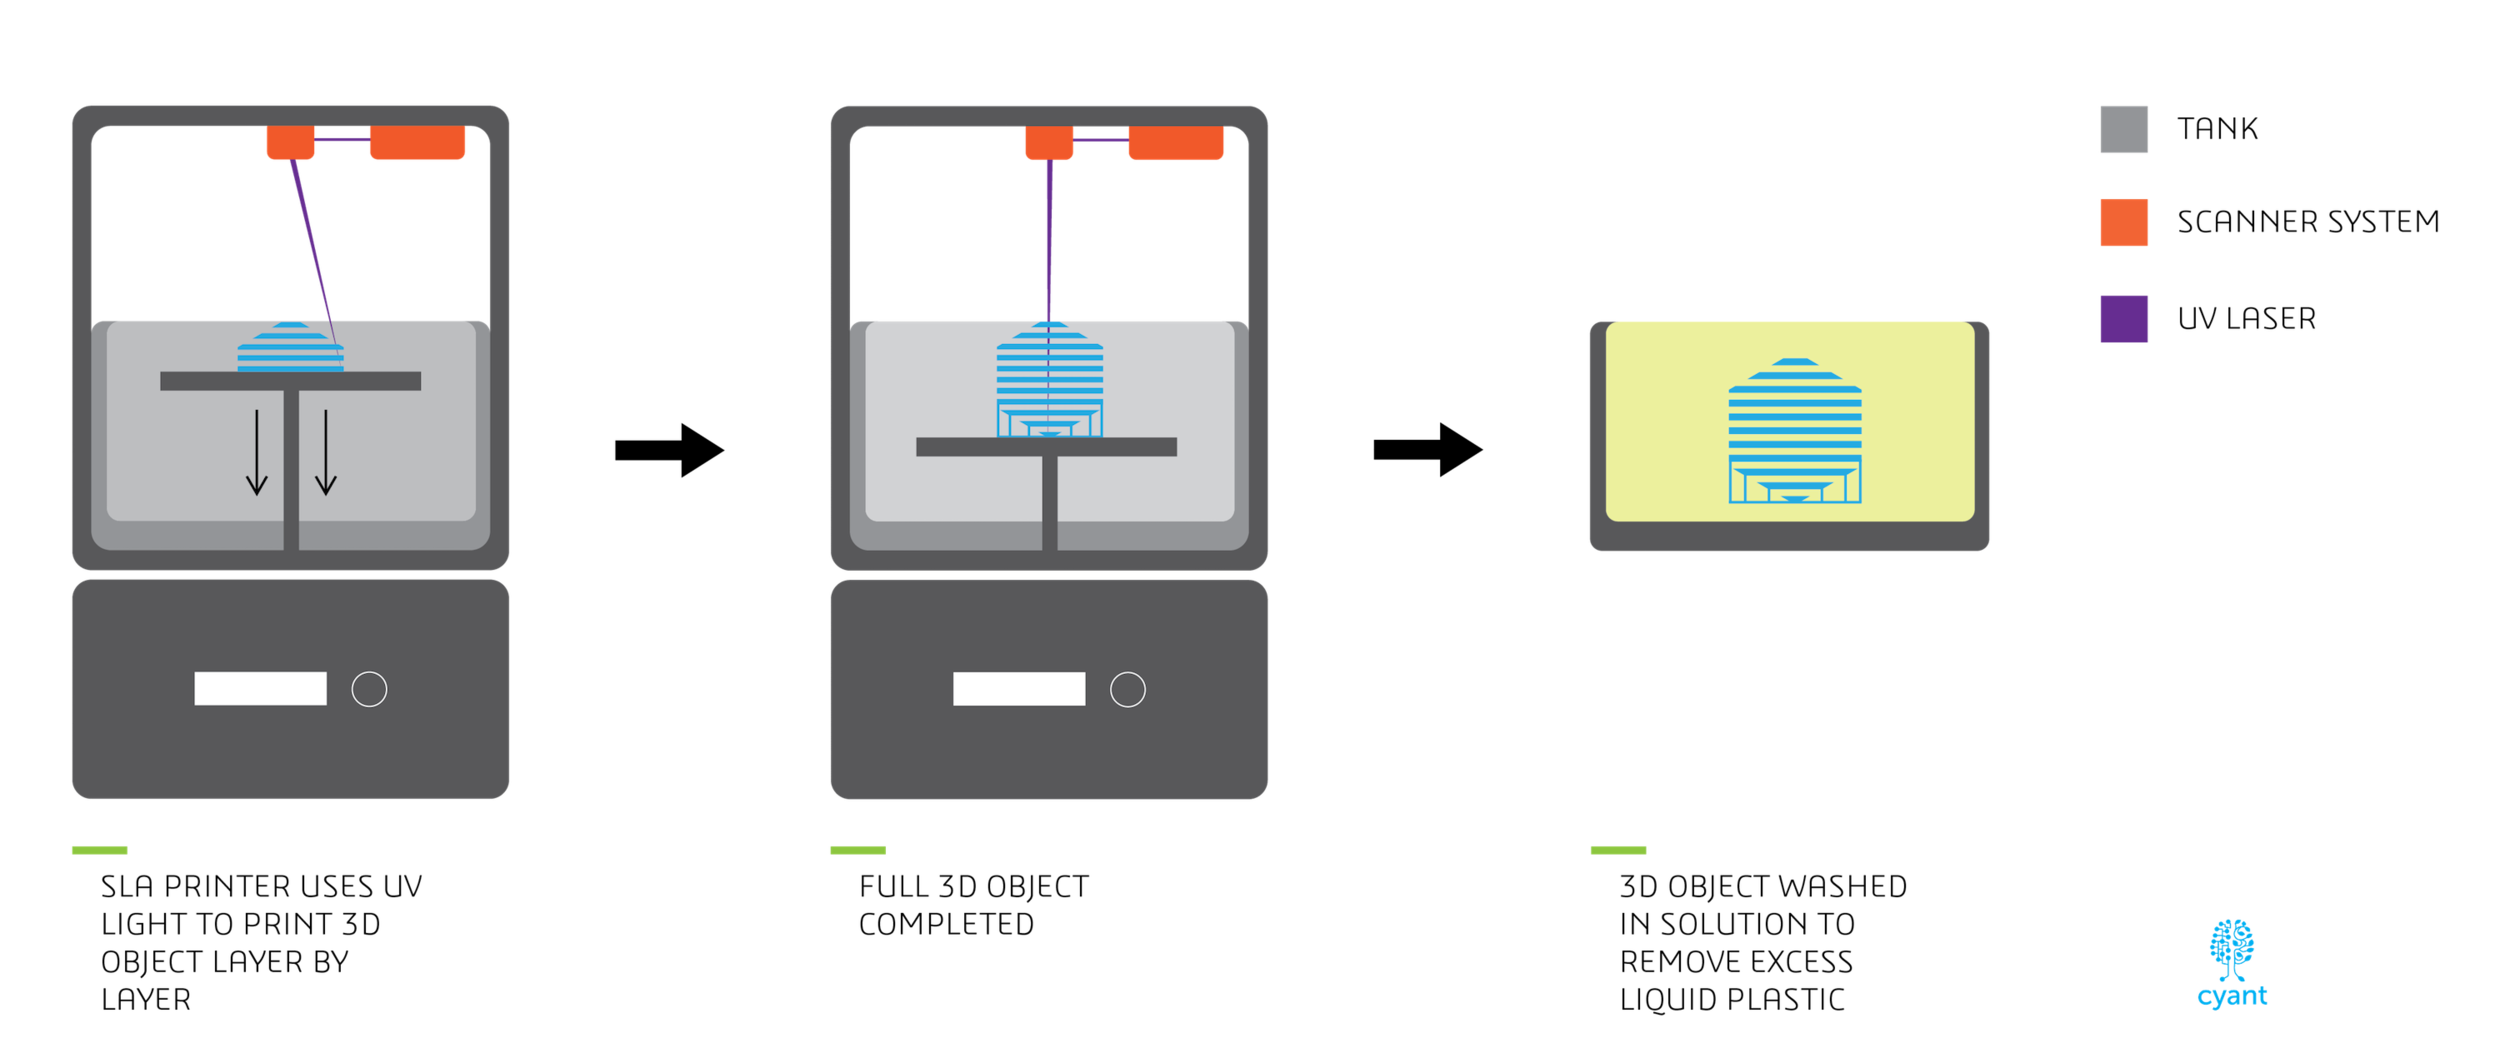
SLA uses a liquid resin cured by ultraviolet (UV) light to create objects. A build platform is submerged in a tank of liquid resin, and a UV laser selectively cures the resin layer by layer, solidifying it to form the desired shape.
Selective Laser Sintering (SLS)
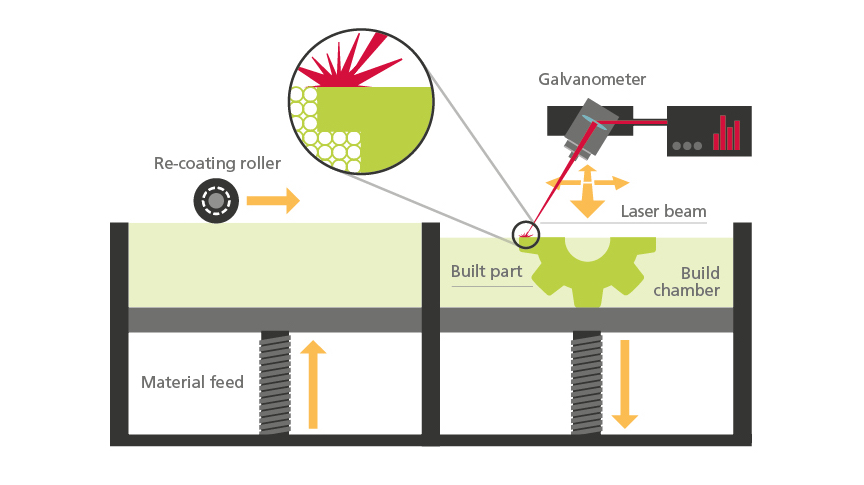
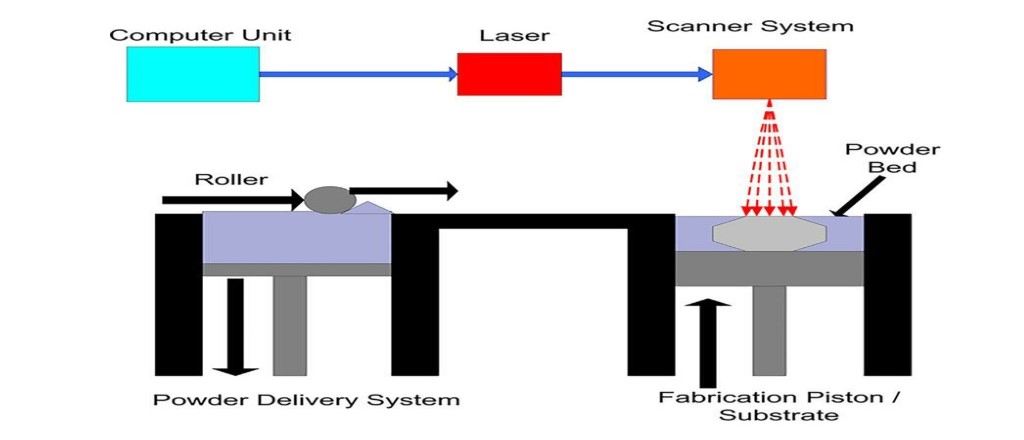
SLS utilizes a high-powered laser to selectively sinter (fuse together) powdered materials, such as plastics, metals, or ceramics, layer by layer. The unsintered powder acts as a support structure, enabling complex geometries without the need for additional support material.
Digital Light Processing (DLP)
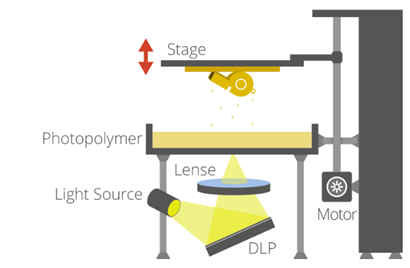
Similar to SLA, DLP also uses a liquid resin cured by light to create objects. However, instead of using a laser to cure the resin layer by layer, DLP printers use a digital light projector to project an entire layer of the object at once, speeding up the printing process.
Binder Jetting
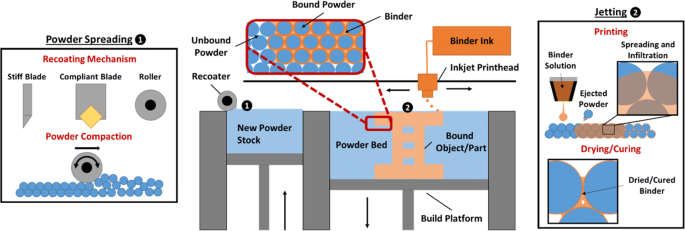
Binder Jetting works by depositing a binding agent onto a bed of powdered material, such as sand, metal, or ceramic. The binding agent selectively binds the powder together, layer by layer, to form the object. After printing, the excess powder is removed, leaving behind the solidified object.
Direct Metal Laser Sintering (DMLS)
DMLS is a metal 3D printing technology that uses a high-powered laser to selectively sinter metal powder, layer by layer, to create metal parts with complex geometries and high precision.
FDM 3D printers
Original PRUSA i3 MK3s
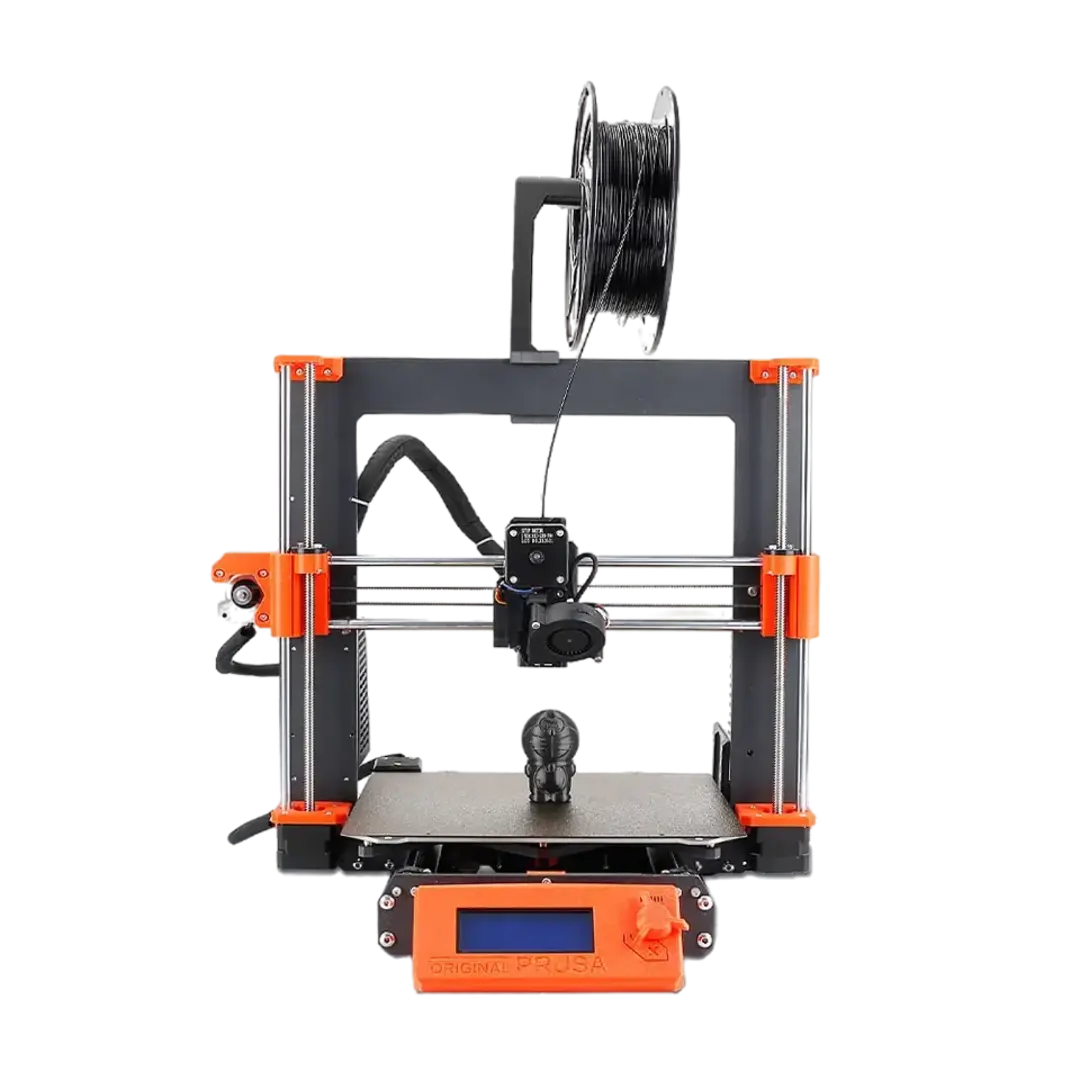
The Original Prusa i3 MK3S is a popular desktop 3D printer developed and manufactured by Prusa Research, a Czech-based company founded by Josef Prusa. It's an iteration of the Prusa i3 series, which has gained widespread recognition for its reliability, performance, and open-source design.
Original PRUSA i3 MK3s Specification
| Build Volume | 25×21×21 cm (9.84"×8.3"×8.3") |
| Layer height | 0.05 - 0.35 mm |
| Nozzle | 0.4mm default, wide range of other diameters/nozzles supported |
| Filament diameter | 1.75 mm |
| Supported materials | Wide range of thermoplastics, including PLA, PETG, ASA, ABS, PC (Polycarbonate), CPE, PVA/BVOH, PVB, HIPS, PP (Polypropylene), Flex, nGen, Nylon, Carbon filled, Woodfill and other filled materials. |
| Max travel speed | 200+ mm/s |
| Max nozzle temperature | 300 °C / 572 °F |
| Max heatbed temperature | 120 °C / 248 °F |
| Extruder | Direct Drive, Bondtech gears, V6 hotend |
| Print surface | Removable magnetic steel sheets(*) with different surface finishes, heatbed with cold corners compensation |
| Printer dimensions (without spool) | 7 kg, 500×550×400 mm; 19.6×21.6×15.7 in (X×Y×Z) |
| Power consumption | PLA settings: 80W / ABS settings: 120W |
Sindoh 3D WOX 1
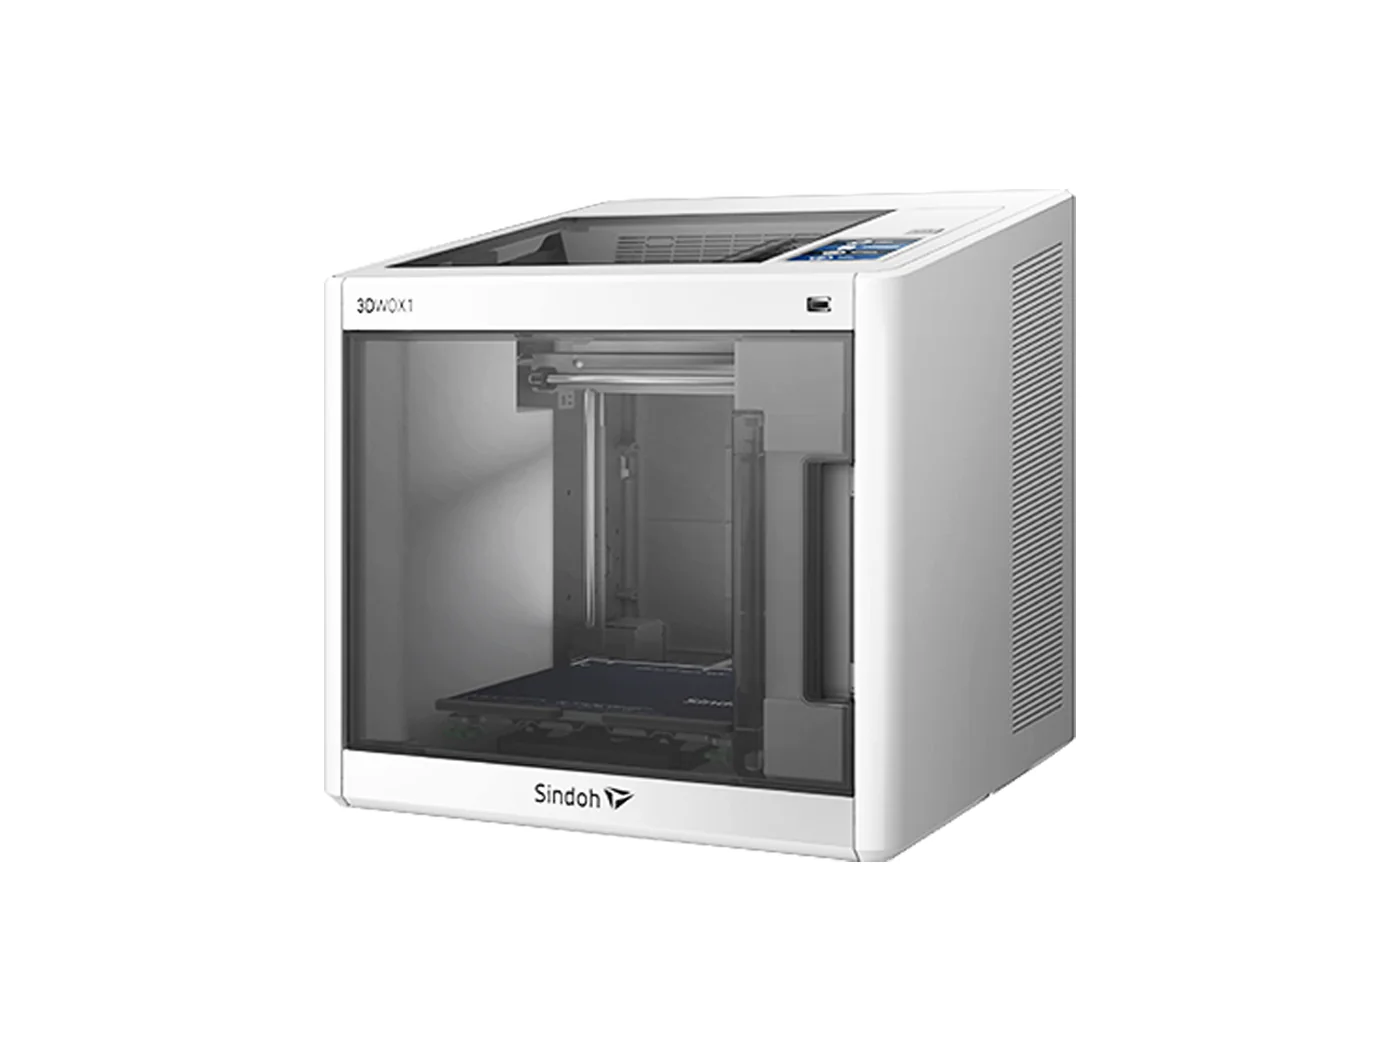
The Sindoh 3DWOX 1 is a desktop 3D printer produced by Sindoh, a South Korean company known for its innovative 3D printing solutions. The 3DWOX 1 is designed with user-friendliness and reliability in mind, making it suitable for both beginners and experienced users.
Sindoh 3D WOX 1 Specification
| Bed leveling | Manual (assisted) |
| Built in camera for monitoring | Yes |
| Certifications | CE, UL |
| Compatible with 3rd party filaments? | Yes an open material system |
| Connectivity | Ethernet, USB cable, Wi-Fi |
| Display | LCD touch screen |
| Extruder type | Single |
| Filament diameter | 1.75 mm |
| Firmware | Closed-source |
| Frame | Polyethylene / aluminum Dibond |
| Manufacturer | Sindoh |
| Manufacturer country | South Korea |
| Mechanical arrangement | Cartesian-X-Head |
| Nozzle size, mm | 0.4 mm |
| Outer dimensions millimeters (xyz) | 421 x 433 x 439 mm |
| Printable material(s) | PLA, ABS, ASA, PETG |
| Printer type | Filament |
| Slicing | 3DWOX |
| Weight kg | 20.8 kg |
| Build volume | 210 x 200 x 189 mm |
| Layer height | 50 - 400 Microns |
| Technology | FDM |
Materials Used For 3D Printing
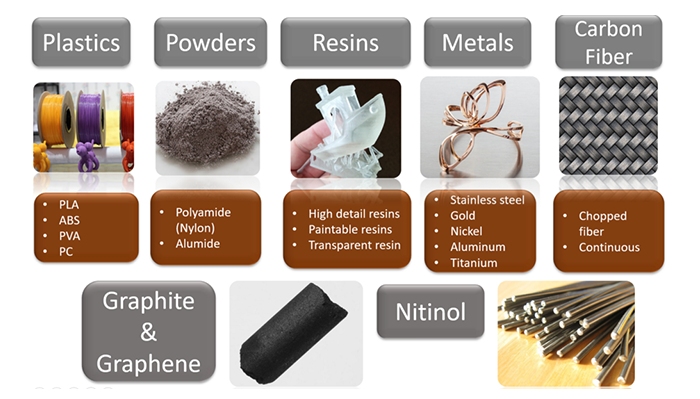
- Plastics:
- PLA (Polylactic Acid): Biodegradable and easy to print with, PLA is one of the most popular 3D printing materials. It's commonly used for prototypes, hobbyist projects, and consumer goods.
- ABS (Acrylonitrile Butadiene Styrene): Known for its strength and durability, ABS is used in applications where impact resistance and toughness are required, such as functional prototypes and mechanical parts.
- PETG (Polyethylene Terephthalate Glycol): Combining the strength of ABS with the ease of printing of PLA, PETG is a versatile material suitable for a wide range of applications, including mechanical parts, containers, and transparent prints.
- Resins:
- Standard Resins: These resins are commonly used in SLA and DLP 3D printing technologies to produce high-detail prints with smooth surfaces. They are suitable for applications such as jewelry, dental models, and miniatures.
- Engineering Resins: Resins like Tough Resin, Flexible Resin, and High-Temperature Resin are designed for functional prototypes and end-use parts that require specific mechanical properties like flexibility, toughness, or resistance to heat.
Design Rule for 3D Printing
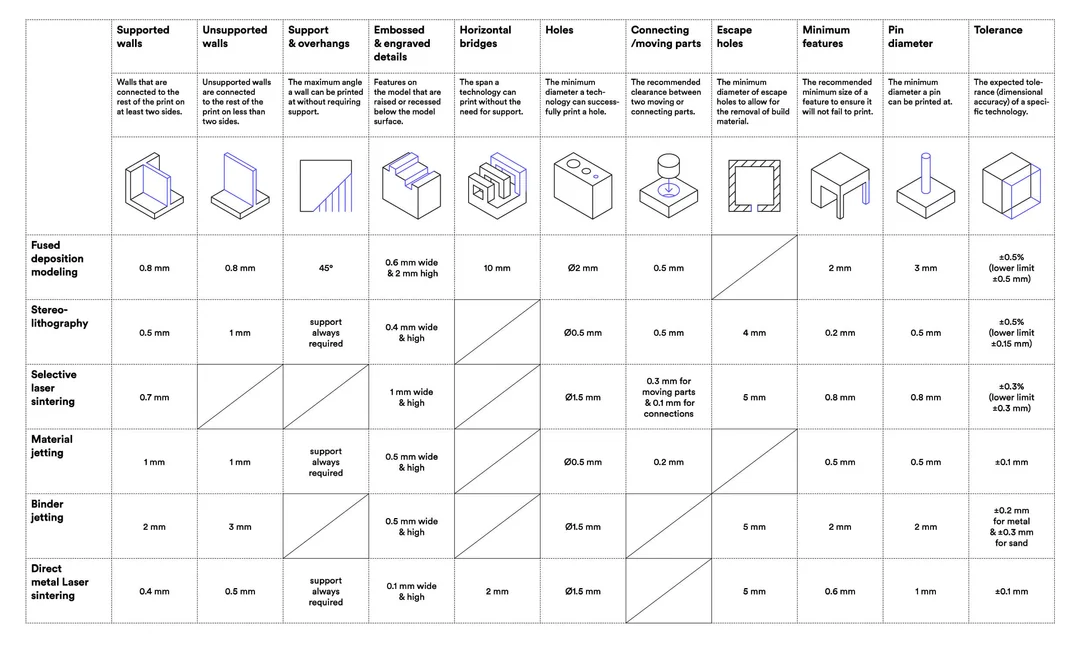
Significance of the design rules
- 3D printers have limitations: Different types of 3D printers have different limitations, such as minimum feature sizes, minimum wall thicknesses, and maximum overhang angles. Design rules help designers ensure that their models can be printed within the capabilities of the printer they will be using.
- Material properties: The properties of the material used for 3D printing, such as strength, flexibility, and heat resistance, can affect the performance of the final product. Design rules can help designers optimize their models for the specific properties of the material they will be using.
- Cost and time: Design rules can help designers minimize the amount of material used and the printing time required, which can reduce the cost of production and make the process more efficient.
Important terms and concepts in 3D printing
- Extruder: The component of a 3D printer responsible for melting and extruding filament to create the printed object layer by layer.
- Filament: The material (usually plastic) used as the raw feedstock for 3D printing. It's typically sold on spools and comes in various types, such as PLA, ABS, PETG, etc.
- Build Plate/Bed: The surface where the object being printed is built up layer by layer. It's often heated to promote adhesion and reduce warping.
- Layer Height/Resolution: Refers to the thickness of each layer of material deposited by the 3D printer. A lower layer height results in finer detail but longer print times.
- Supports: Temporary structures printed along with the main object to provide stability for overhanging or intricate features. They are removed after printing.
- Infill: The internal structure of a printed object, typically consisting of a pattern of solid or honeycomb-like material. Infill density can be adjusted to balance strength and material usage.
- Bed Leveling: The process of ensuring that the print bed is perfectly aligned with the printer's extruder nozzle to achieve proper adhesion and consistent print quality.
- Raft: A thin, disposable layer of material printed beneath the object being printed. It helps improve bed adhesion and can be removed after printing.
- Slicer: Software used to convert a digital 3D model (e.g., in STL format) into instructions (G-code) that the 3D printer can understand. Popular slicers include Cura, Simplify3D, and PrusaSlicer.
- Overhang: Refers to portions of a printed object that extend horizontally beyond the layer beneath them. Supports are often required for overhangs to prevent sagging or collapse during printing.
- Cooling Fan: A fan mounted near the extruder to rapidly cool down freshly deposited layers of filament, improving print quality and reducing the likelihood of warping.
- Bed Adhesion: The ability of the printed object to adhere securely to the build plate during printing. Proper bed adhesion is essential to prevent warping and print failures.
Designing the 3D model
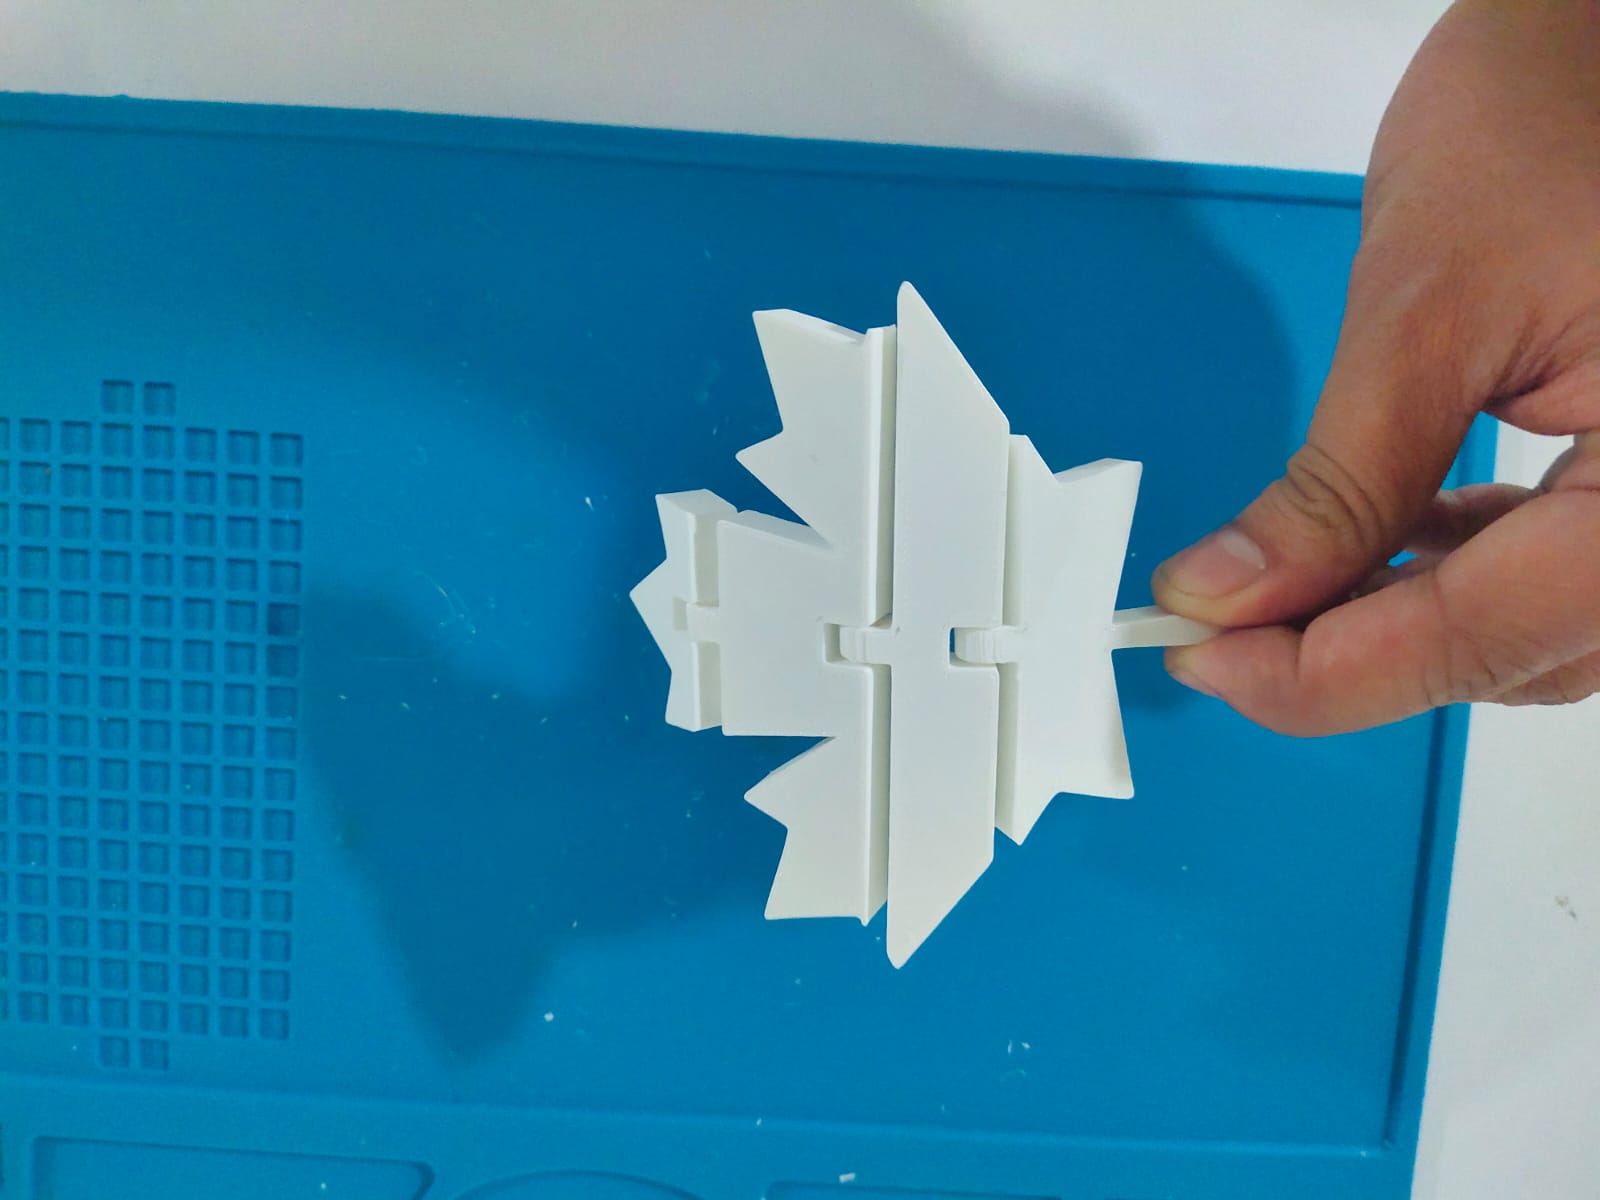
Print-in-Place 3D Model
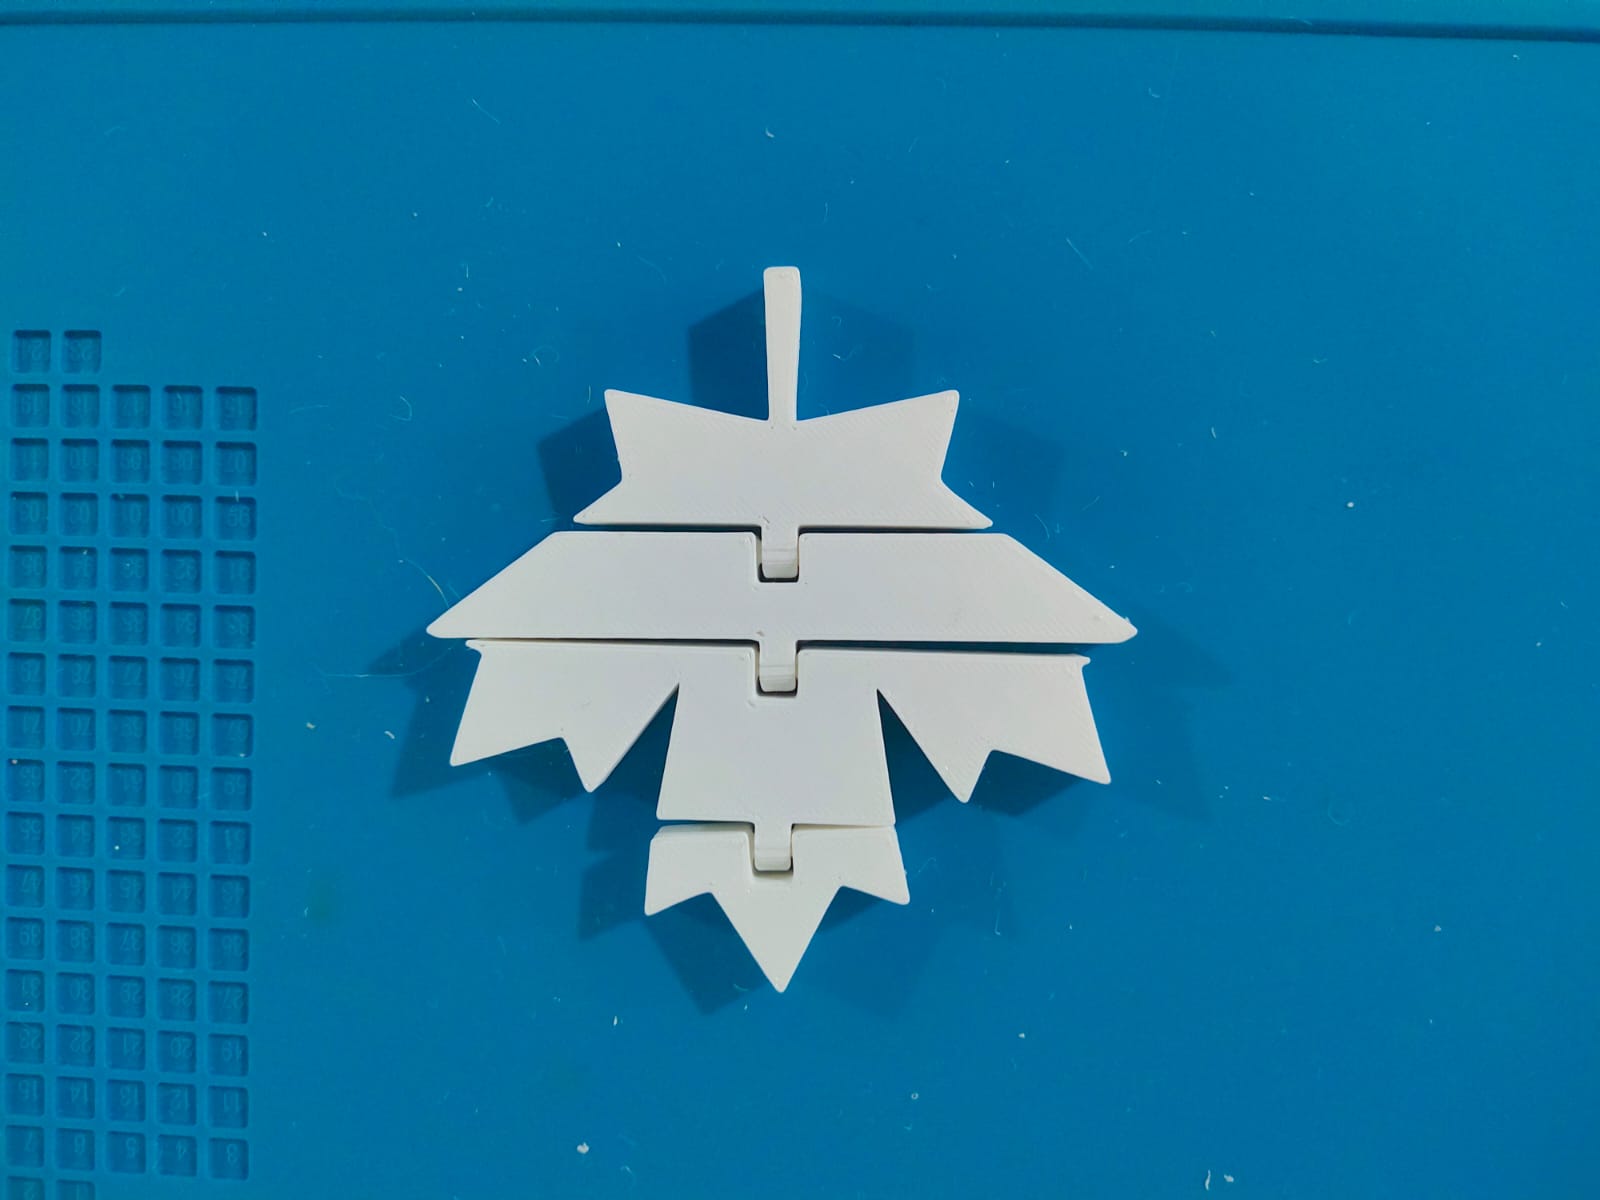
Print in place is a type of 3D model that is designed to be printed as a single, contiguous object without the need for assembly or support removal after printing. These models often incorporate moving or interlocking parts that are printed in their final position, allowing them to function immediately after printing.
Design 1
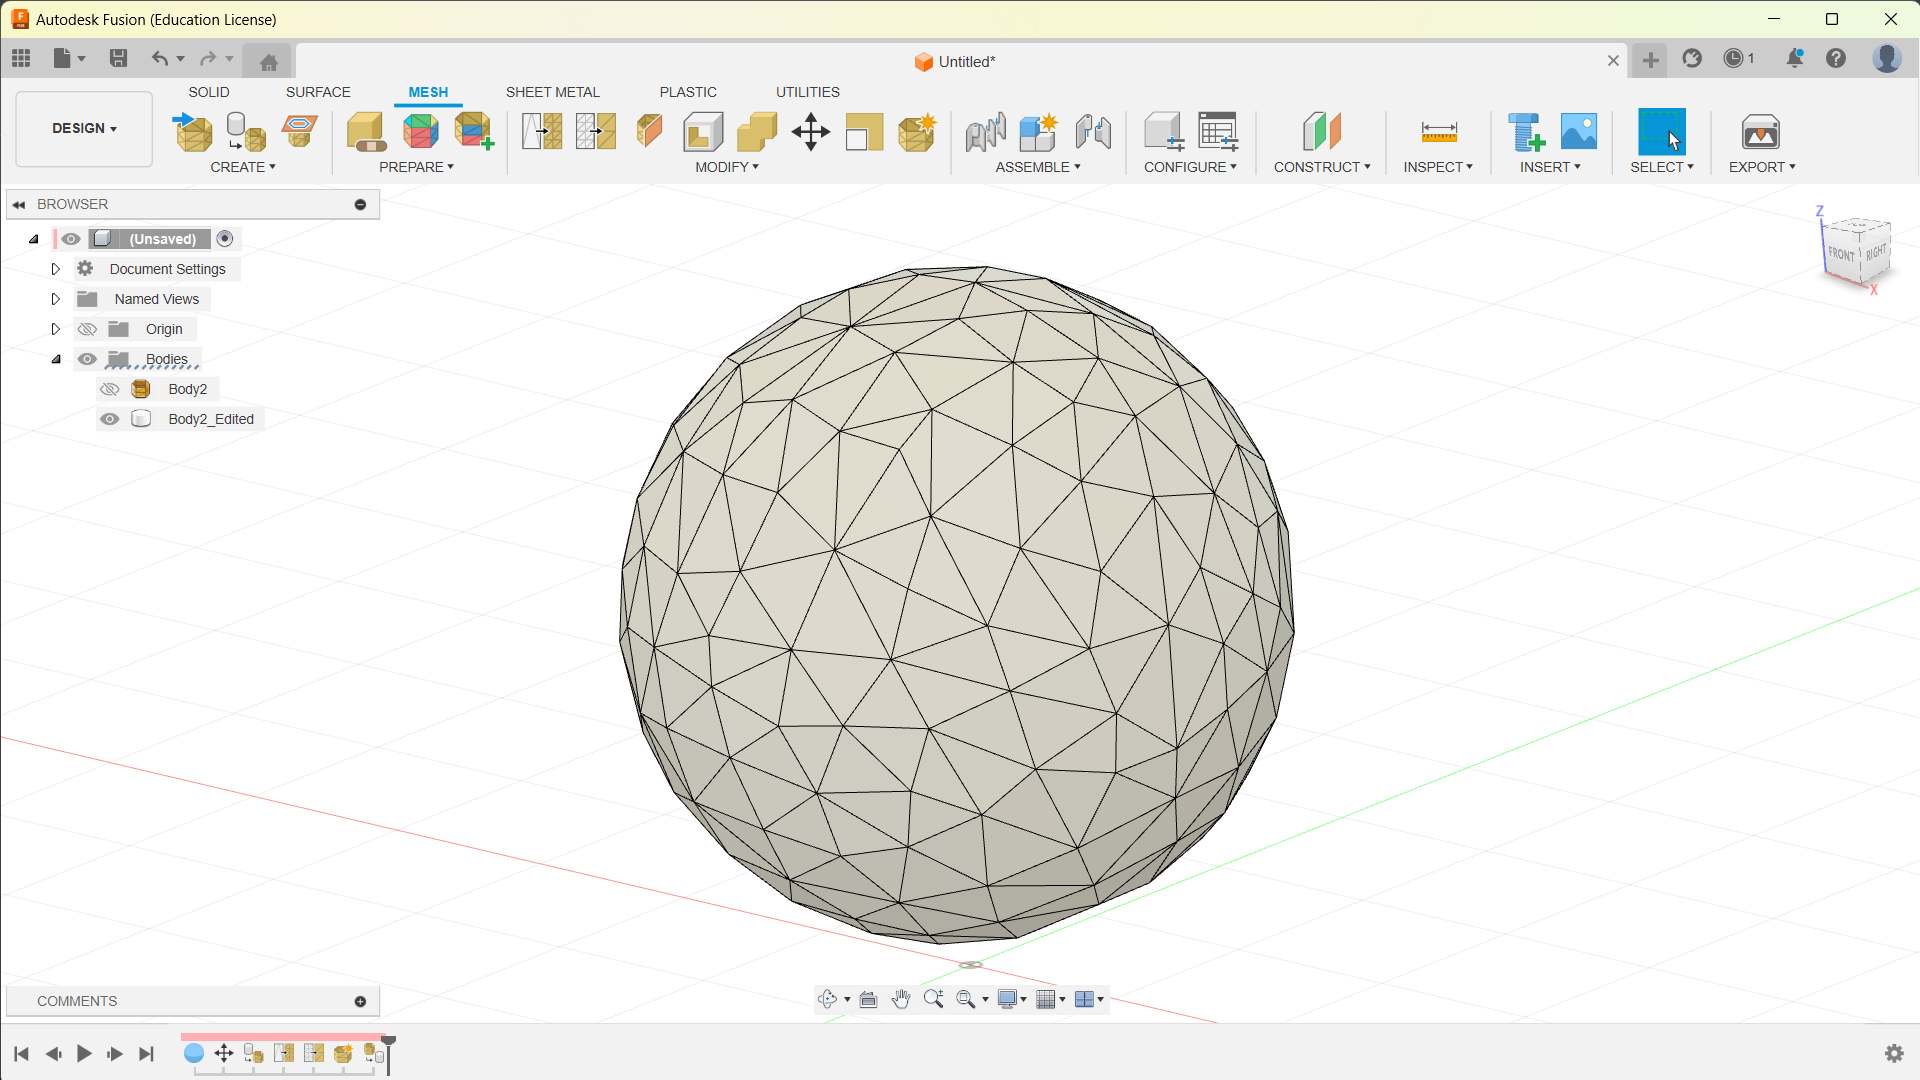
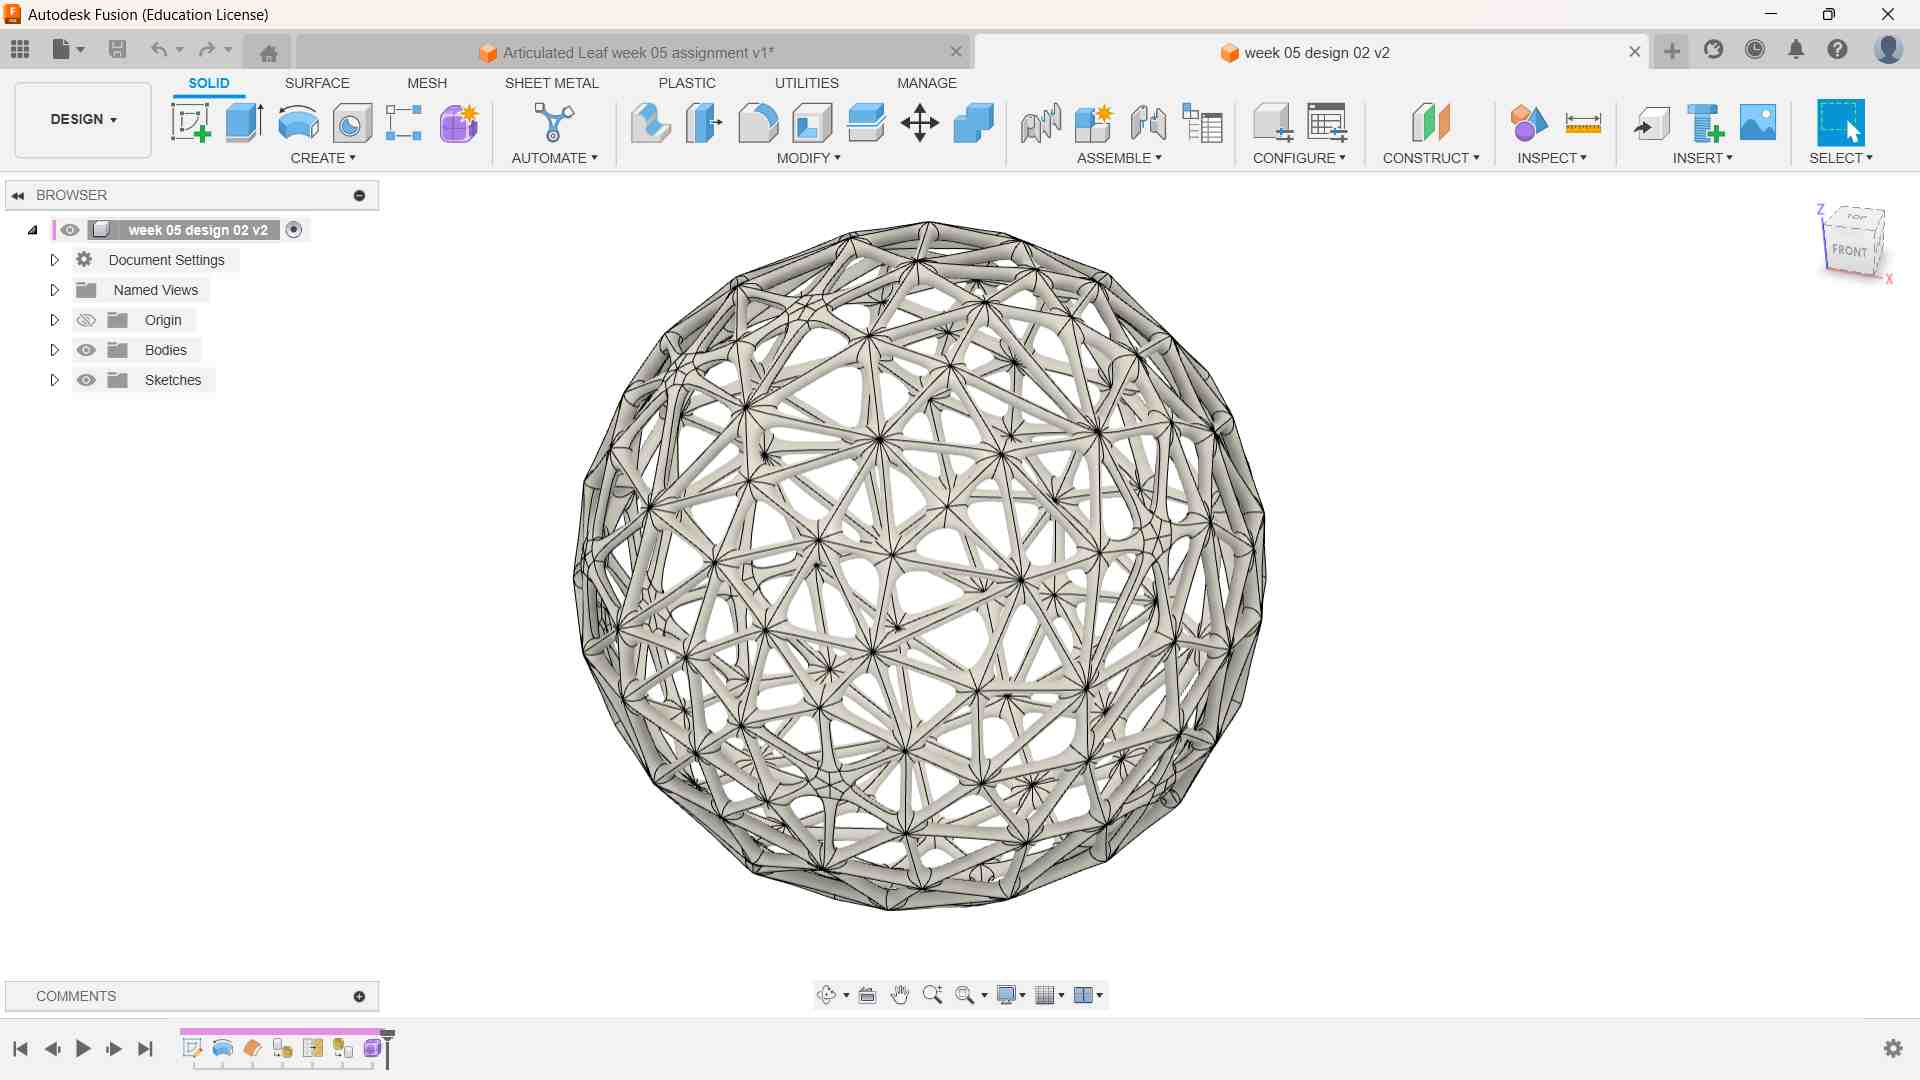
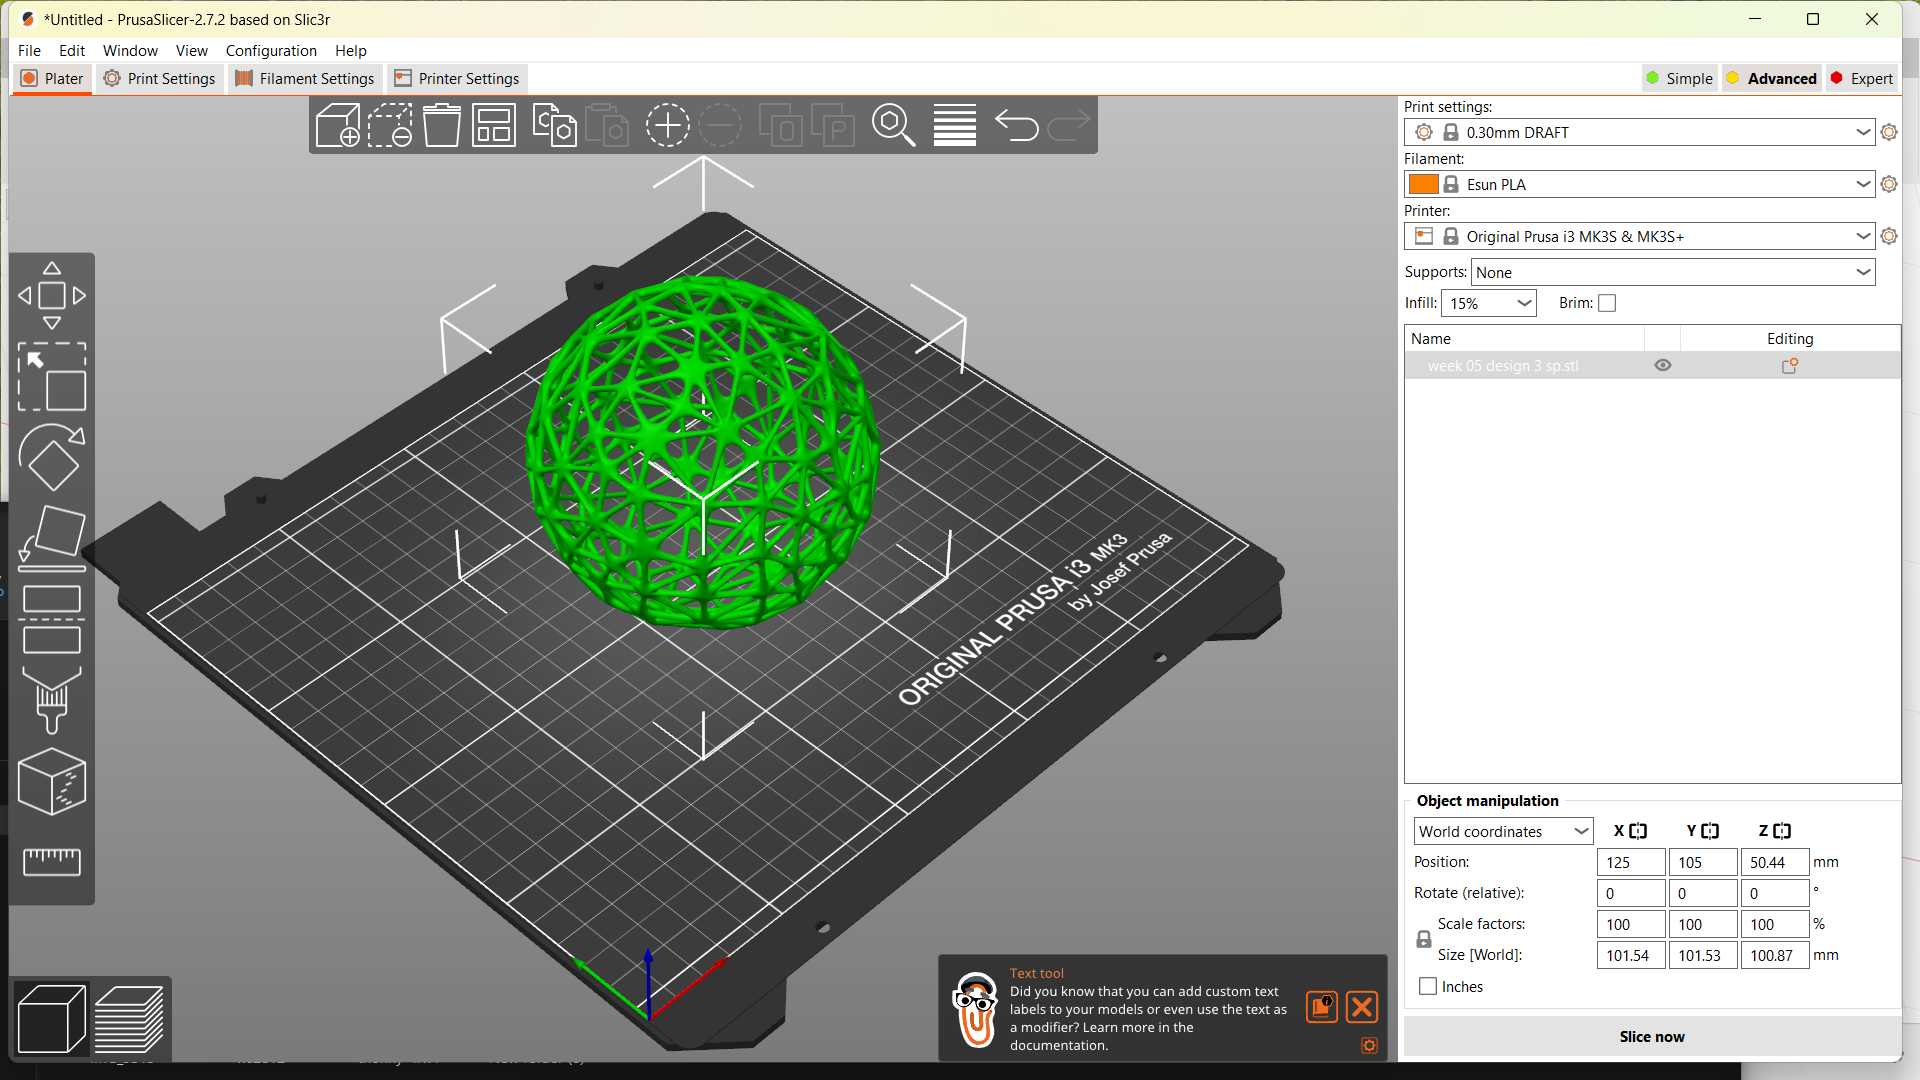
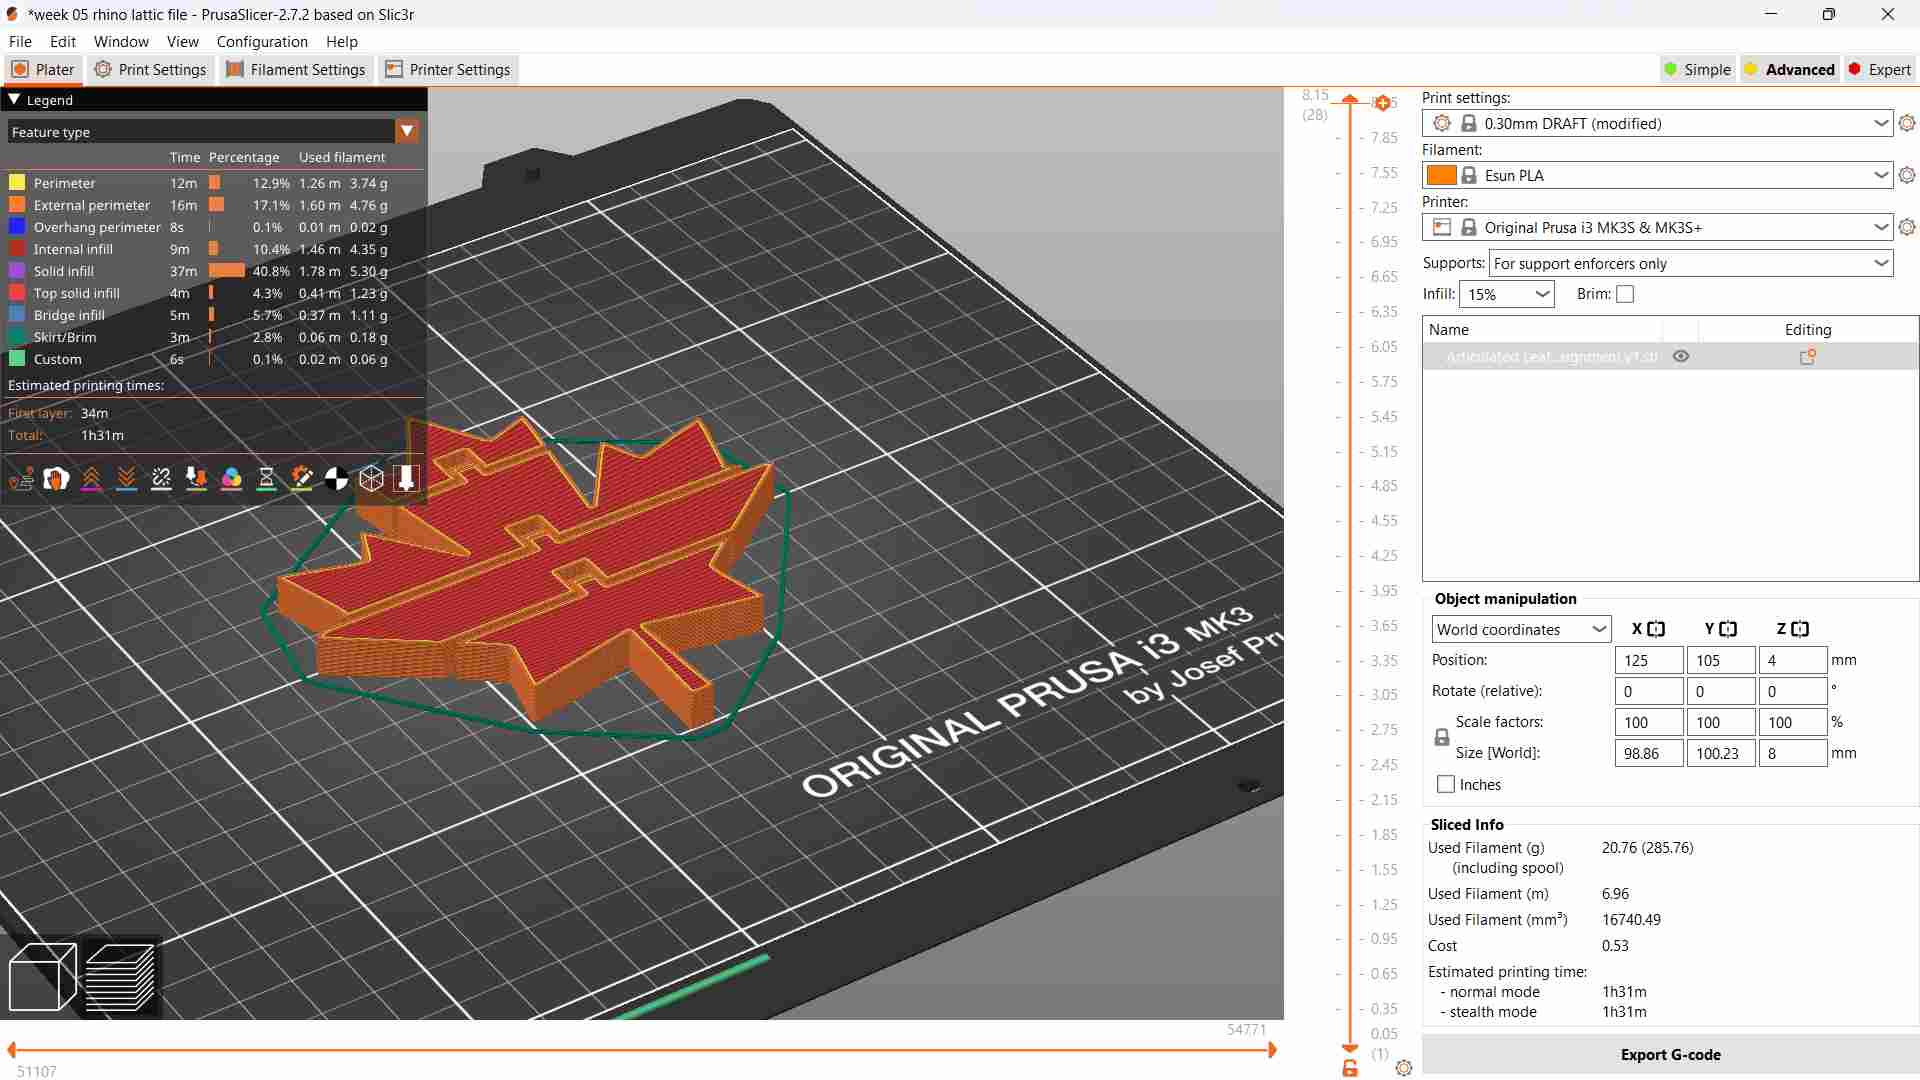
Prusa Slicer
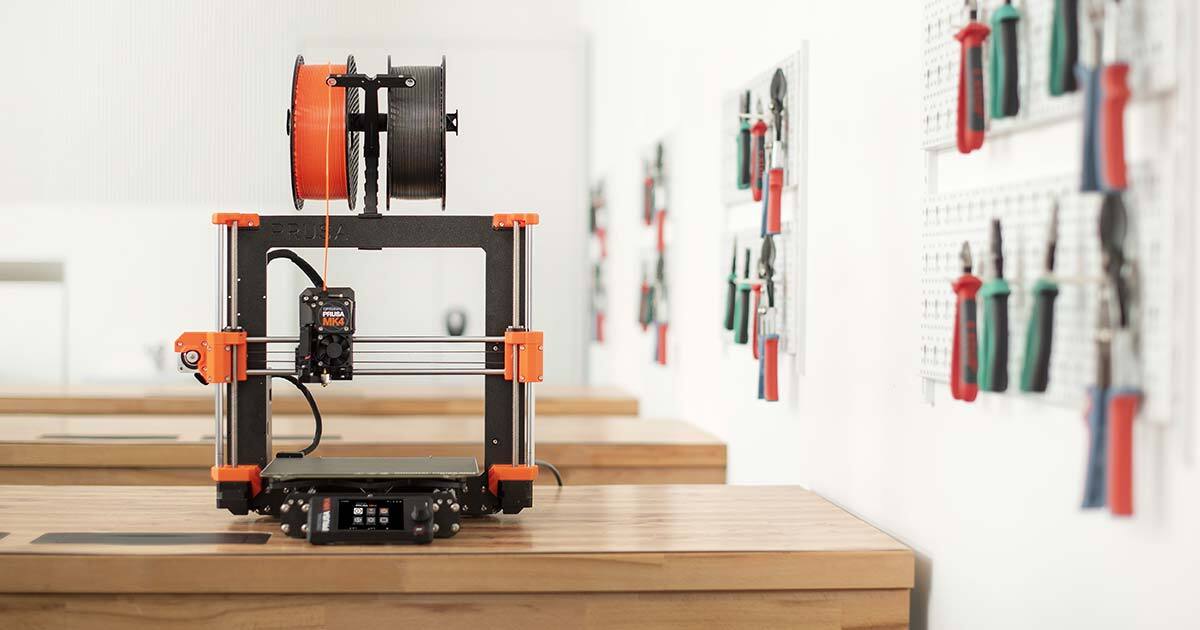
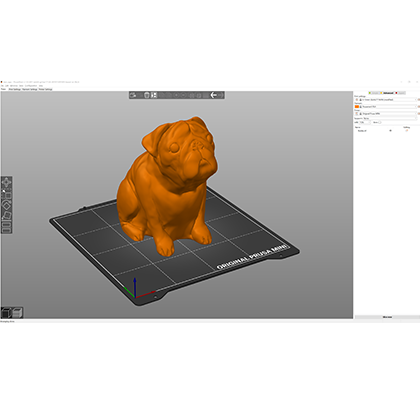
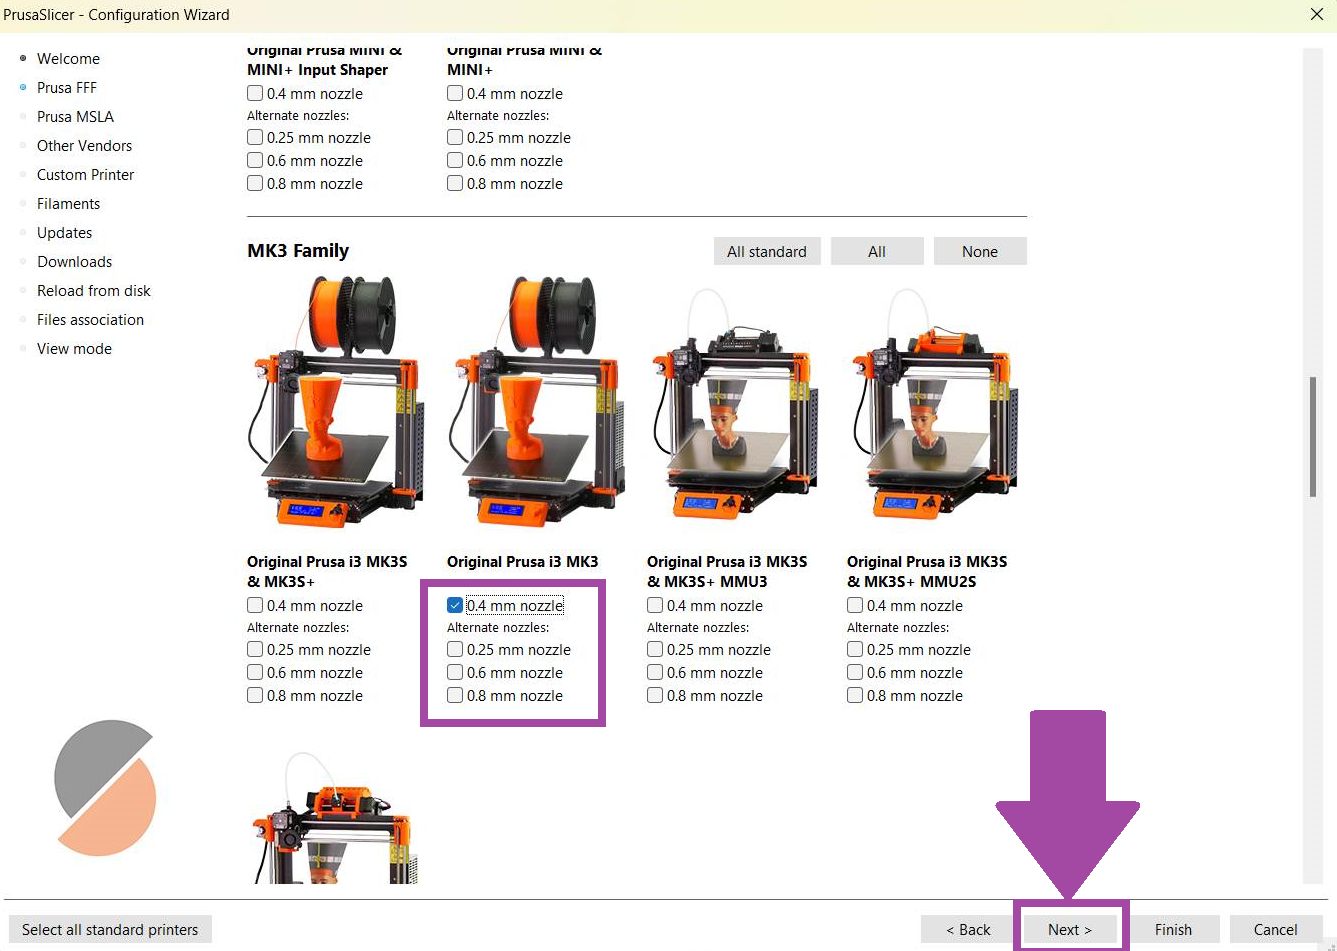
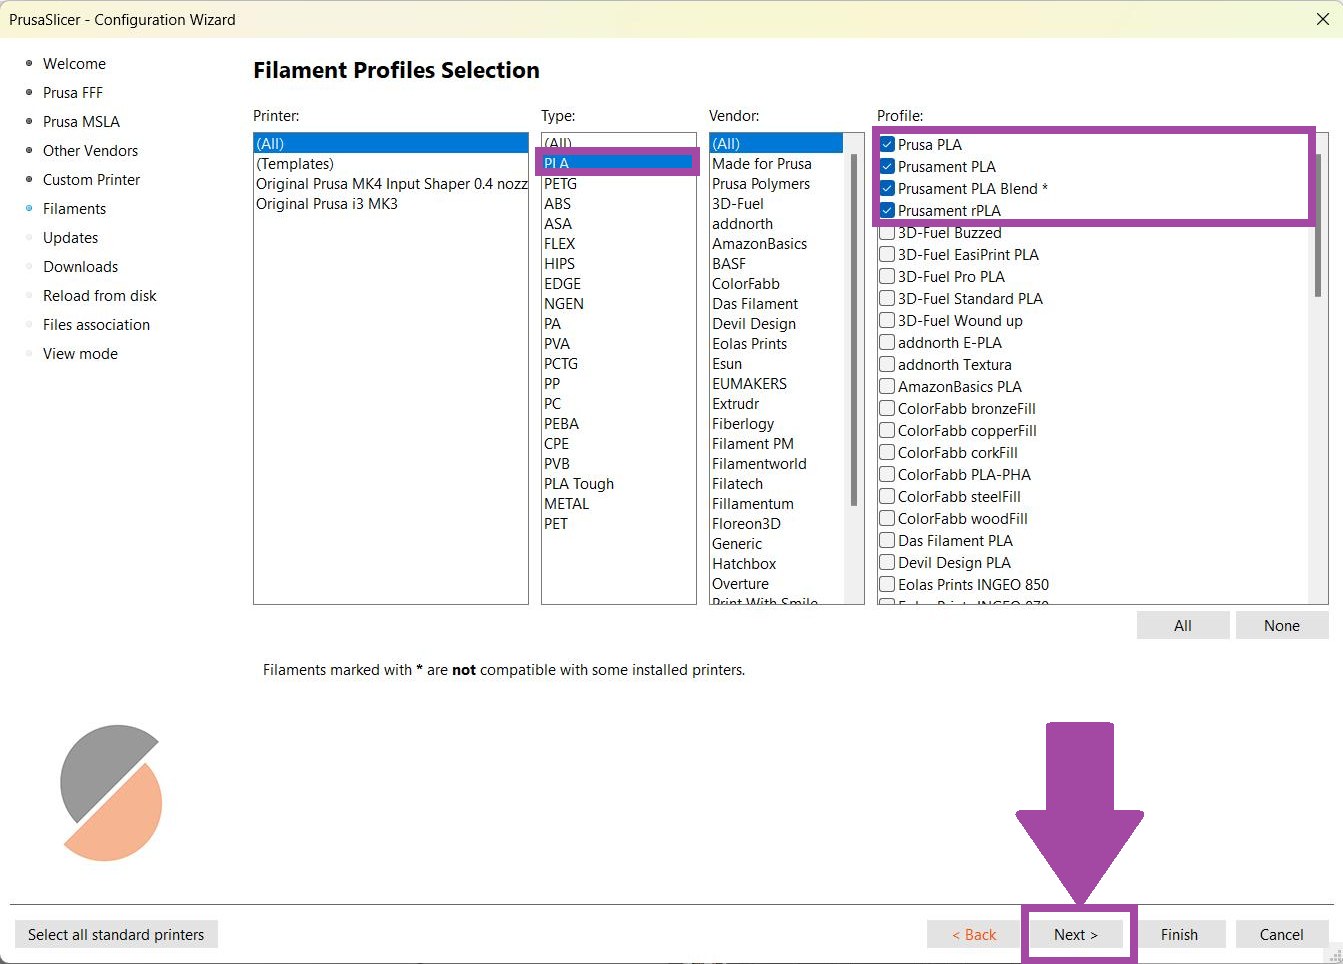
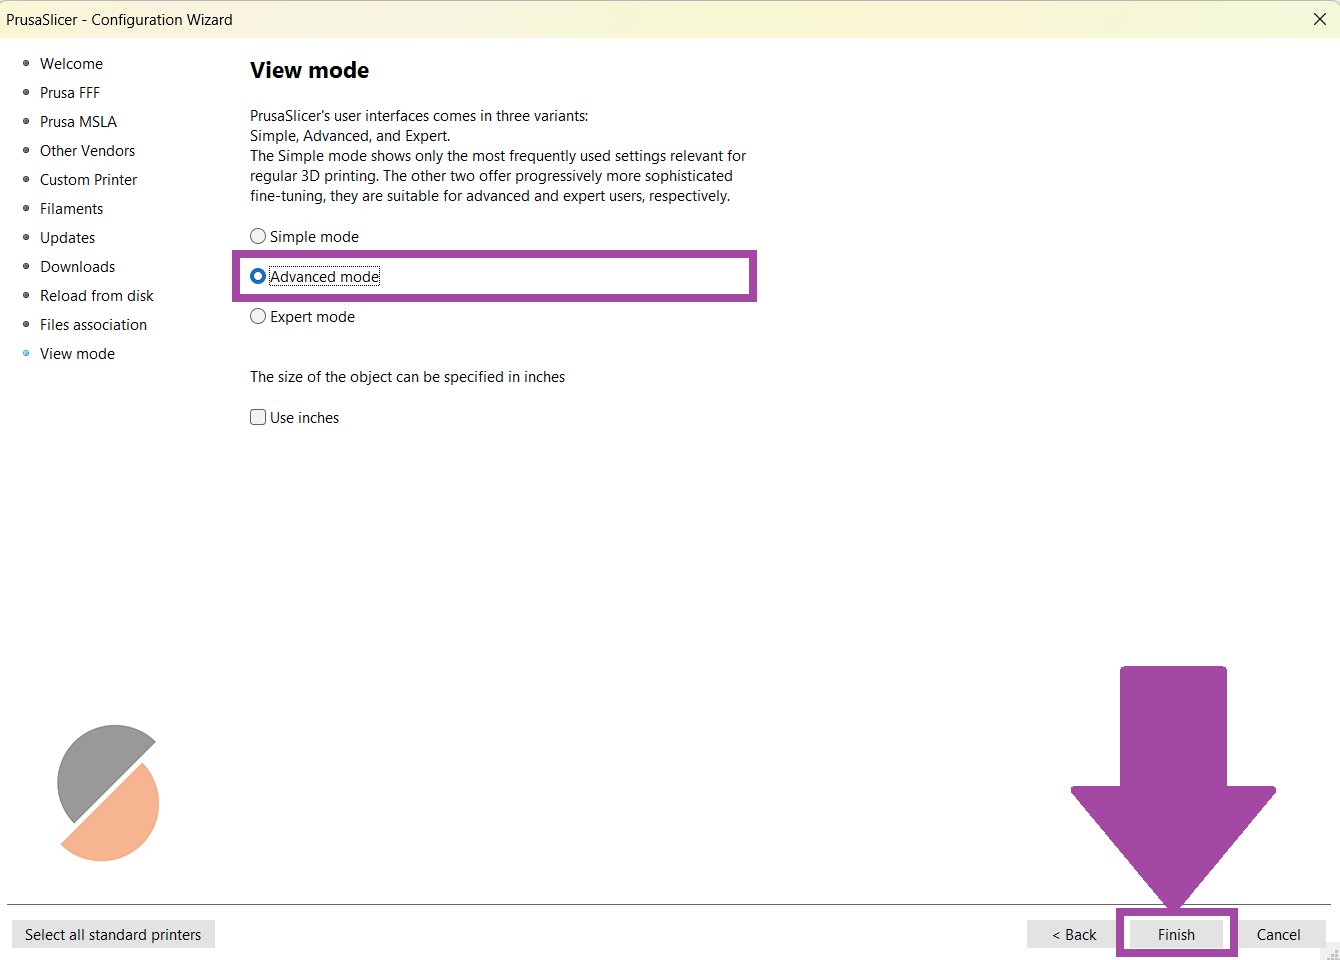
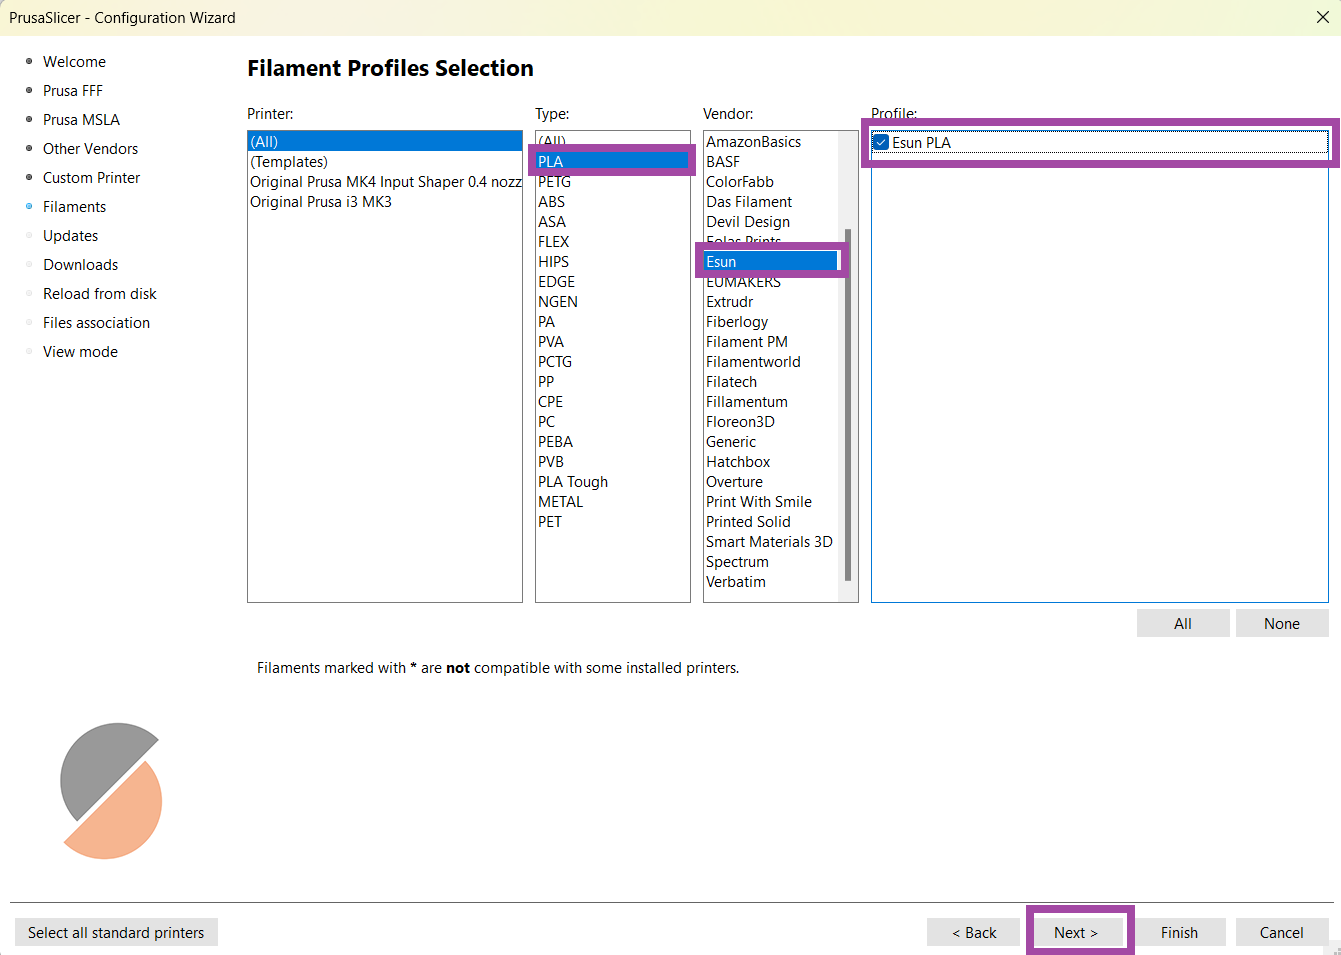
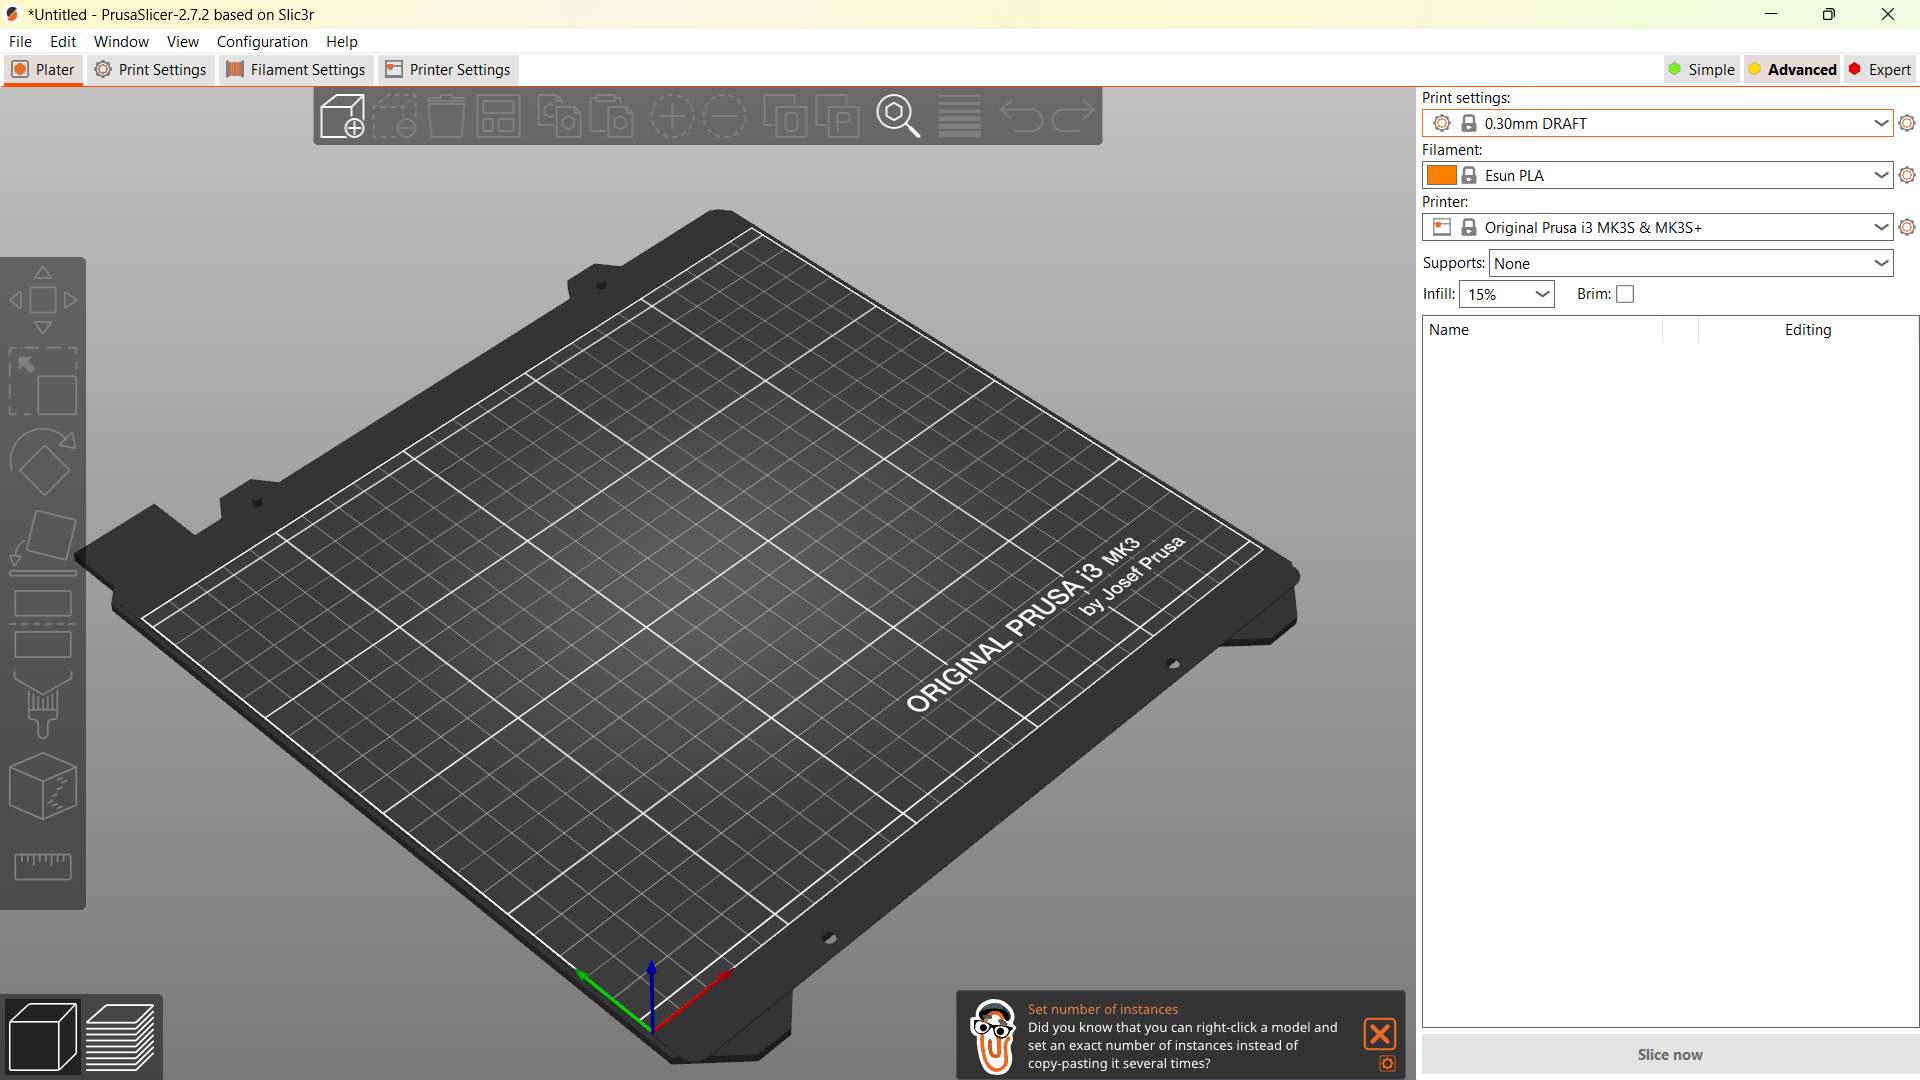
PrusaSlicer is a free, open-source tool that exports print files for 3D printers. It was developed by Prusa Research, a Czech 3D printing company, and is based on Slic3r.
 https://help.prusa3d.com/article/first-print-with-prusaslicer_1753
Design 2
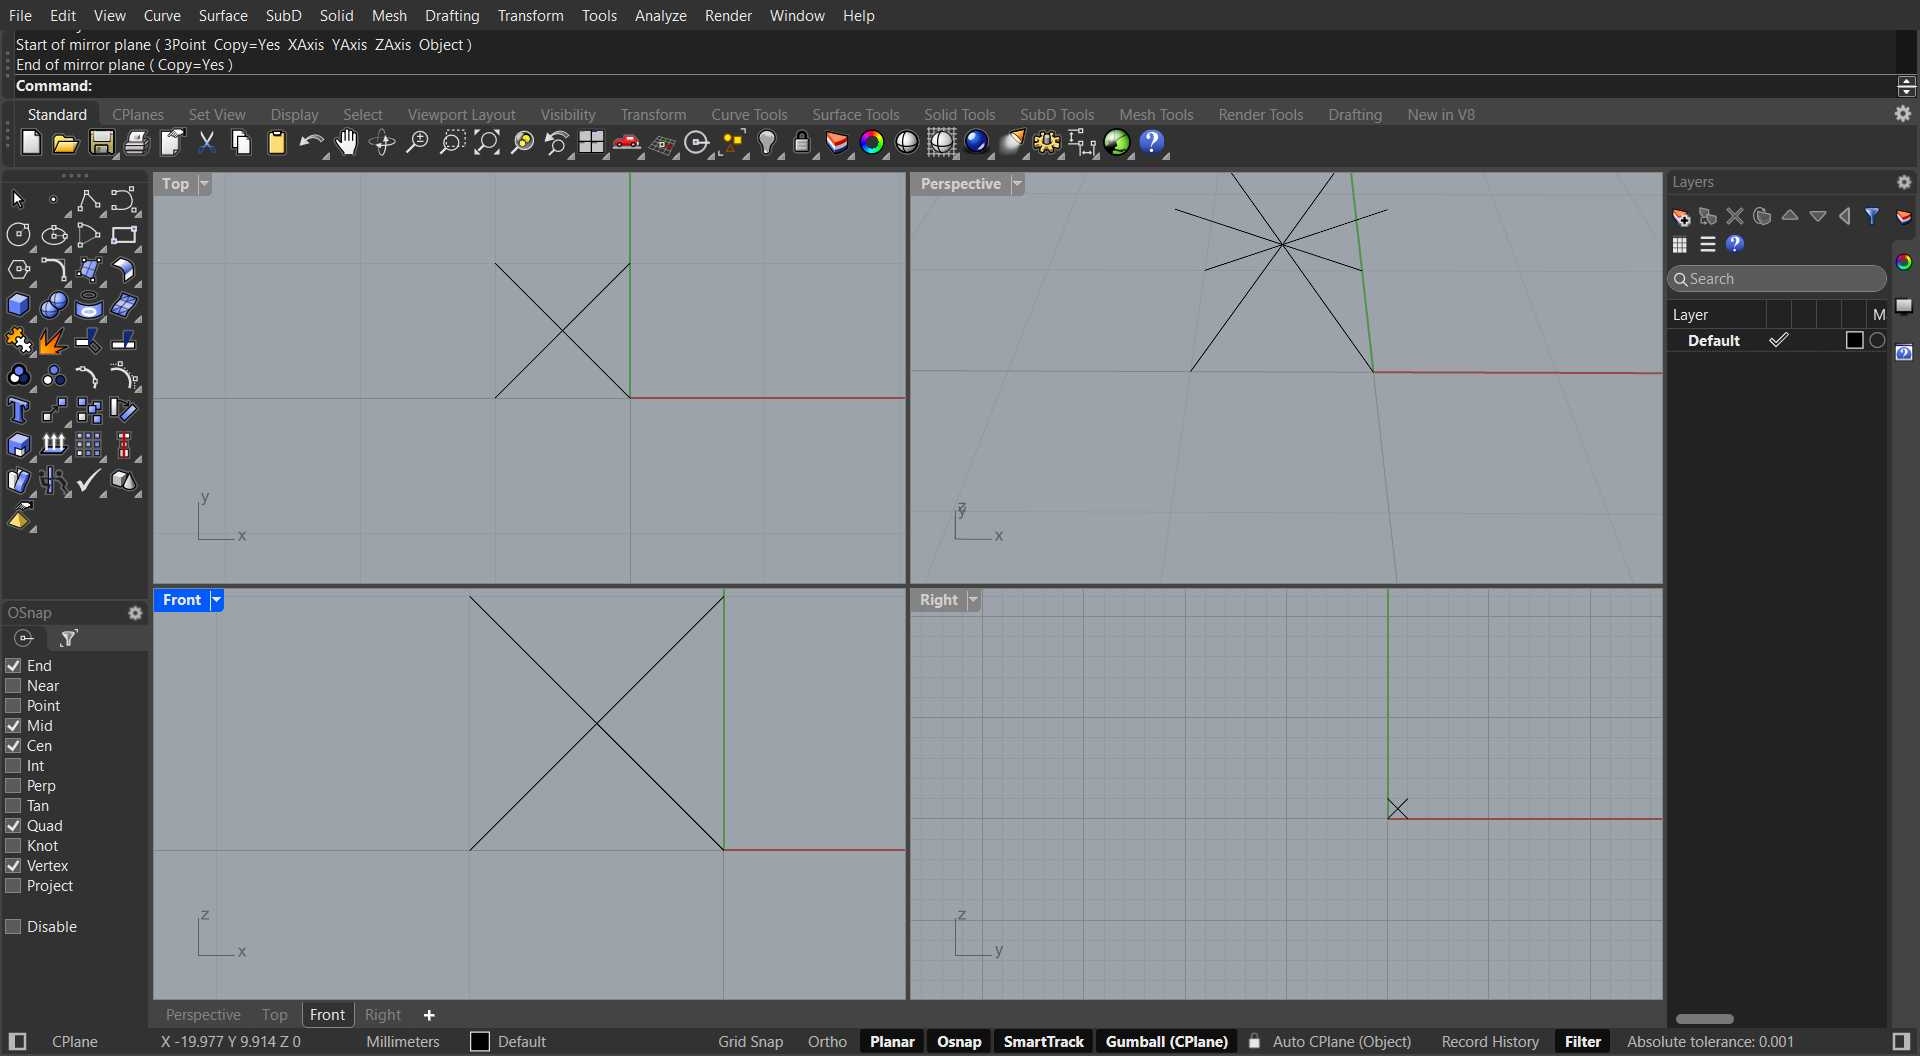
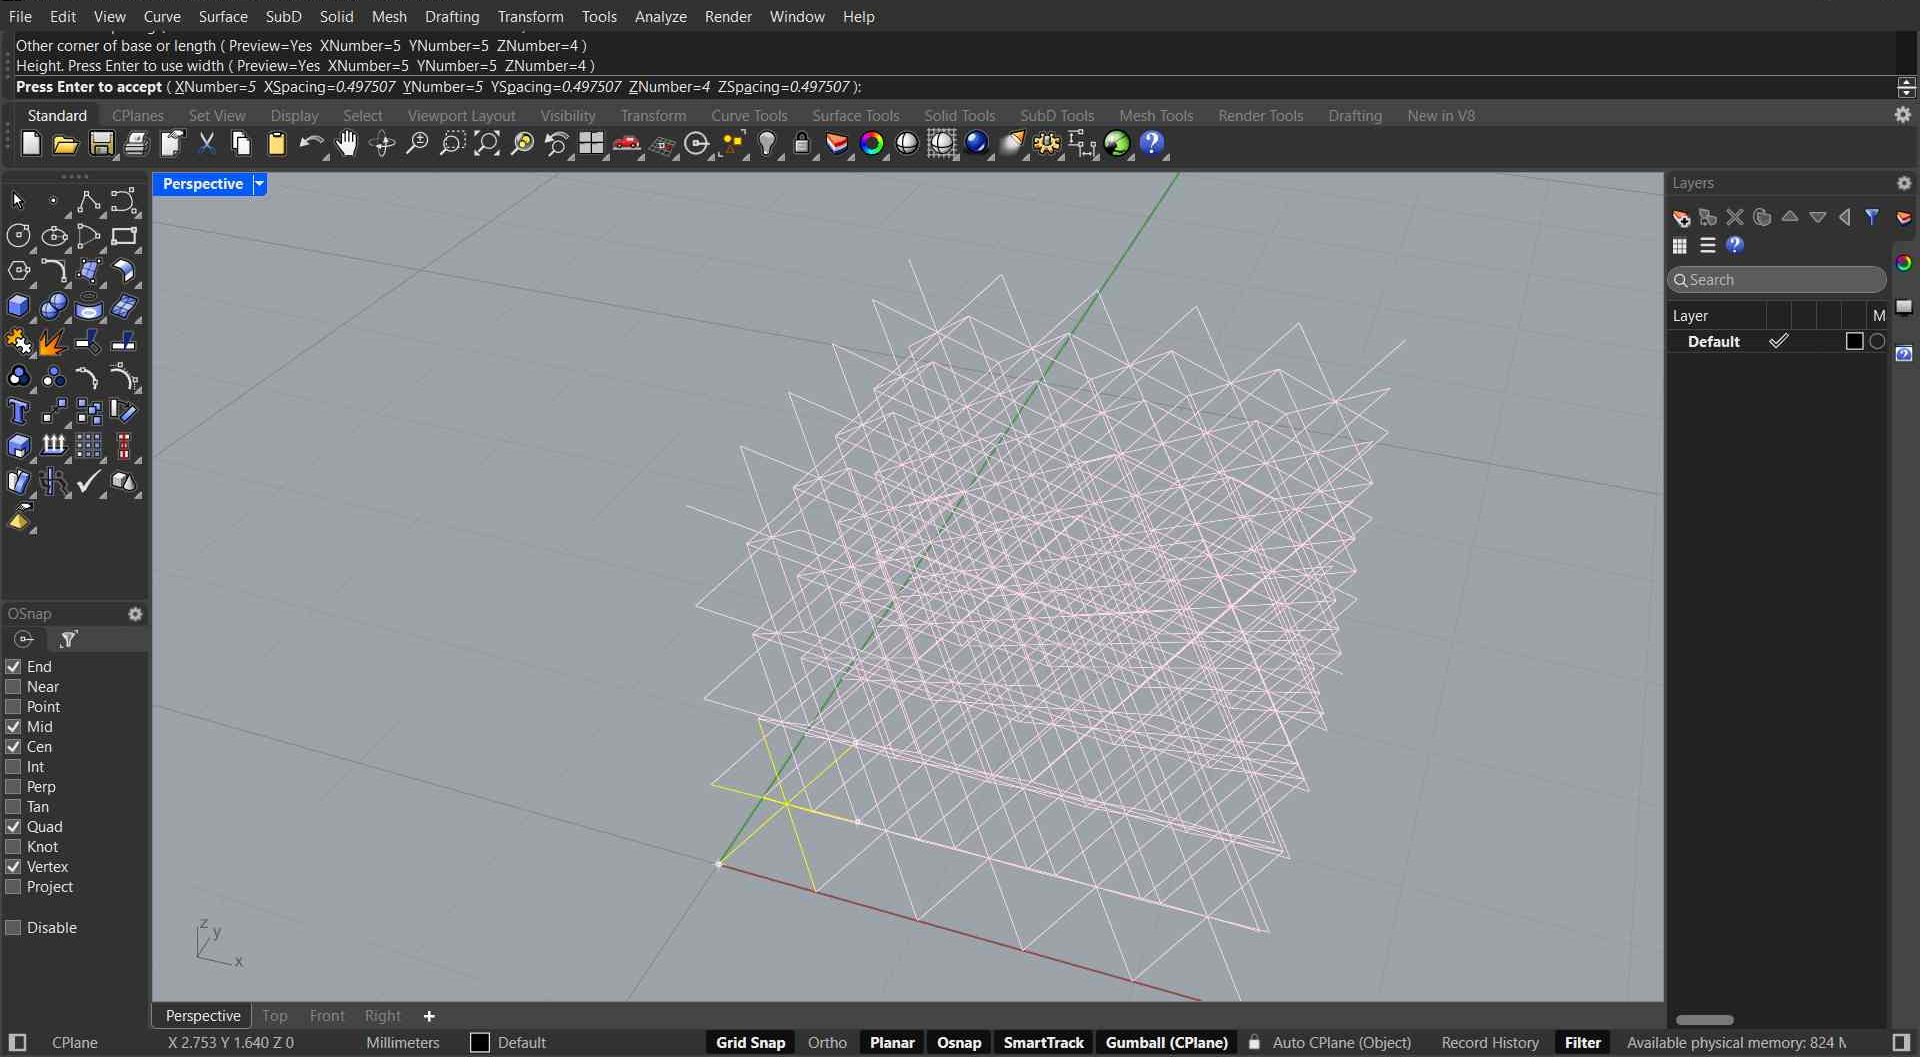
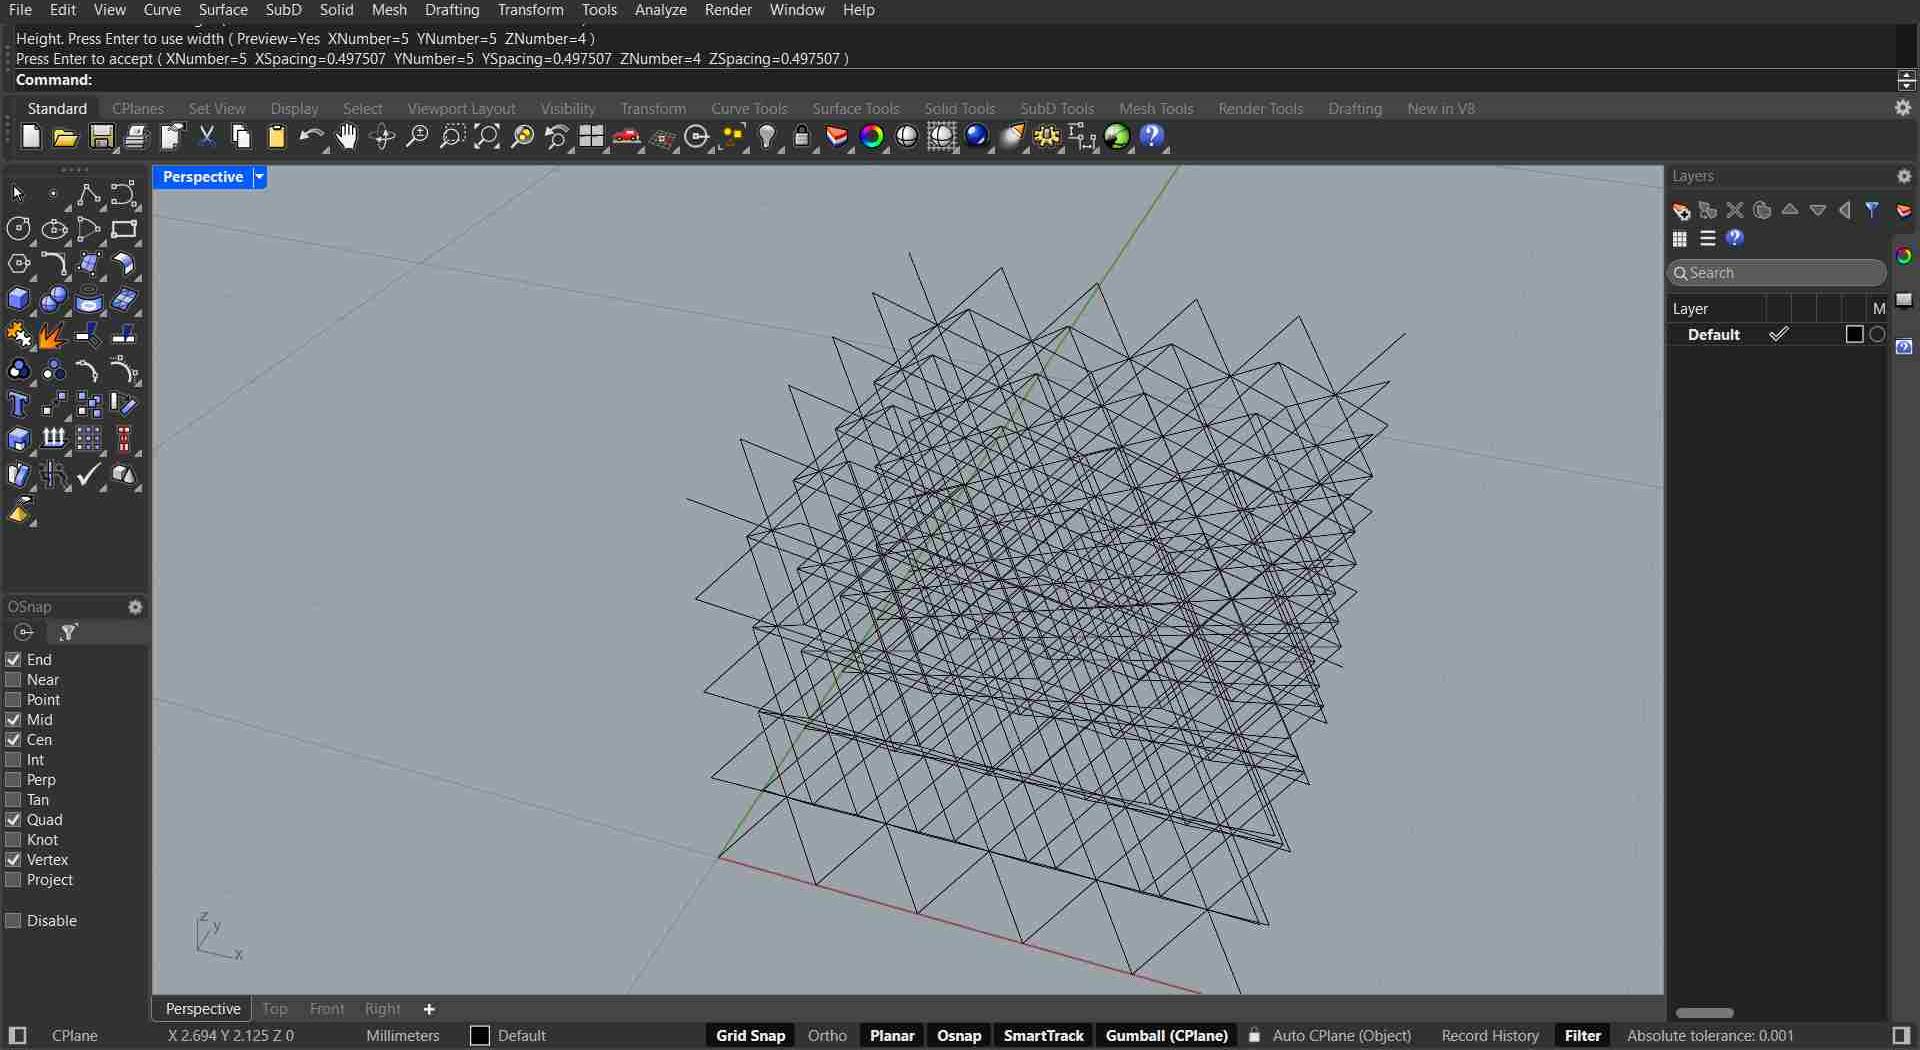
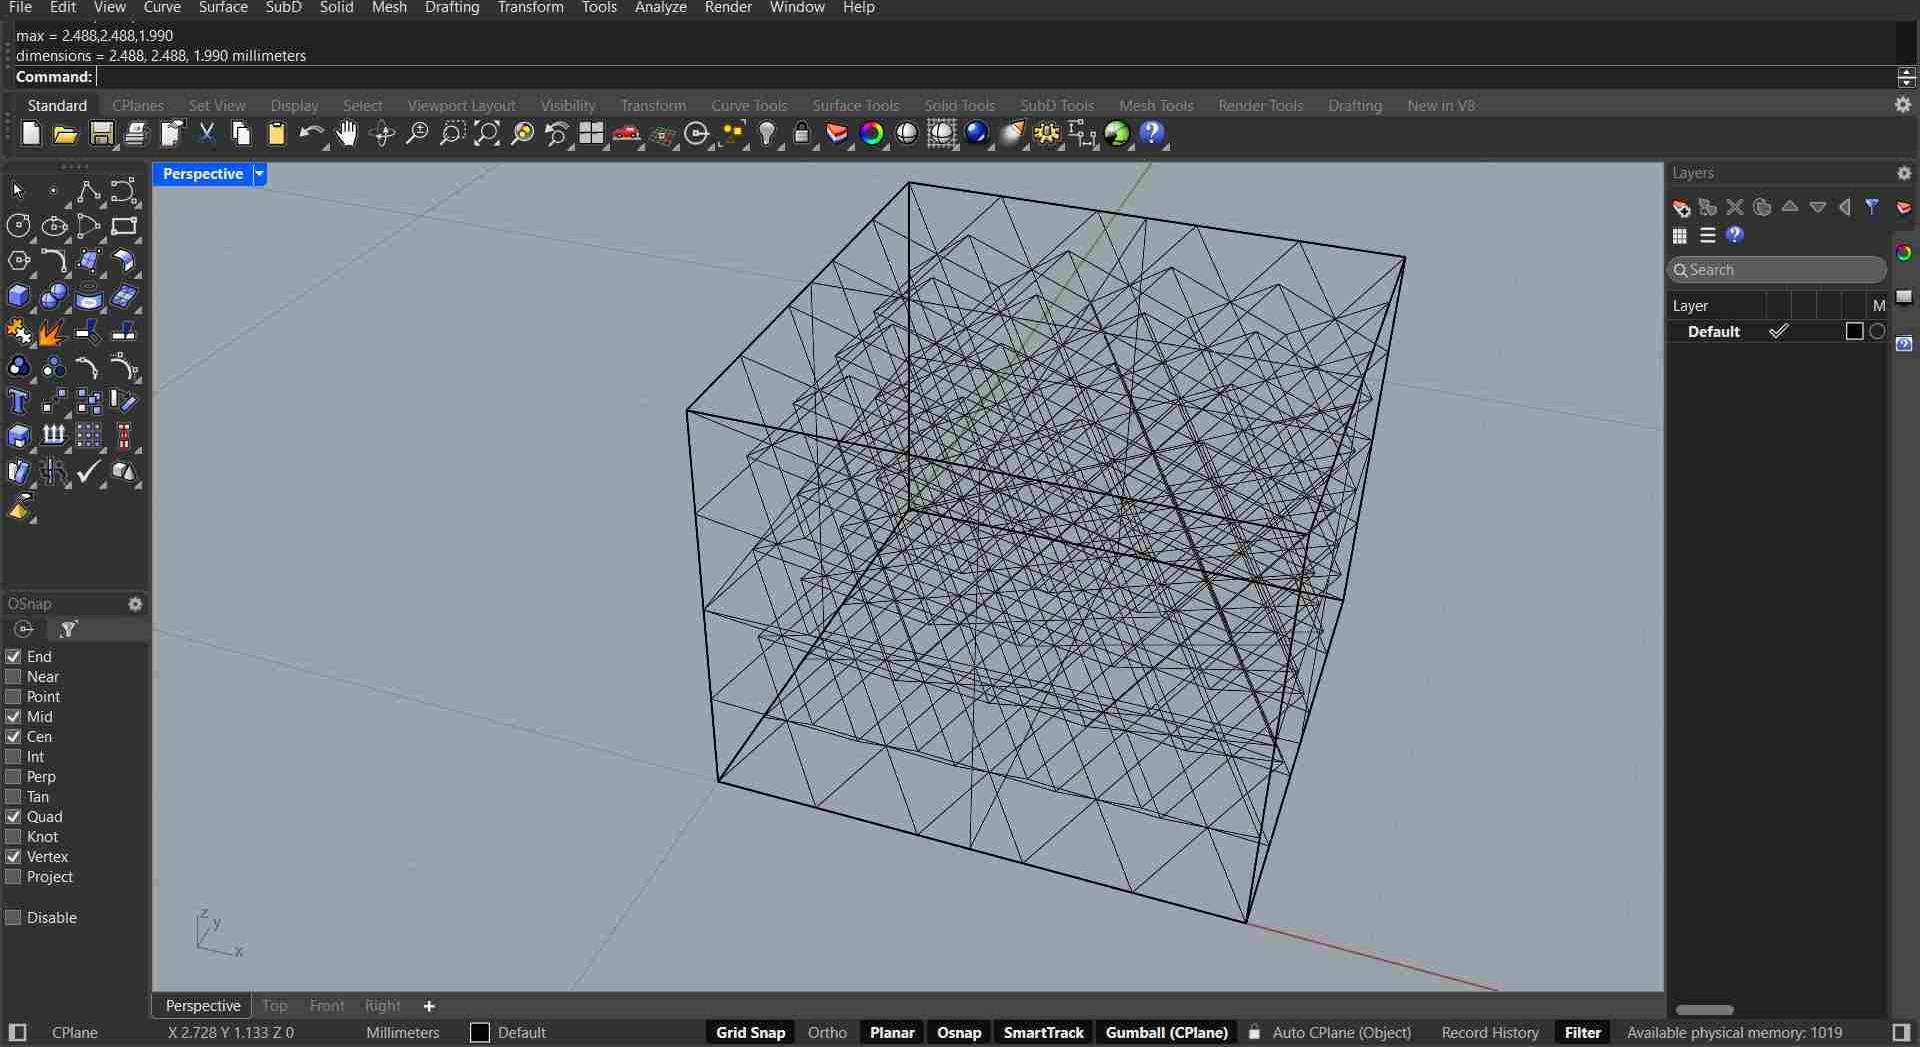
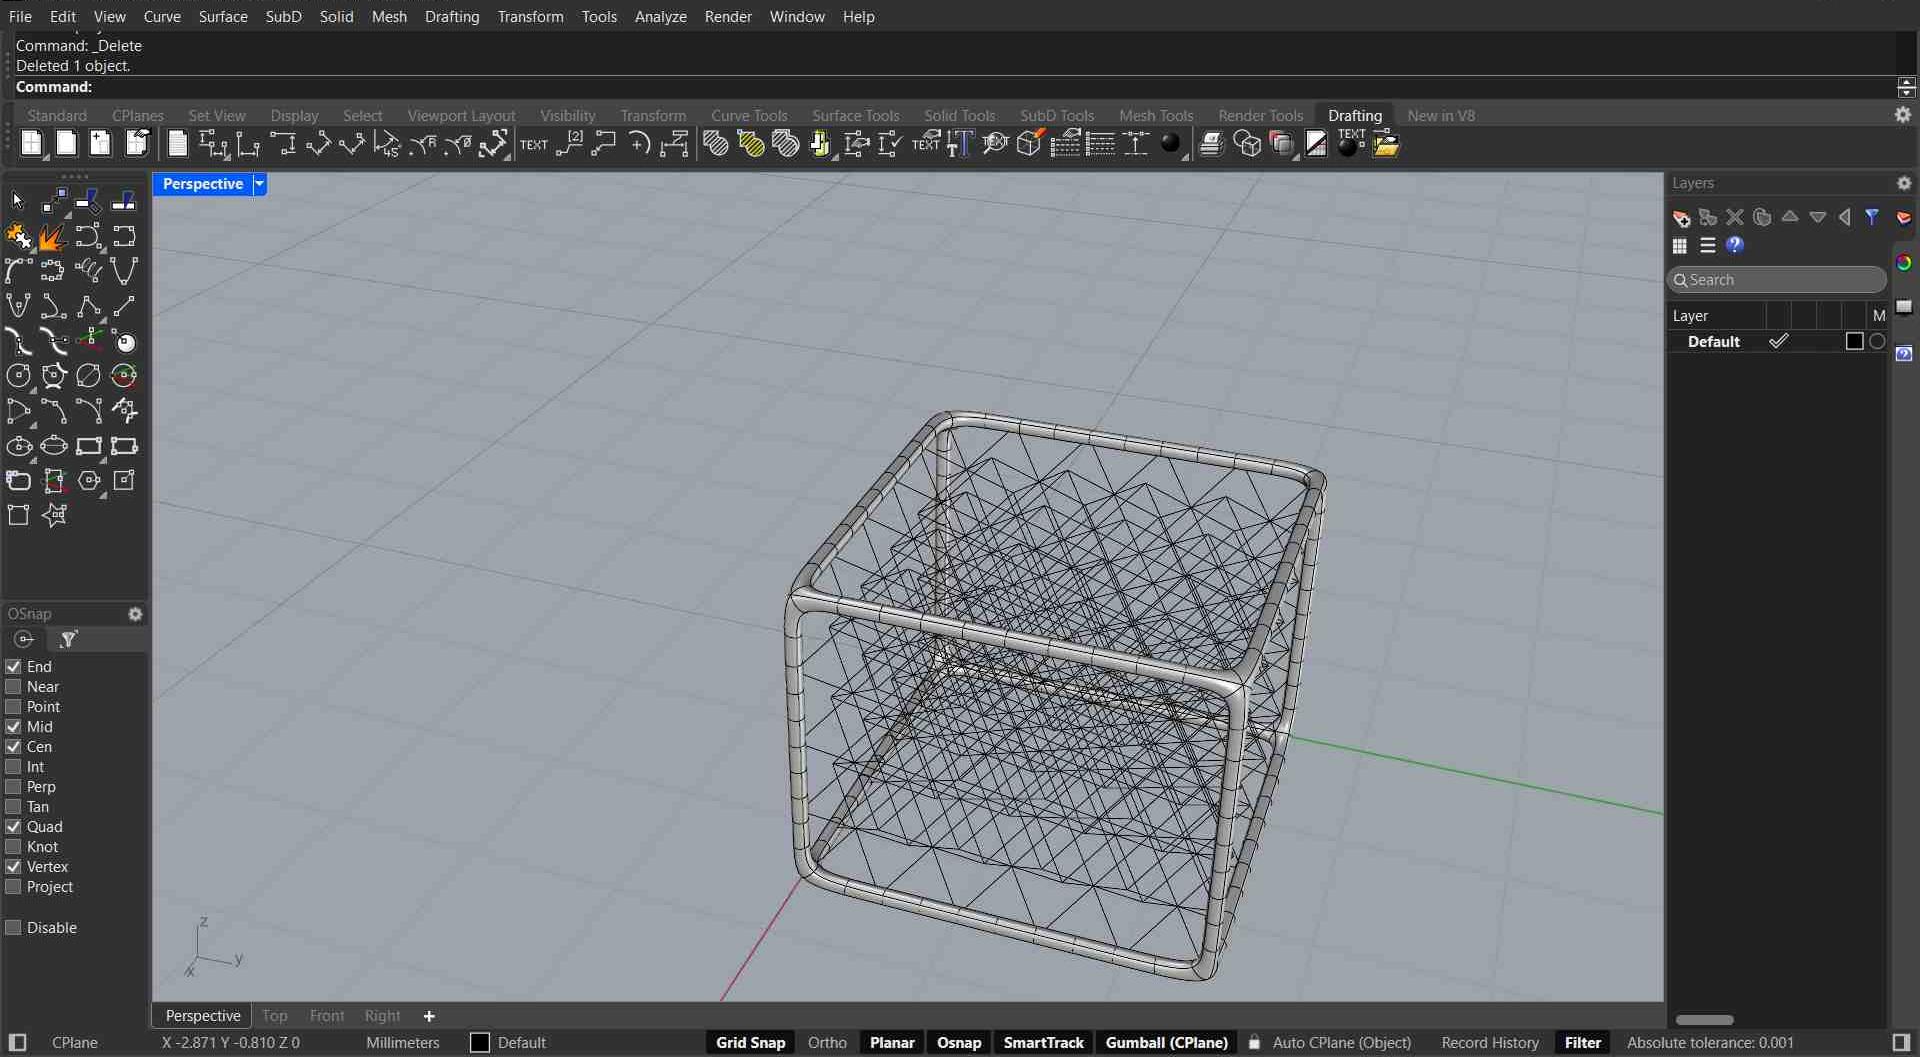
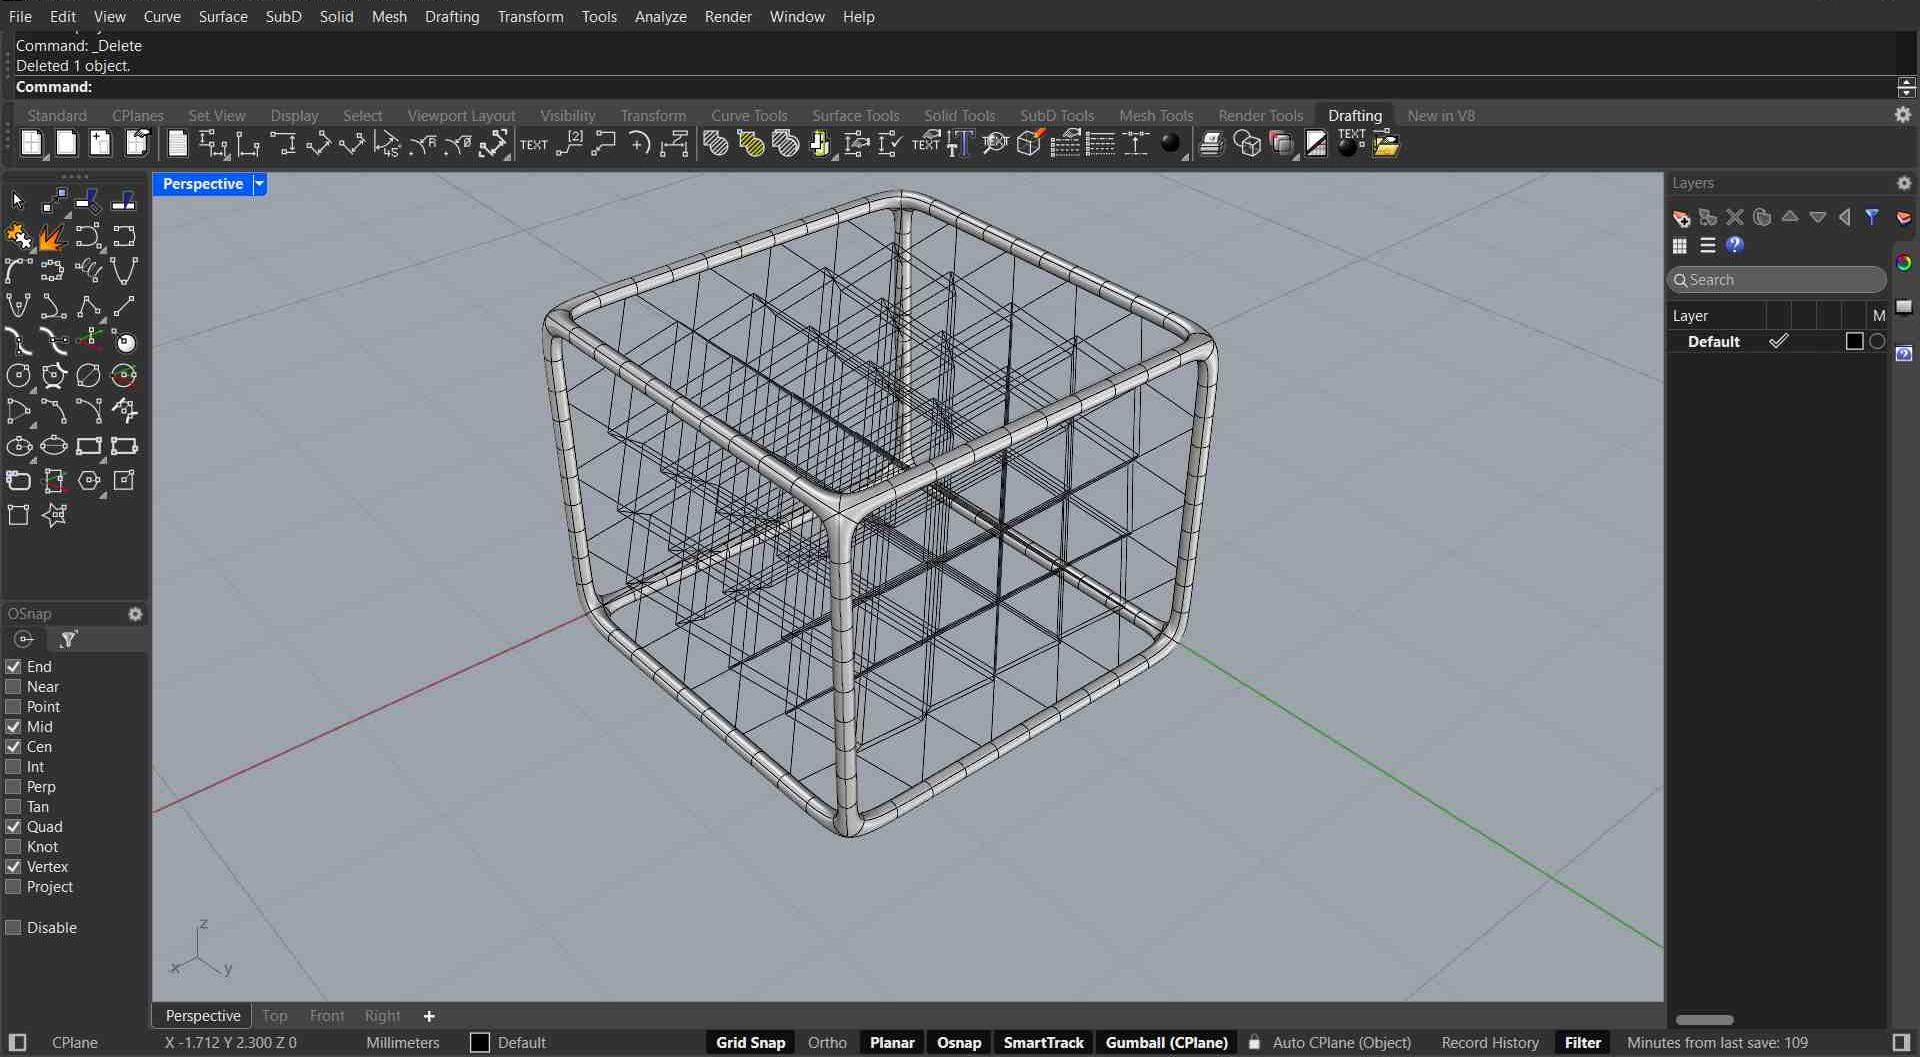
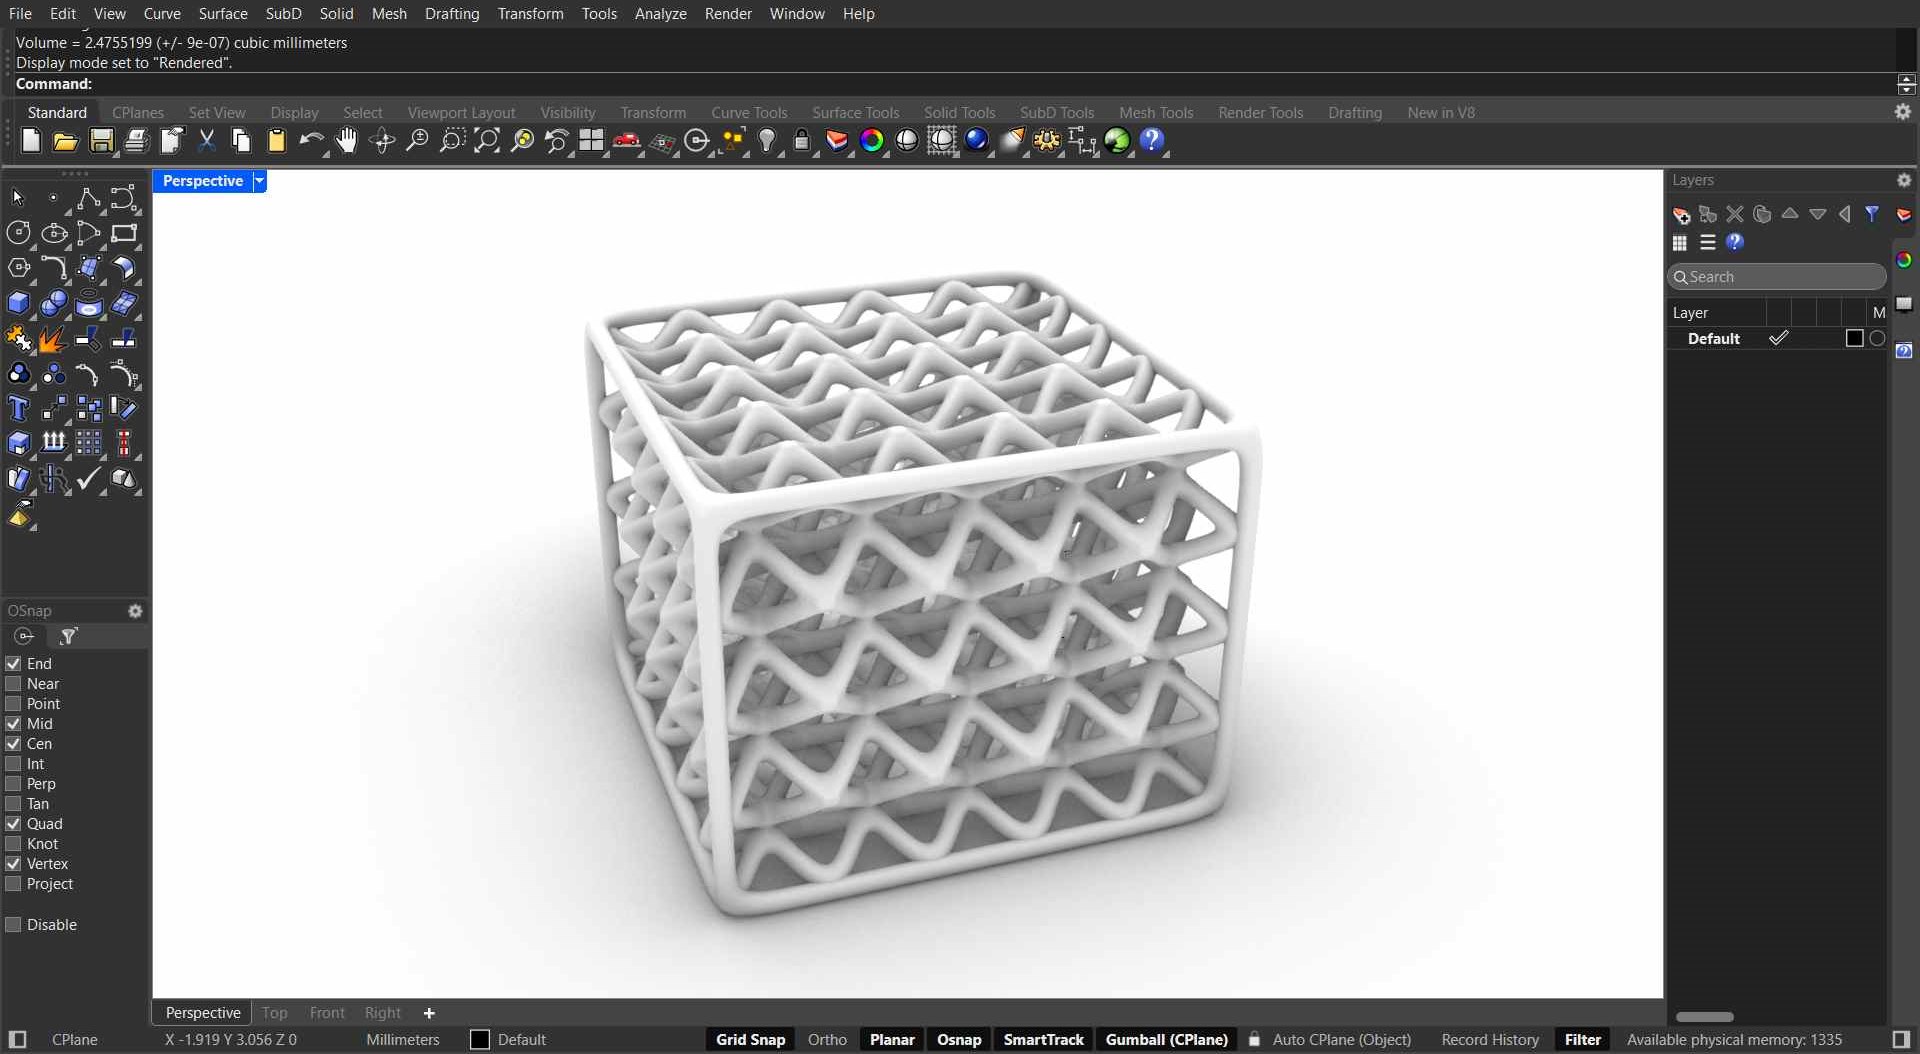
Rhino design
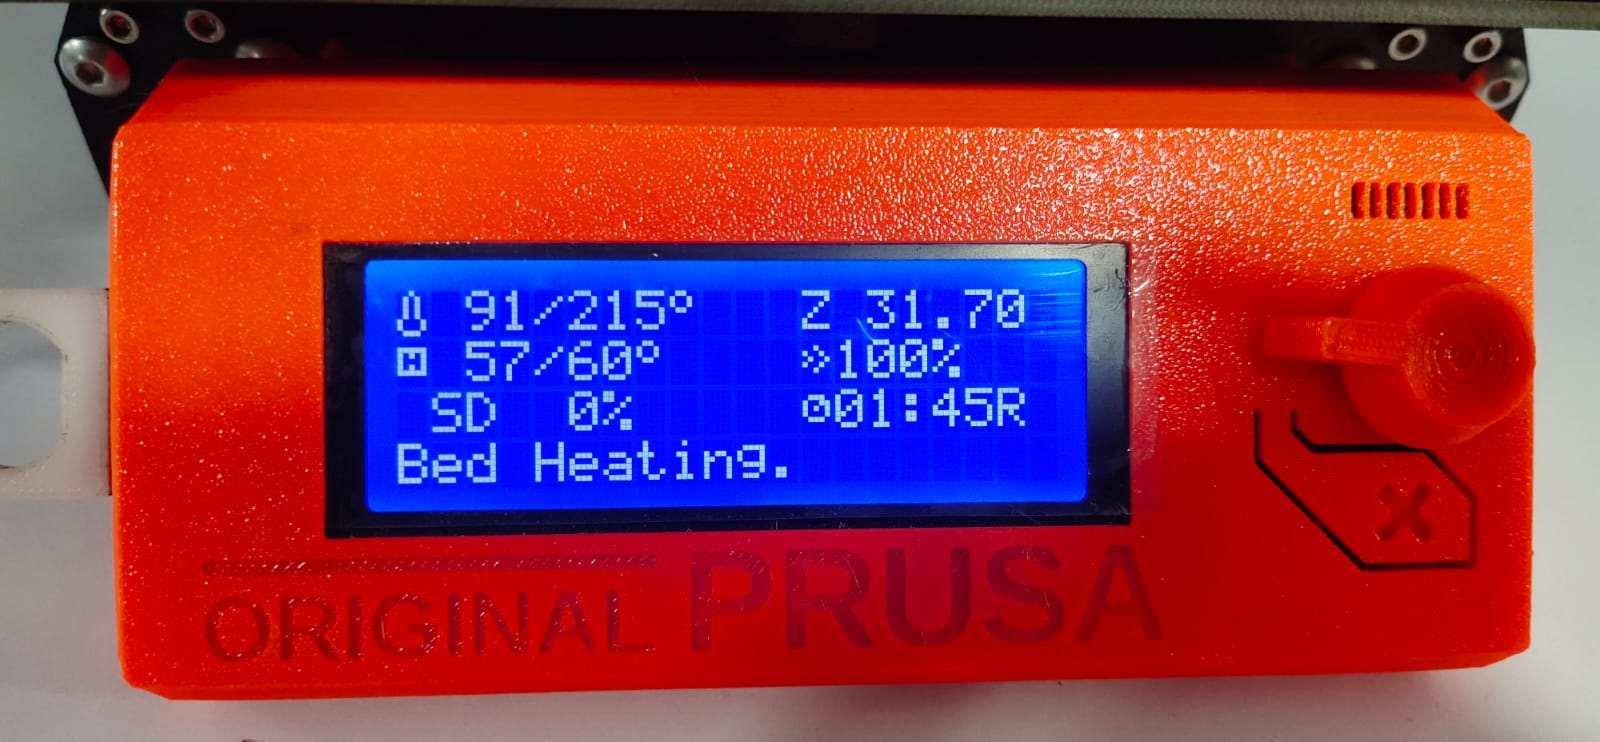
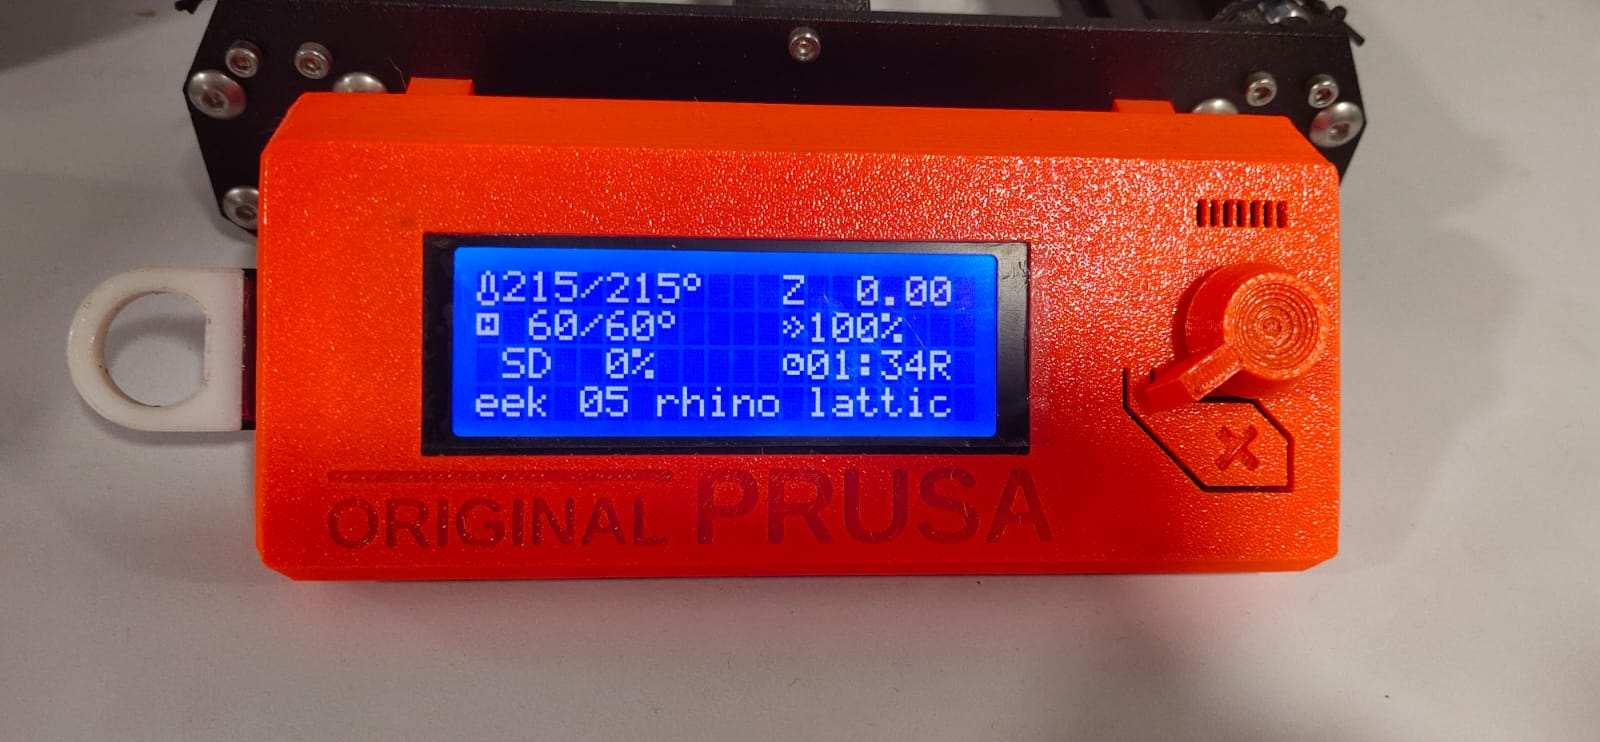
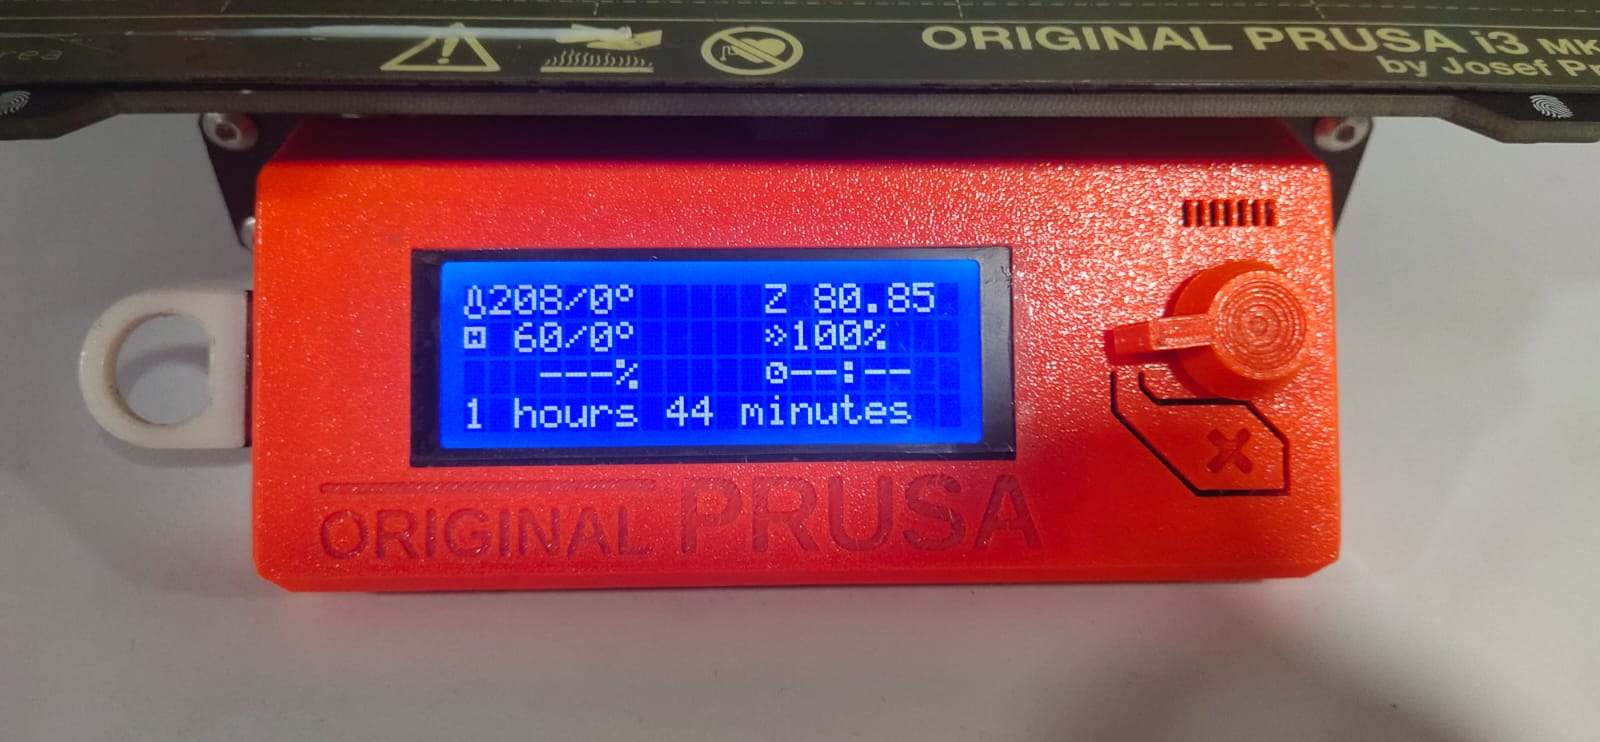
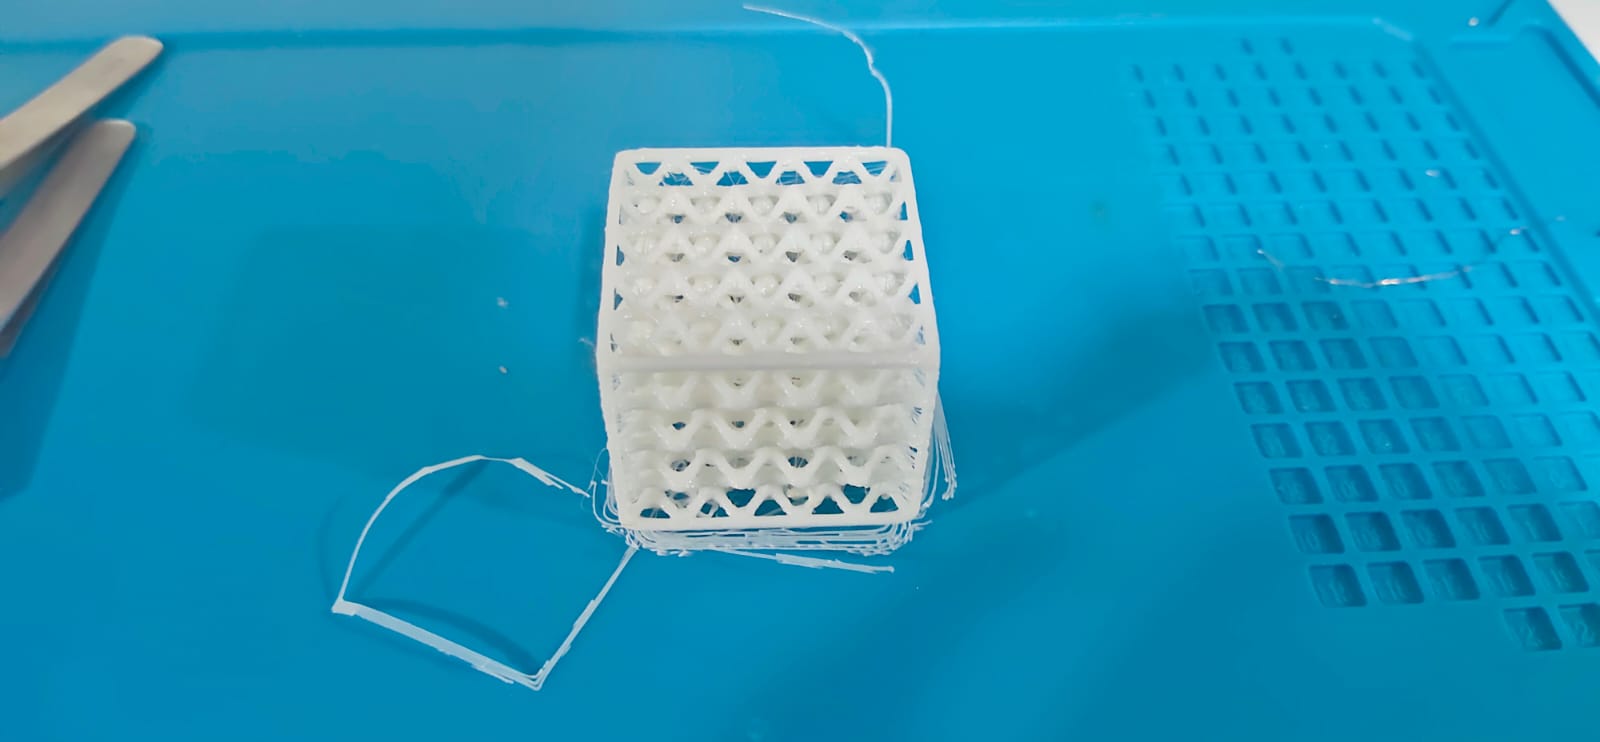
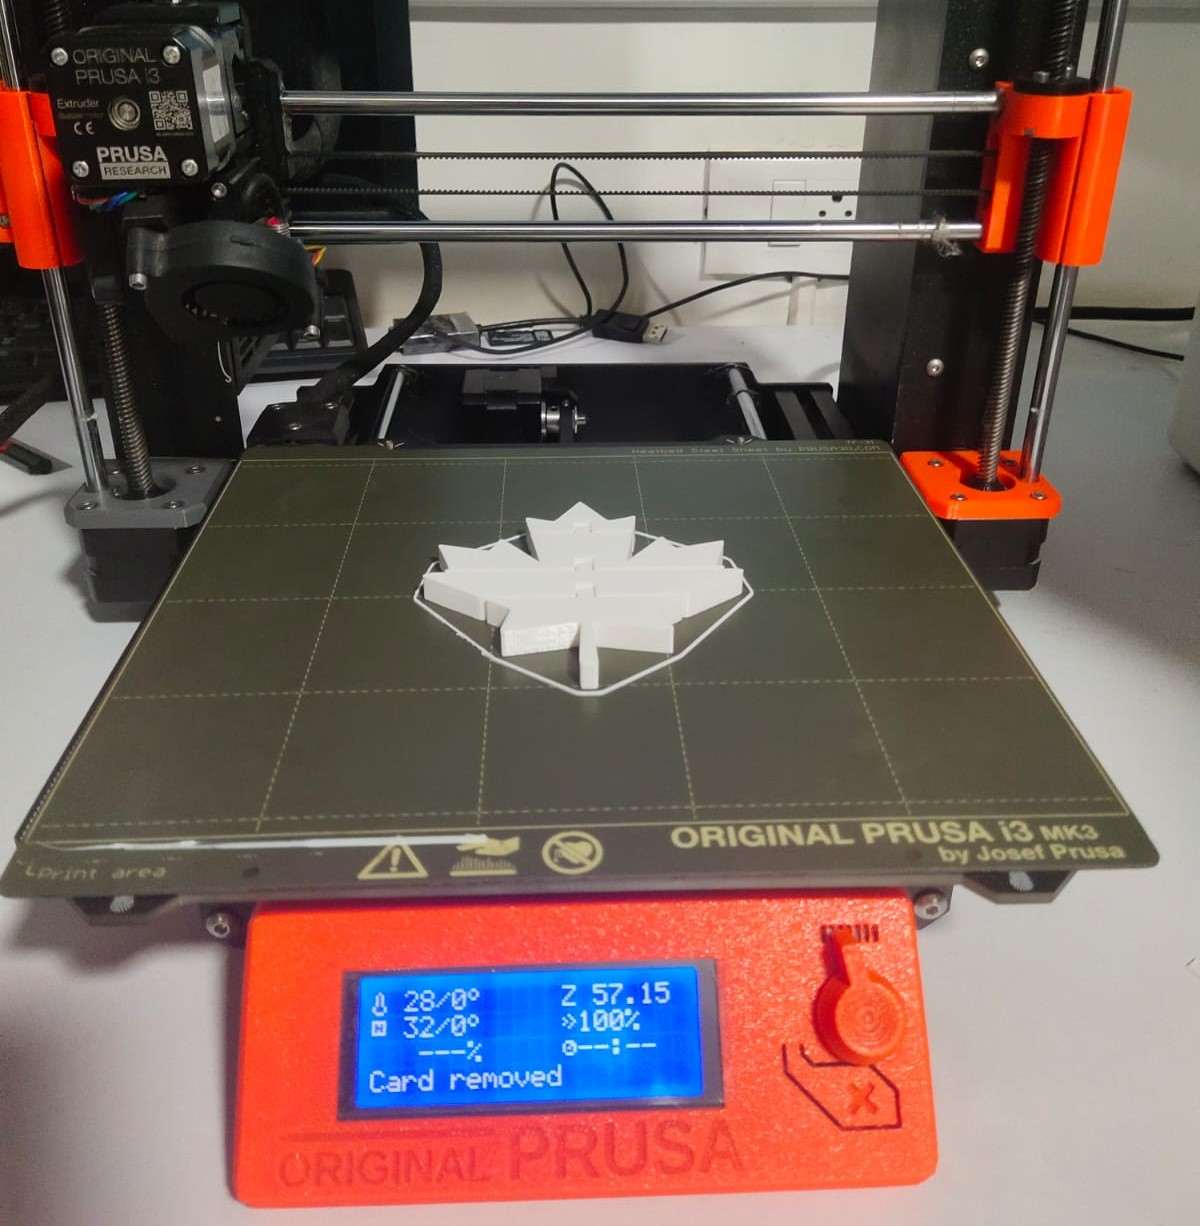
3D Printing the CAD Model
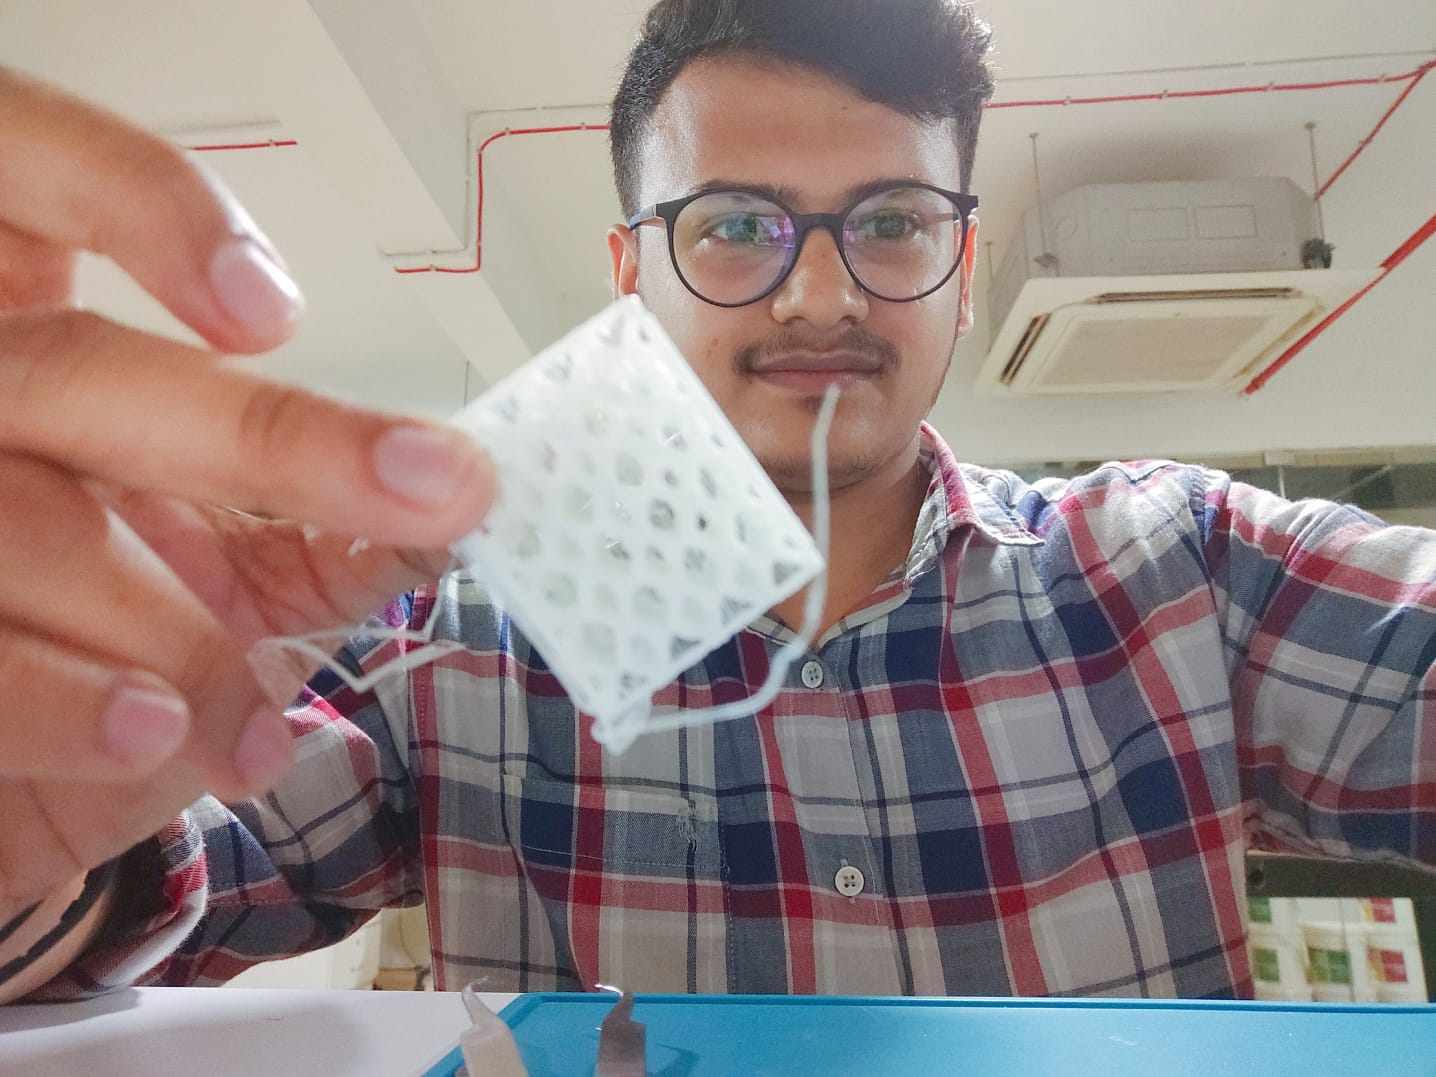
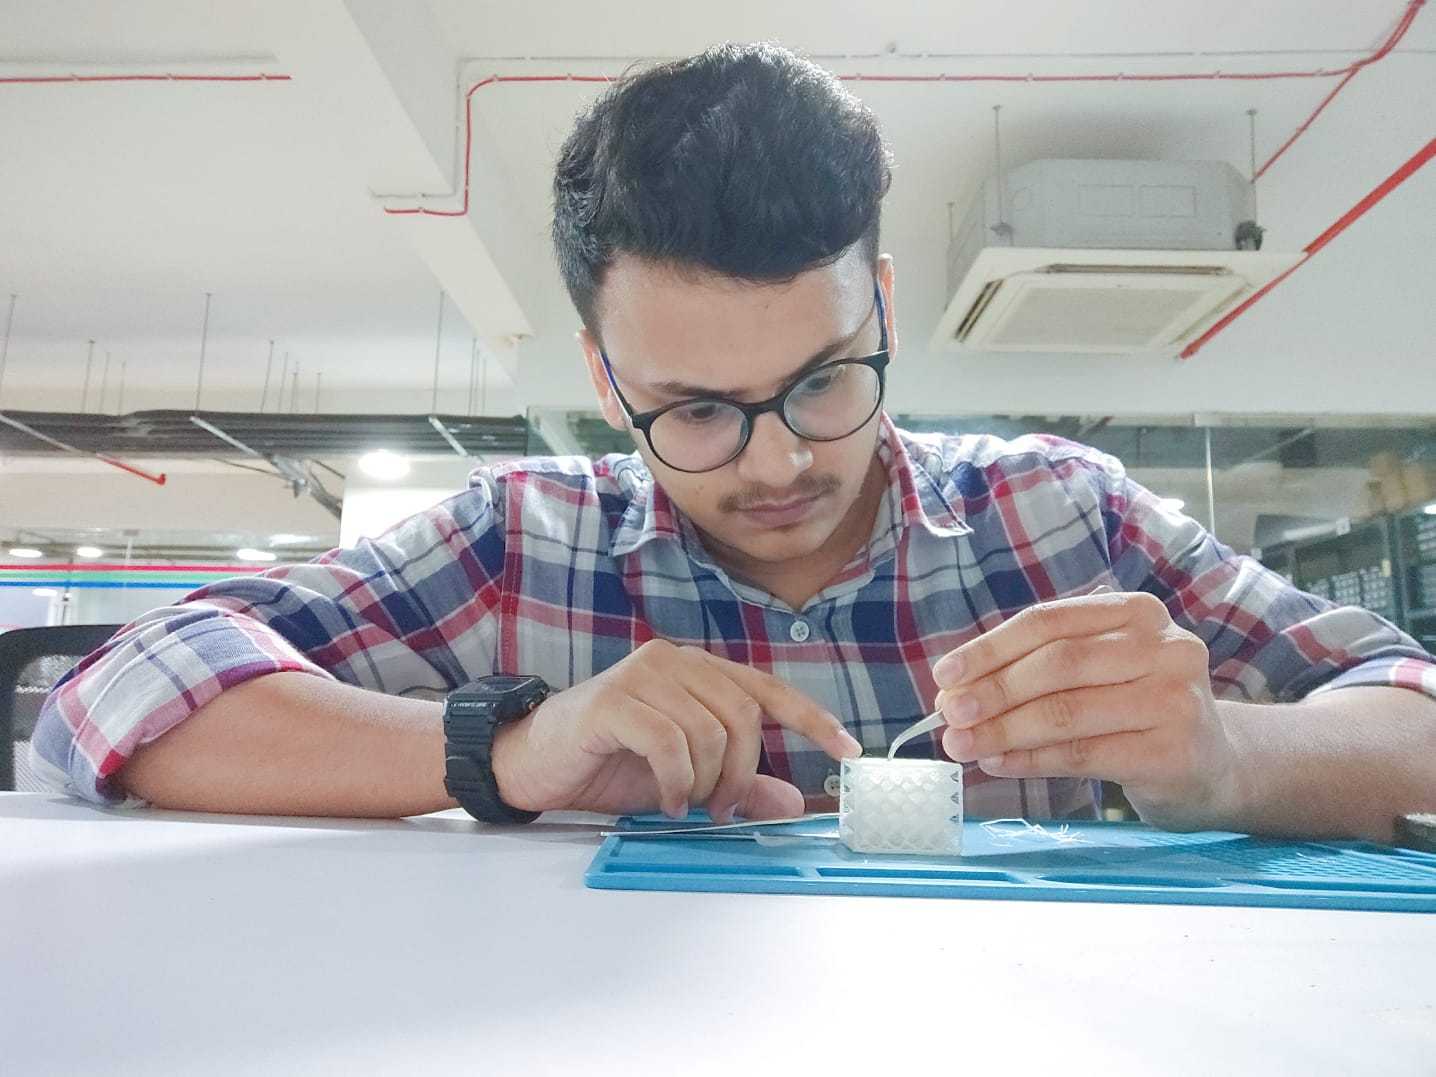
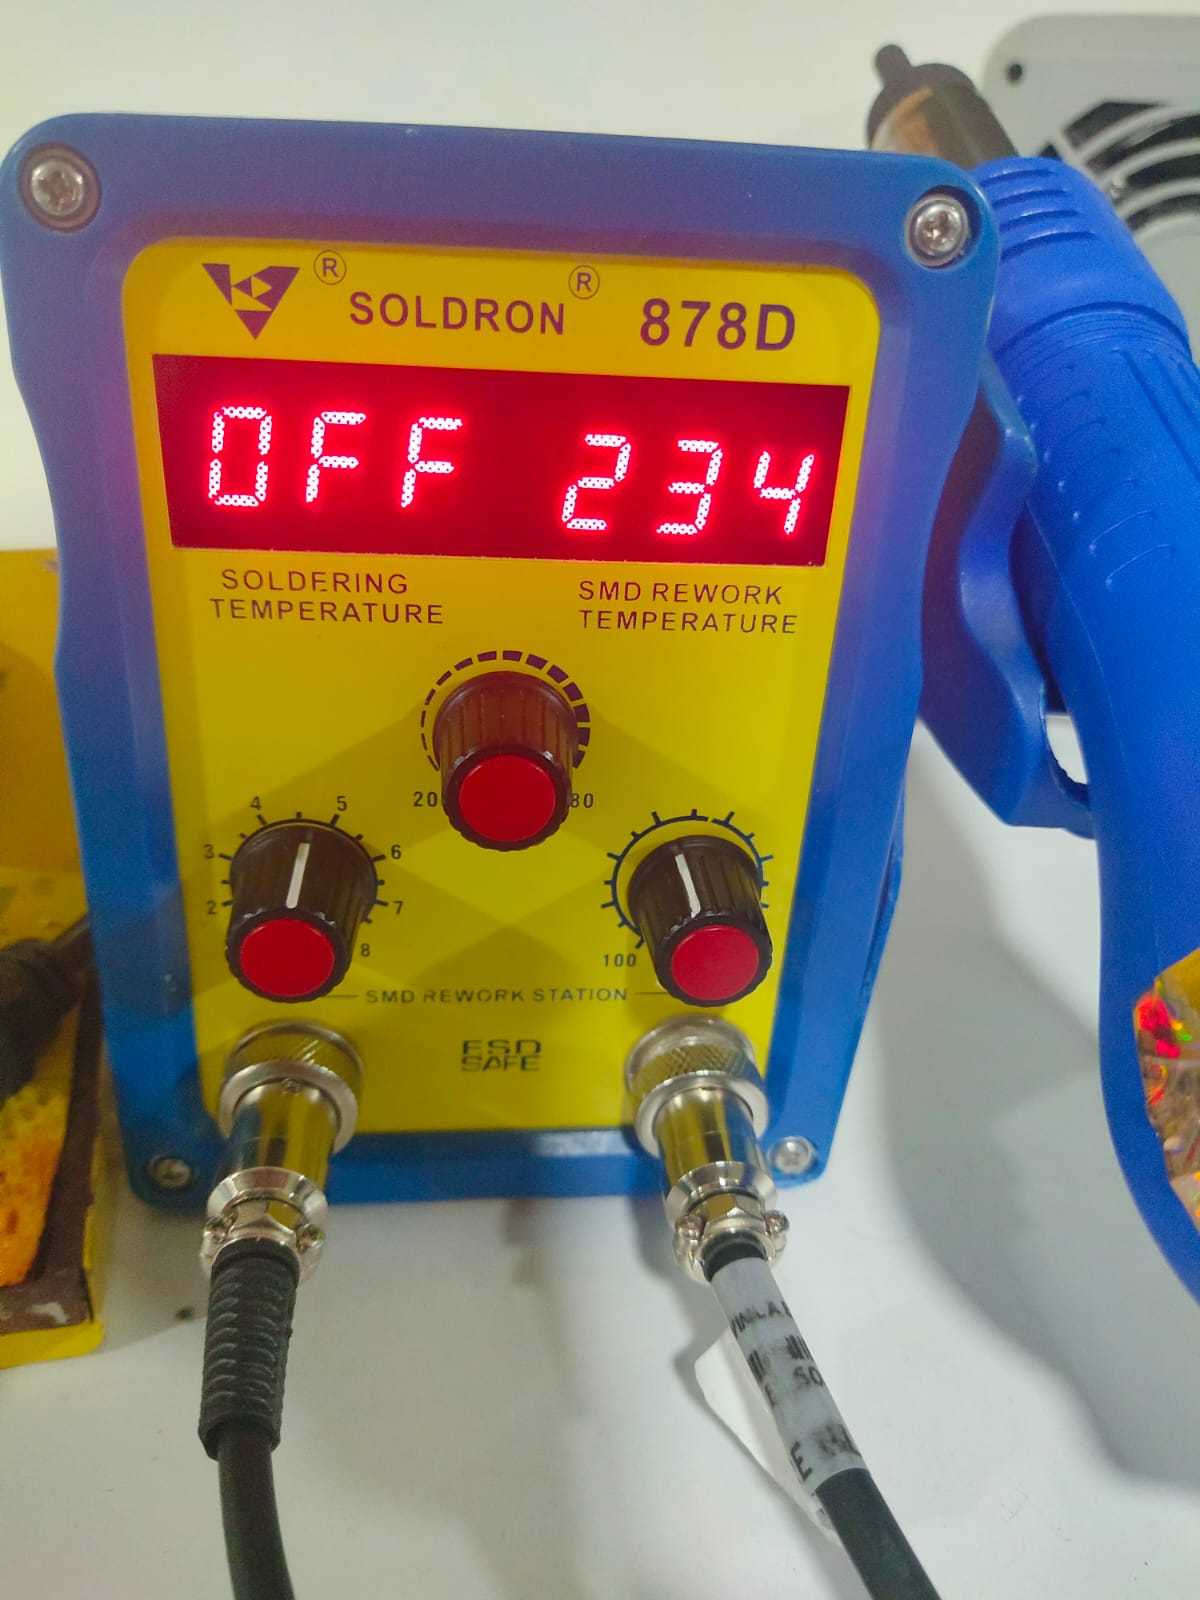
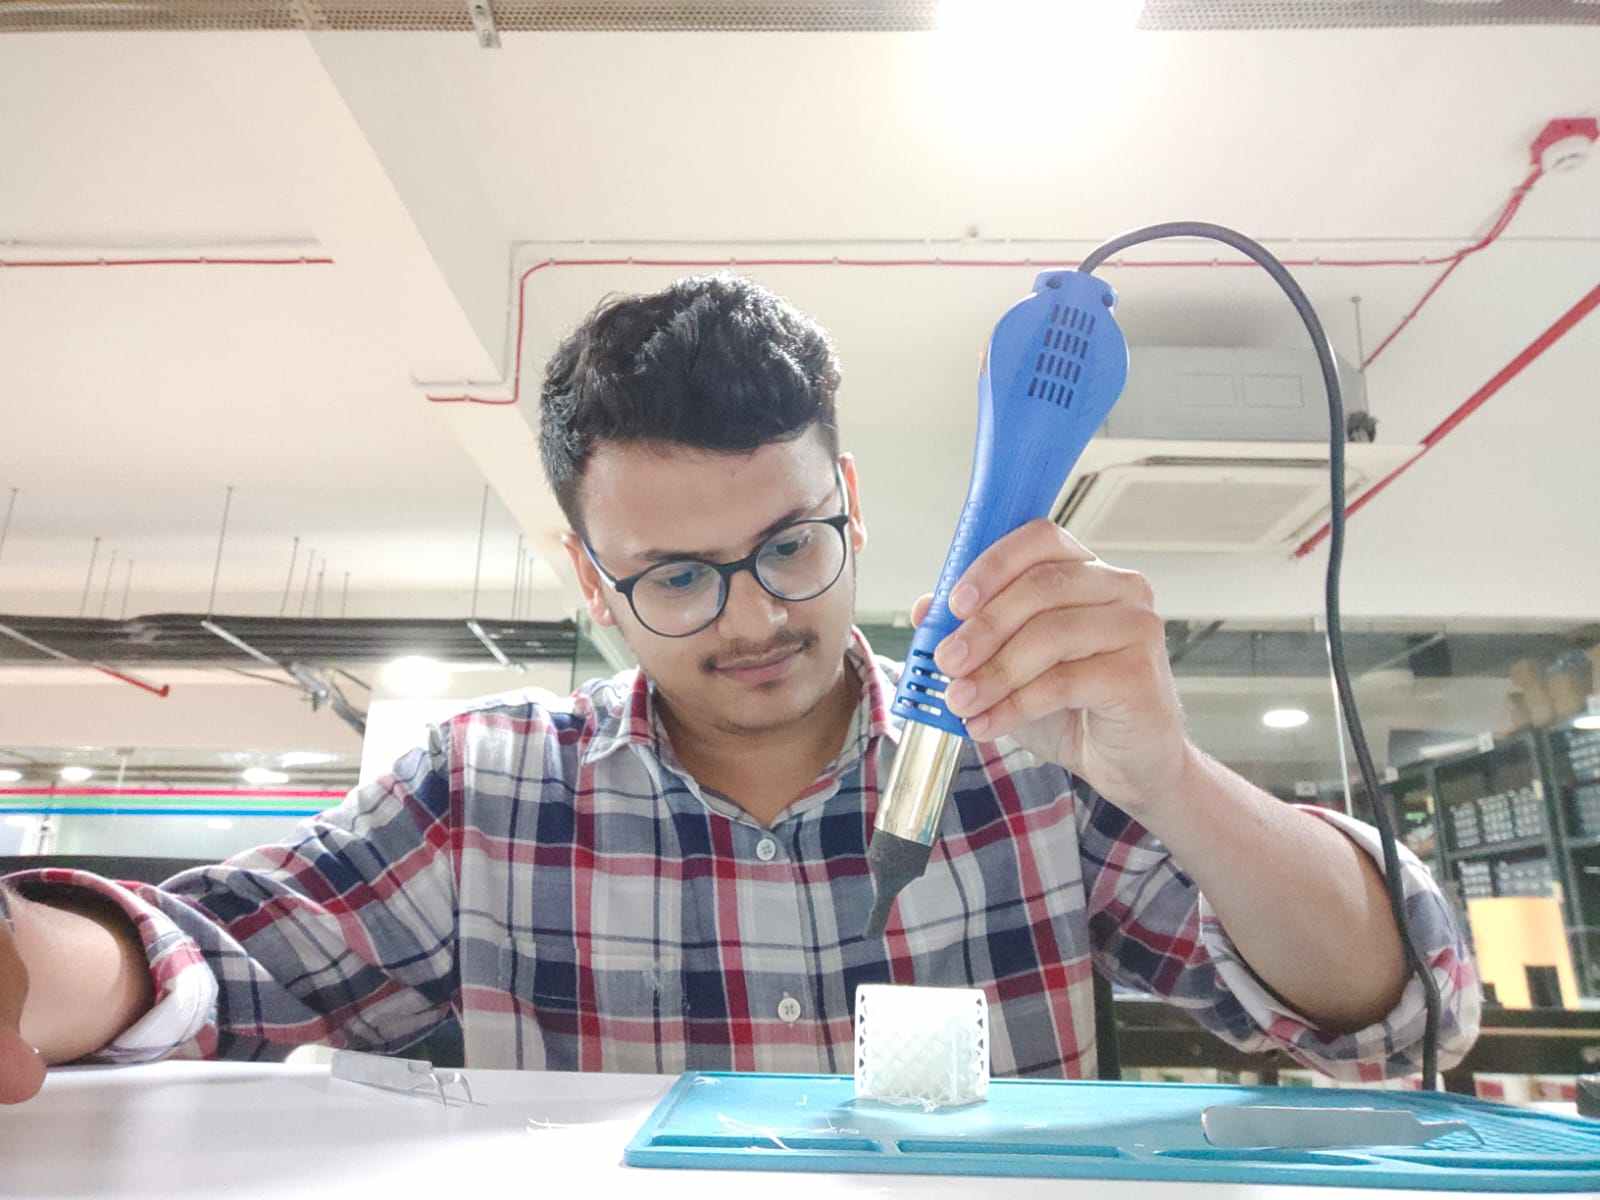
Post Processing
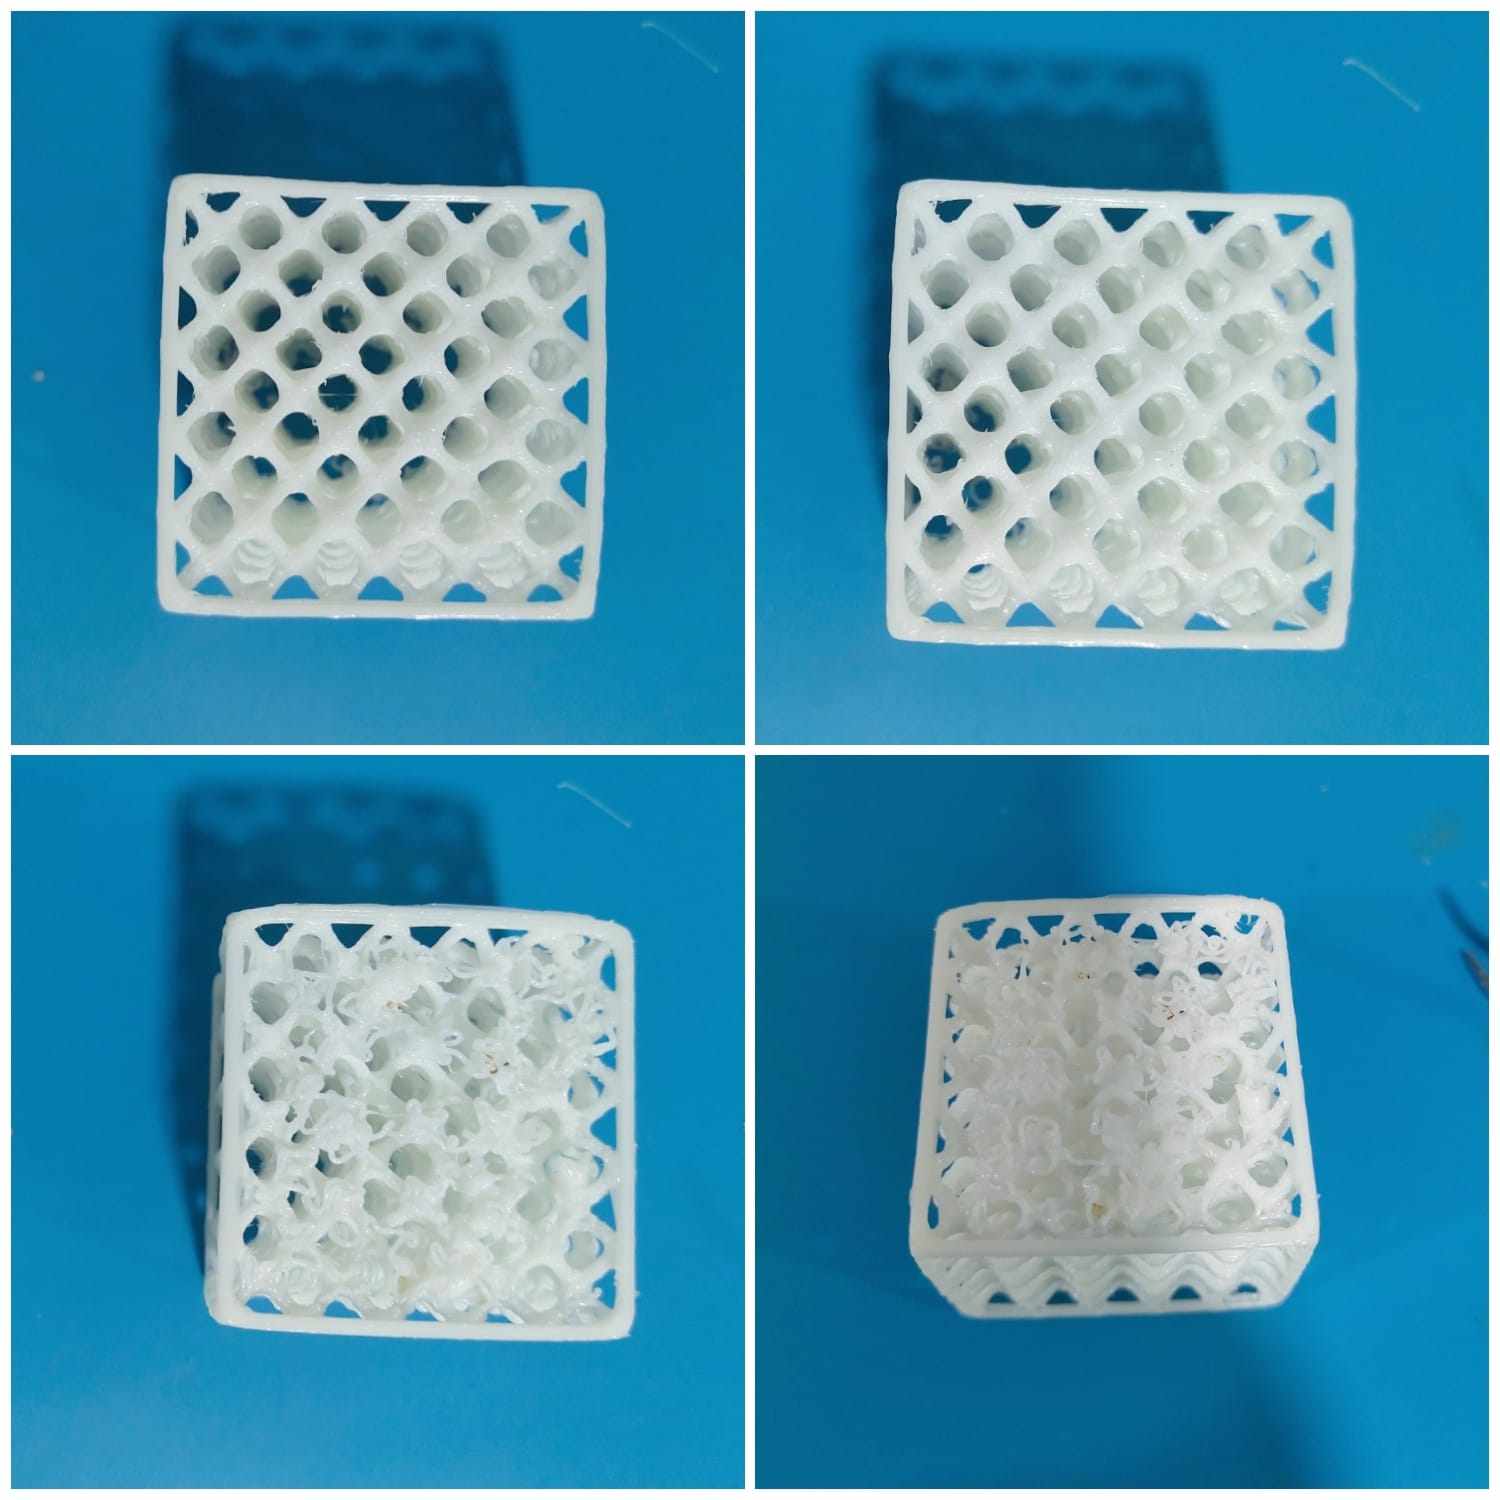
Design 3

3D Scanning
3D scanning is the process of taking multiple snapshots of an object and stitching them together to create a 3D model. 3D scanners can capture the height, width, depth, and color of a physical subject, and often acquire millions of data points. The resulting 3D model can be rotated and viewed from different angles on a computer.
Transforming reflected light into high-resolution 3D models
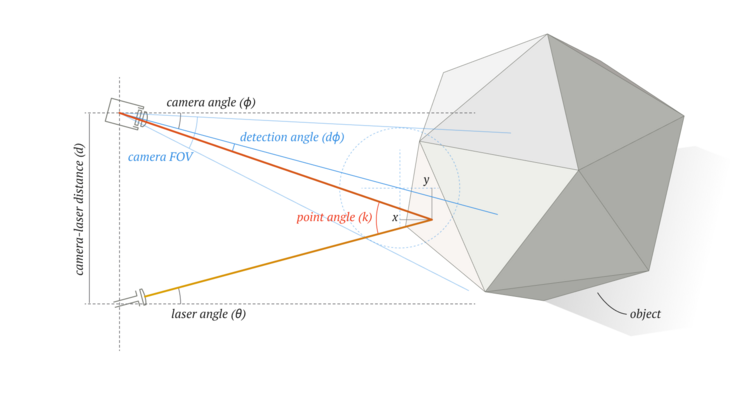
- The scanning software’s pattern-recognition and reconstruction algorithms understand that when a strip of light is thicker or thinner in places, then that means those points on the surface are respectively closer or farther away from the camera, while other shapes and structures are determined by varying types of deformations in the structured light patterns.
- Some 3D scanners also include an additional camera that captures an object’s “texture.” In the world of 3D scanning and modeling, texture refers to an object’s colors and other visible surface characteristics.
- After these frames have been captured, they are transformed into a 3D model by processing them in the scanning software. This is achieved by first making use of various tools to remove any unwanted data, before aligning the frames together into one seamless 3D model.
Artec Leo
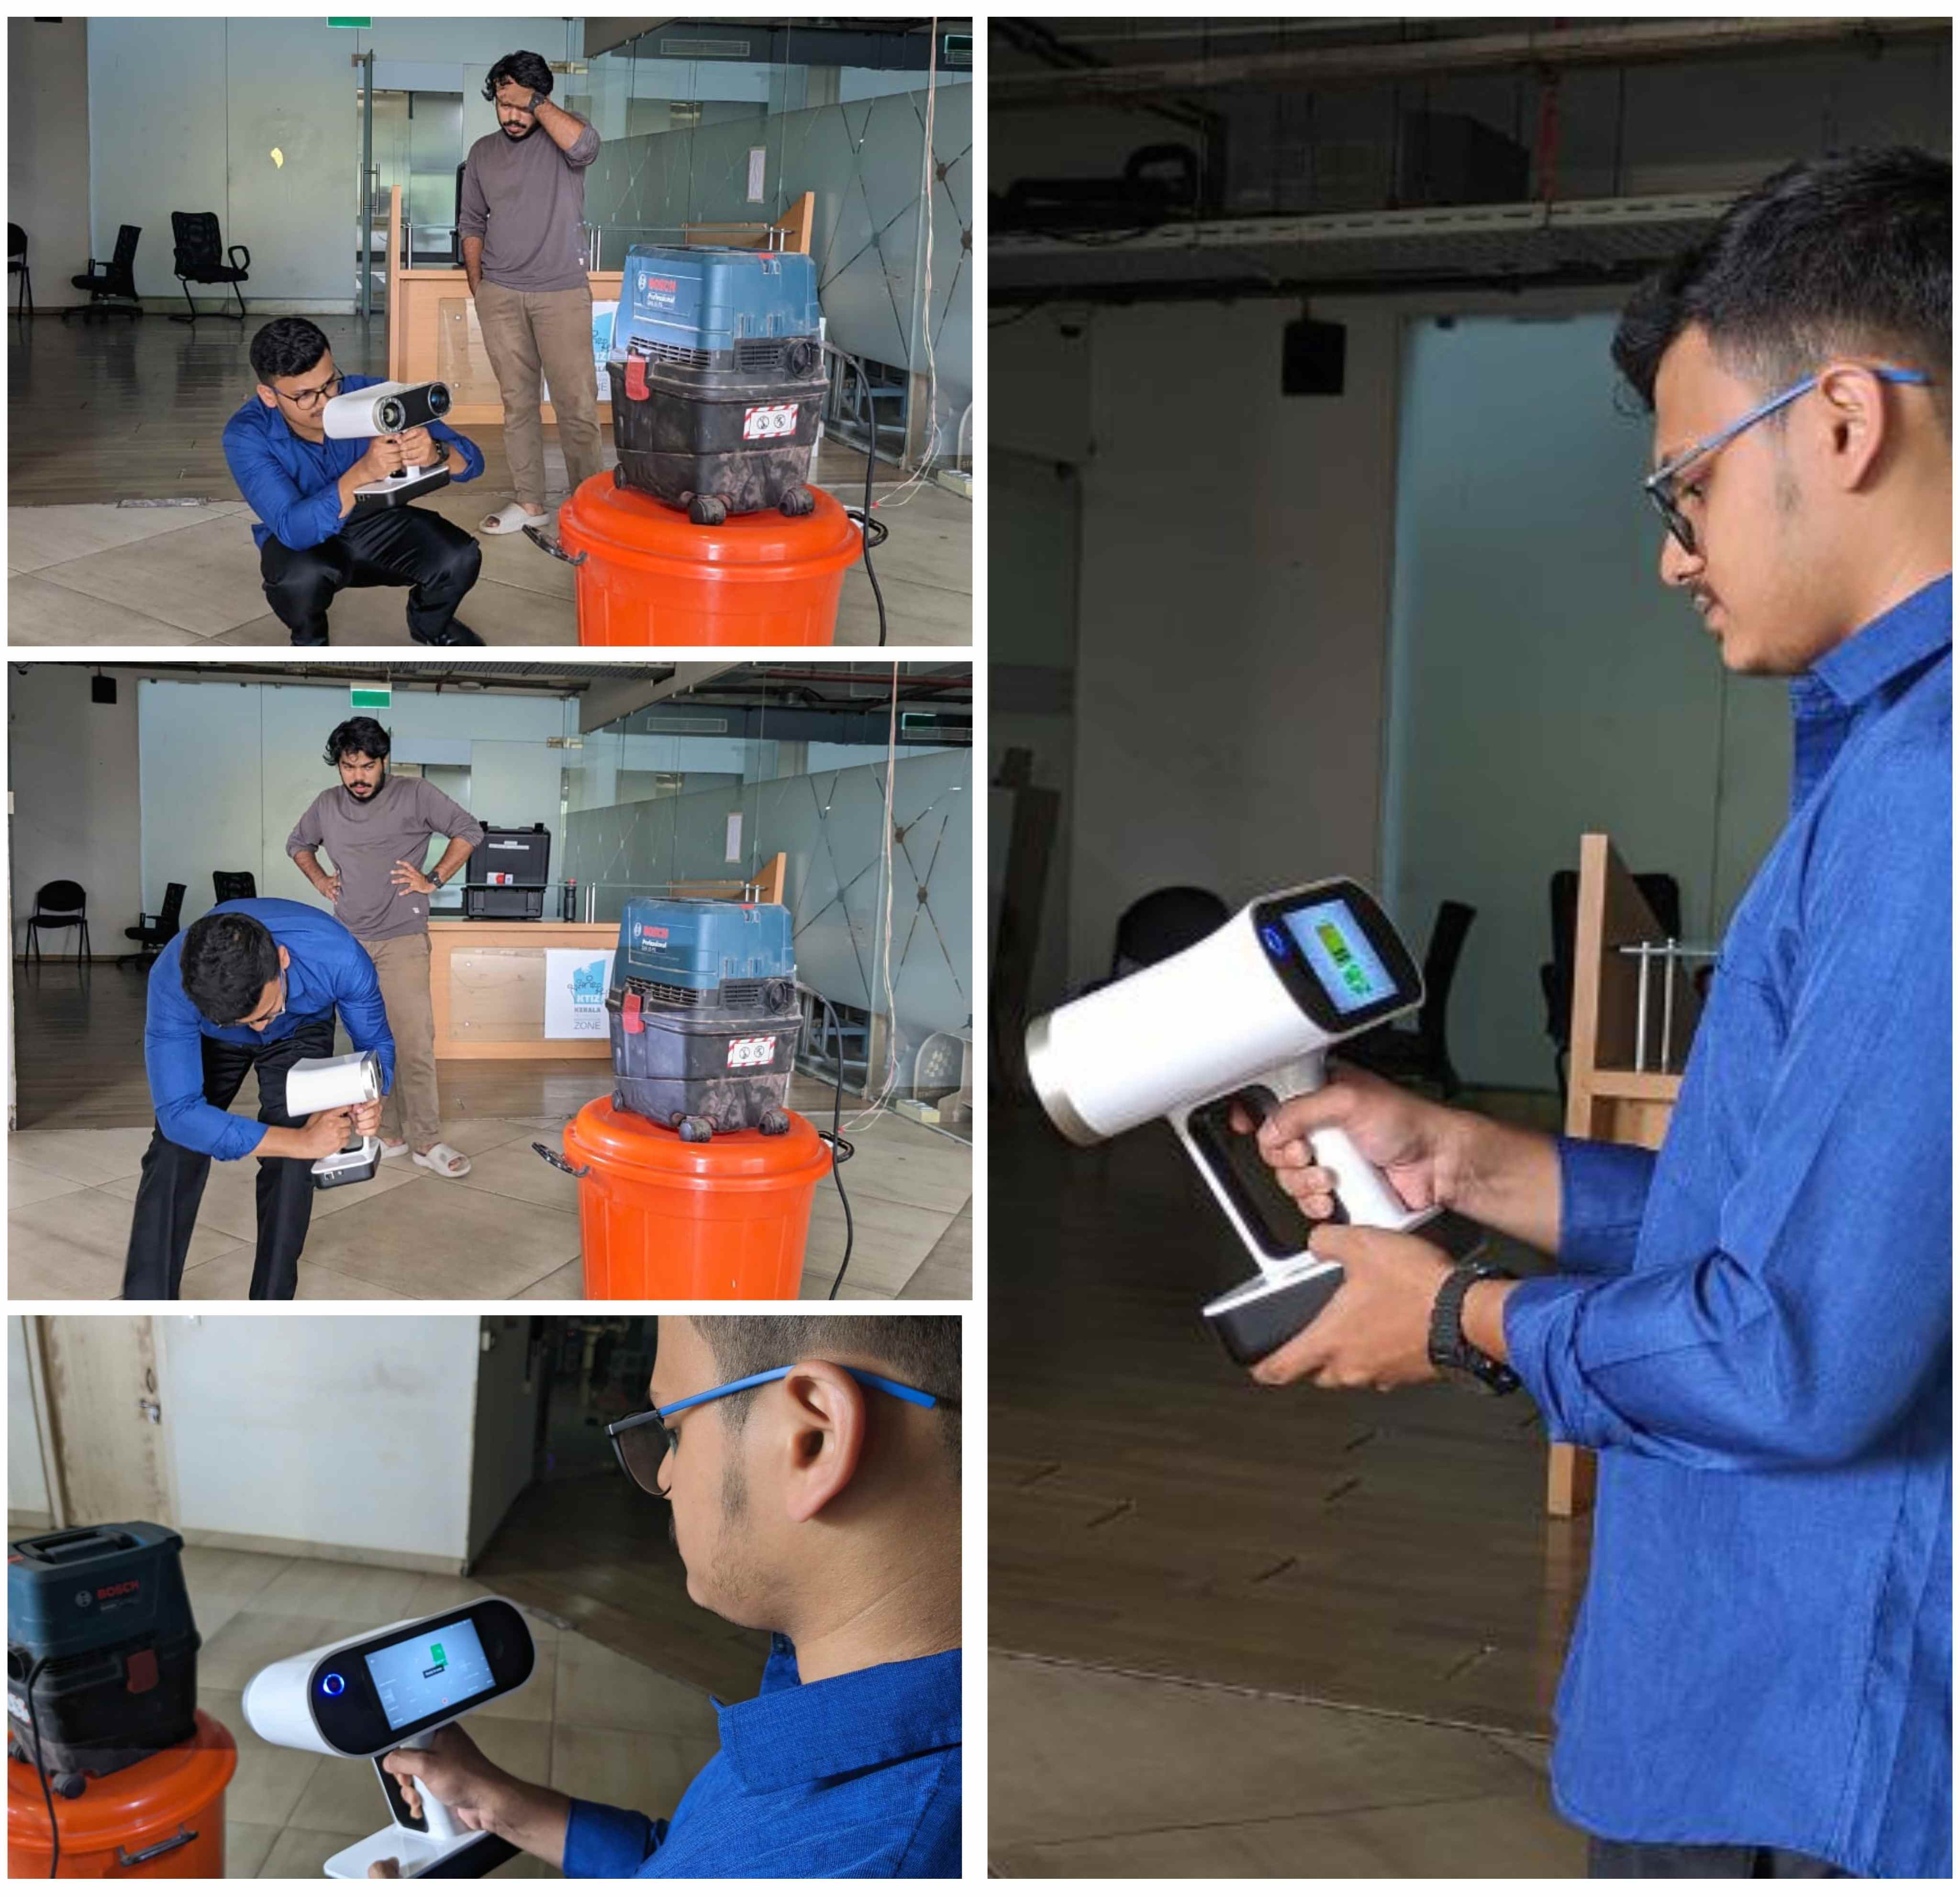
Artec Leo is the world’s first wireless and AI-based 3D scanner to offer onboard real-time processing. This system can capture objects in 3D without the need for a computer or a tablet during the 3D capturing process. With the most intuitive workflow, it makes 3D scanning as easy as taking a video.

- The Artec Leo has a long-lasting battery, interactive touchscreen, scan-to-cloud, Wi-Fi connectivity, and remote control. All available directly from the device itself, you don’t need additional devices, power or data cables for 3D scanning for a hassle-free experience.
- Access the controls, the 3D scanning process, and scan data directly on the device. The touchscreen builds a real-time replica you can interact with while you scan. Visual guides show you the quality of the data in different regions of your scan so you can capture the best results every time.
- Artec Leo’s compact and ergonomic design already makes it possible to scan in tight spaces or from awkward angles. The interactive display also tilts to give you added flexibility you need to maximize the freedom of movement. Use the scanner in many more ways.



Challenge
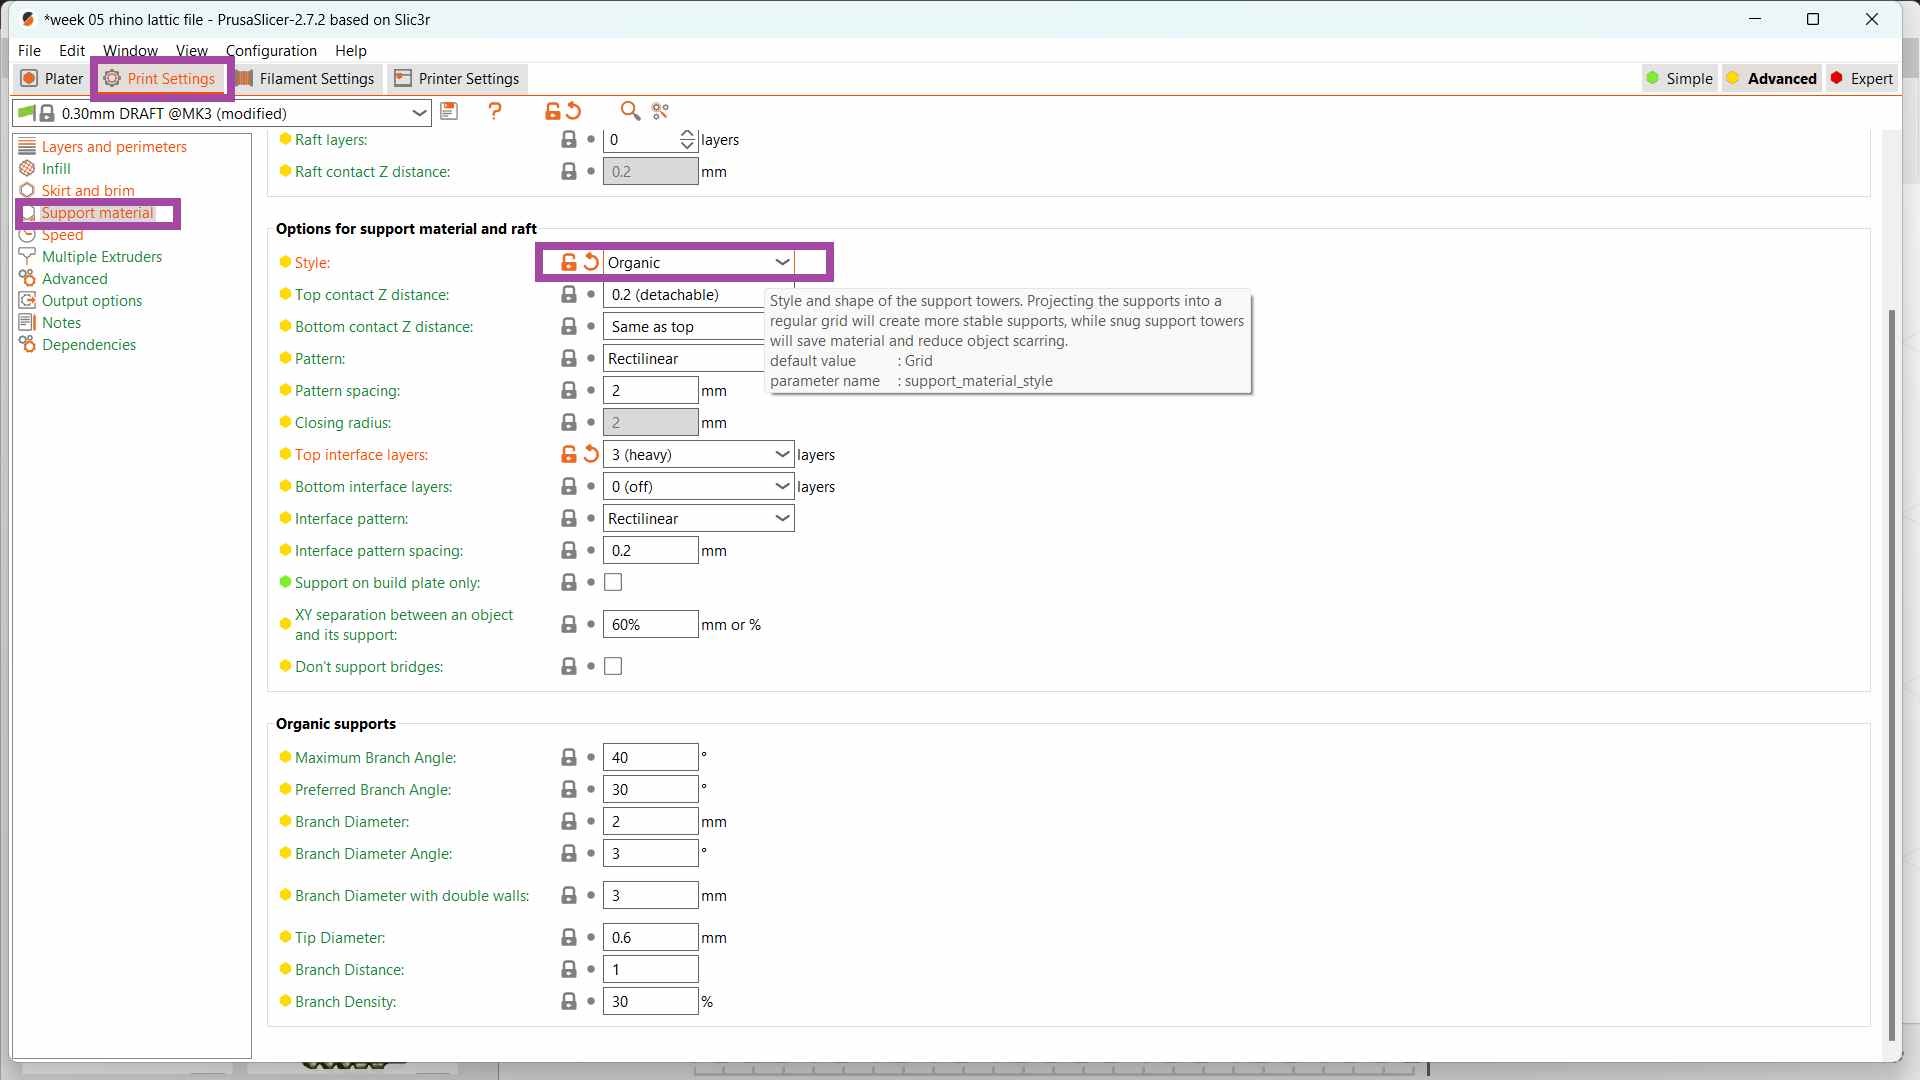
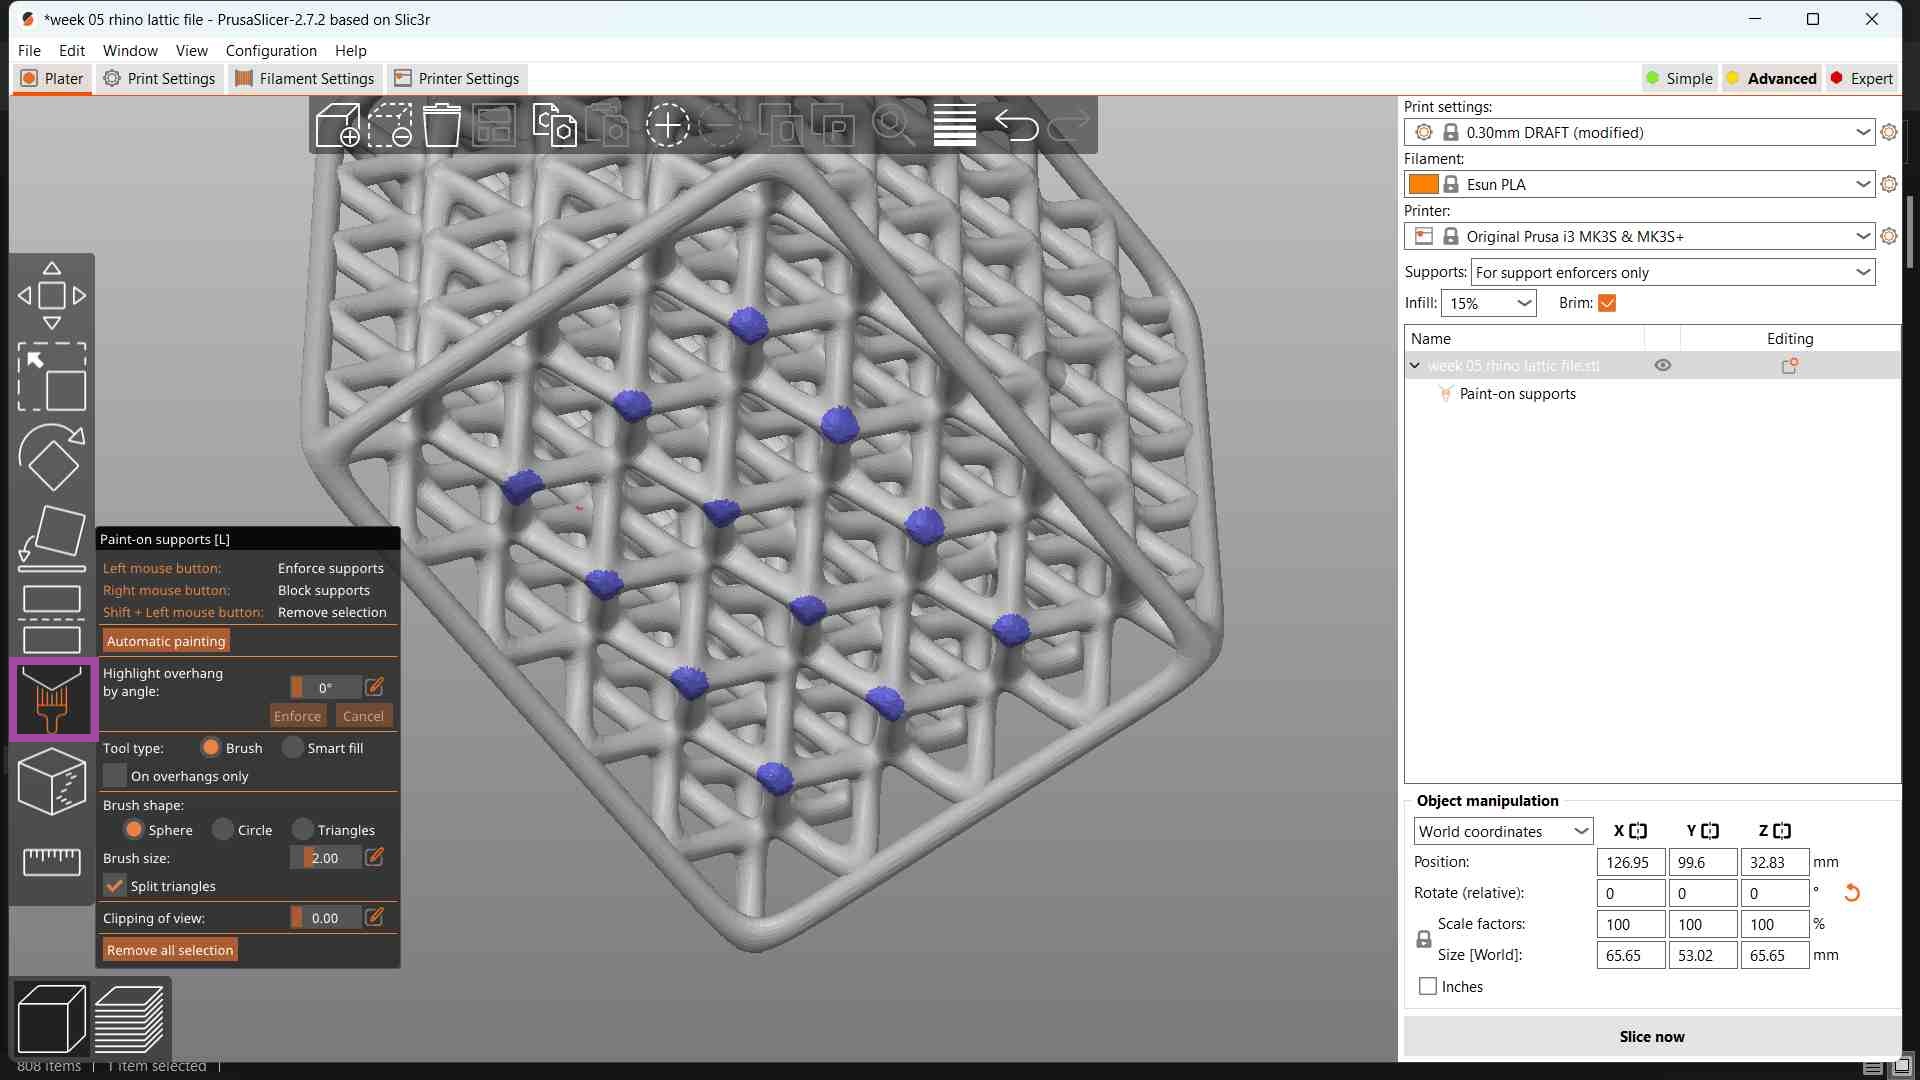
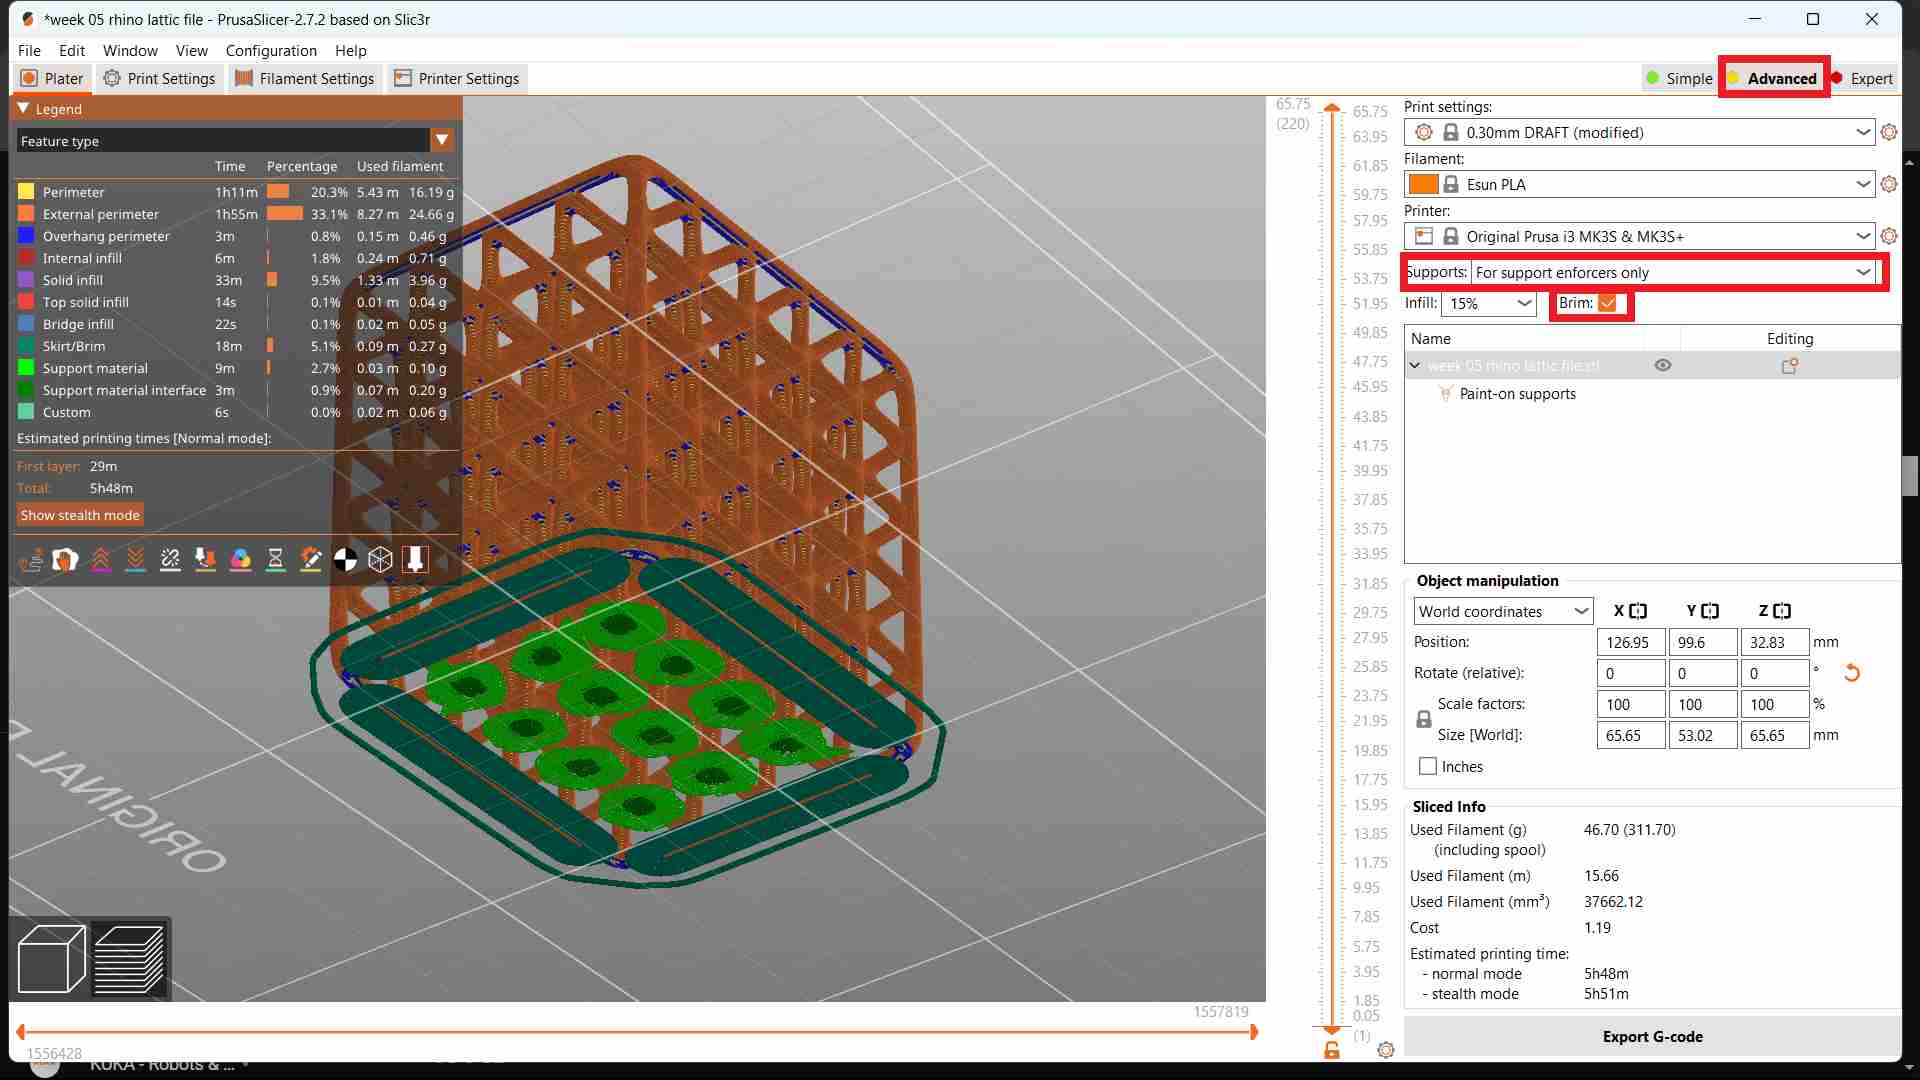
Resources and Downloads
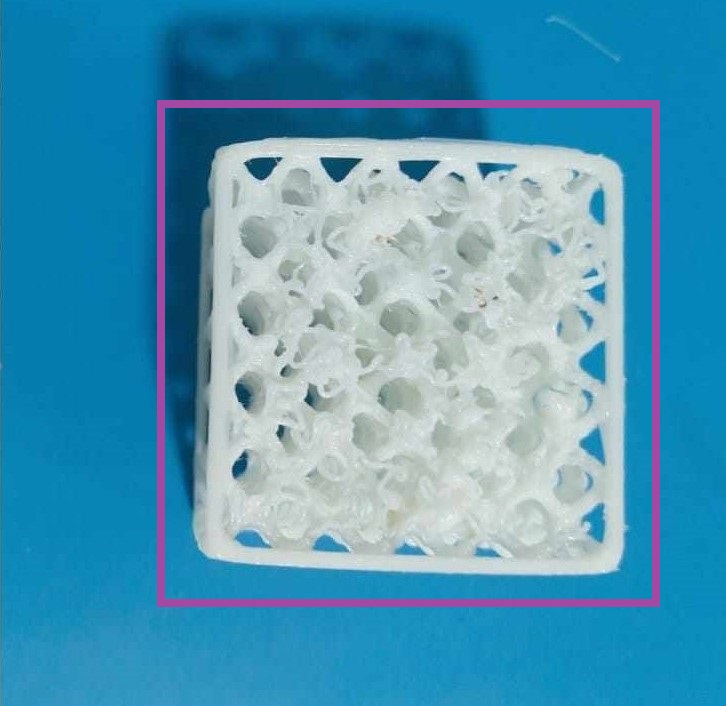
📁 Lattice Structure Hollow Sphere
